How to Learn Guitar at Home: Complete Beginner Guide
How to Learn Guitar at Home: Complete Beginner Guide: clear guitar guide with practical examples, common mistakes, and Chords.me practice tools.
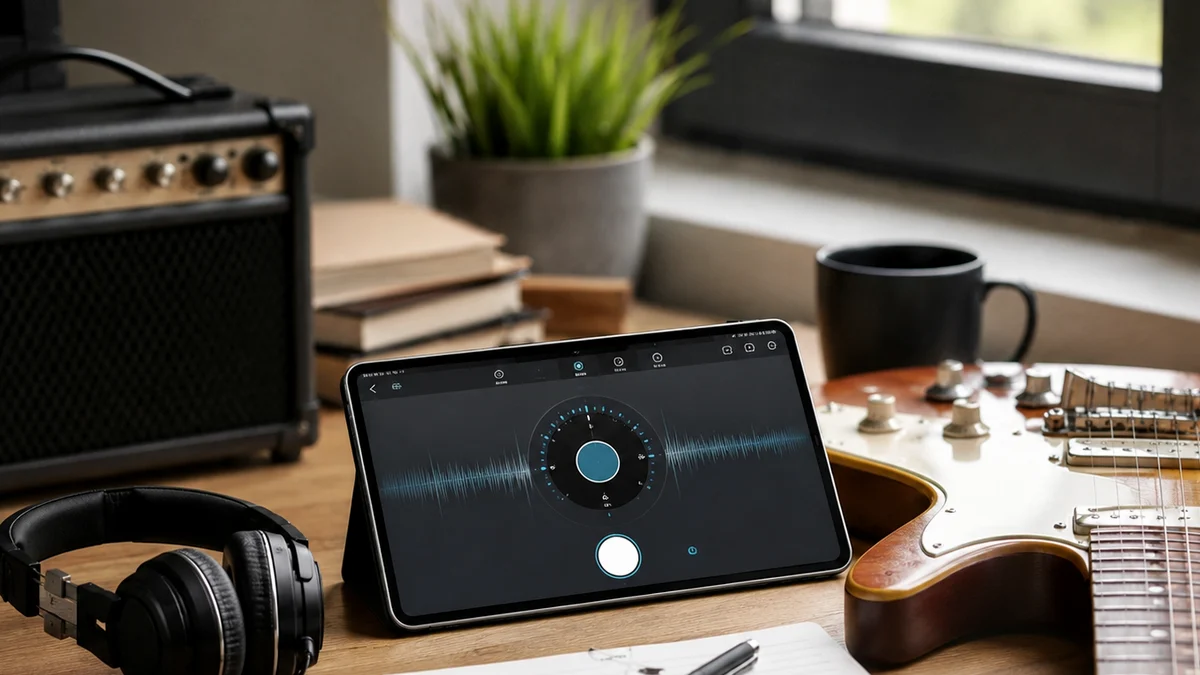
Learning to play the guitar is one of the most rewarding personal journeys you can undertake. You do not need expensive private academies or weekly in-person lessons to become a proficient guitarist. With the right roadmap, structured practice, and the wealth of digital tools available today, you can master the basics of the instrument right from your living room.
This guide provides a clear, step-by-step path to help you build solid habits, develop physical strength in your hands, and start playing songs you love in a matter of weeks.
How to Learn Guitar at Home Step by Step
To learn guitar successfully at home, follow this structured six-step progression:
- Set up a dedicated practice space with your guitar, a sturdy chair without armrests, and a tuner.
- Learn to tune your instrument daily using an online tuner to train your ear to correct pitches.
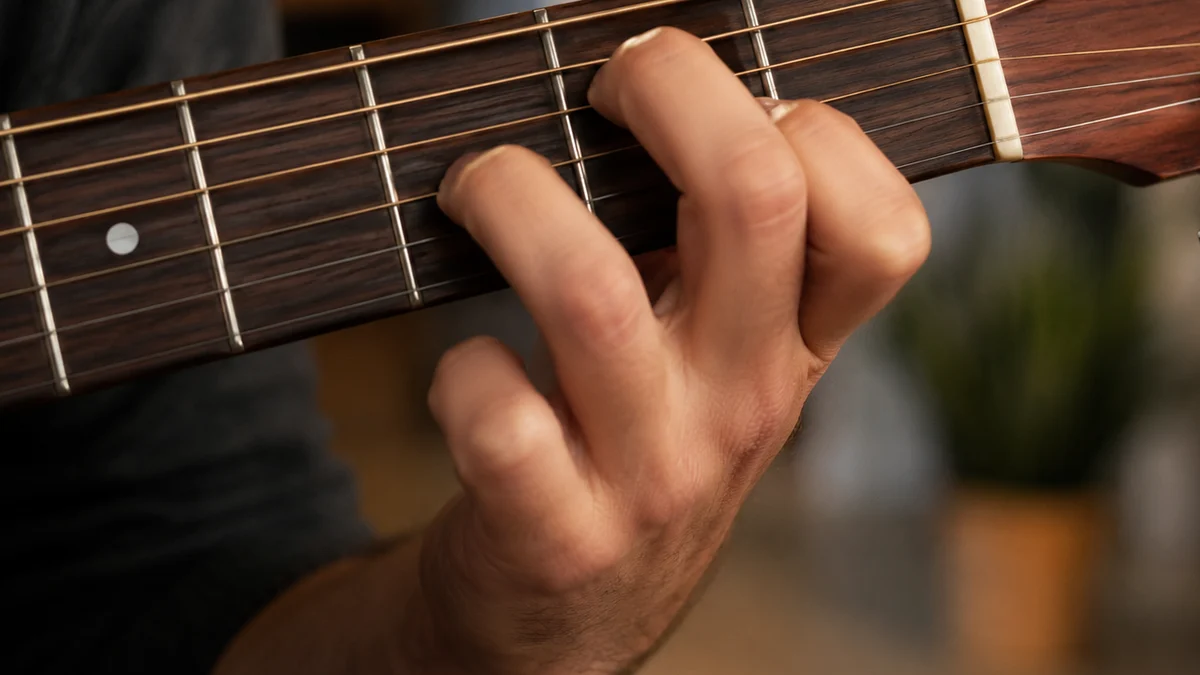
- Master basic hand posture, keeping your fretting thumb behind the neck and your fingers arched.
- Practice four essential open chords (E minor, A minor, C major, and G major) until your transitions are clean.
- Develop steady rhythm and timing by practicing strumming patterns with a metronome or tap tempo tool.
- Apply your skills to simple songs, using tools like chord transposers or capos to match your vocal range.
Setting Up Your Home Learning Environment
The physical space where you practice plays a strong role in how quickly you progress. If your guitar is tucked away in a gig bag in the back of a closet, you will rarely play it. Keep your instrument on a stand in a room where you spend a lot of time. Seeing the guitar serves as a constant visual cue to pick it up, even if it is only for ten minutes.
You also need the right chair. Avoid deep couches or office chairs with high armrests, as they force your elbows into awkward angles and ruin your posture. A simple wooden kitchen chair, stool, or dedicated musicians' bench is ideal. This setup allows your arms to move freely, which is crucial for both fretting and strumming accuracy.
Finally, gather your essential digital tools before you begin. You do not need to buy expensive hardware. Keep a tuner handy on your phone or computer, and bookmark a reliable chord sheet generator. Having these resources ready prevents you from getting distracted by searching the web every time you want to practice.
How to Learn Guitar Step by Step: The First 30 Days
When you start learning how to learn guitar for beginners, the amount of information can feel overwhelming. Do not try to learn scales, music theory, and complex solos all at once. Instead, break your first month down into weekly, manageable goals.
Week 1: Mechanics, Holding, and Tuning
Your first week is all about comfort and physical adaptation. Learn how to hold the guitar properly. If you are playing seated, rest the waist of the guitar on your right thigh (for right-handed players) or look into the classical position, where the guitar rests on your left thigh with a footstool.
Next, focus on tuning. An out-of-tune guitar sounds terrible even if you play the notes perfectly, which can quickly discourage you. Learn the names of the strings from thickest to thinnest: E, A, D, G, B, and E. Use a digital tuner every single time you pick up the instrument.
Spend the rest of the week plucking single notes. Place your index finger on the first fret of the high E string, then your middle finger on the second fret, ring on the third, and pinky on the fourth. This simple exercise, often called "the spider," builds initial finger independence and calluses.
Week 2: Your First Open Chords
Once your fingers are used to pressing down on the strings, it is time to learn your first chords. Start with E minor (Em) and A minor (Am). These shapes require only two or three fingers and do not stretch your hand too far.
- E Minor: Place your middle finger on the second fret of the fifth (A) string, and your ring finger on the second fret of the fourth (D) string. Strum all six strings.
- A Minor: Place your middle finger on the second fret of the fourth (D) string, your ring finger on the second fret of the third (G) string, and your index finger on the first fret of the second (B) string. Strum from the fifth string down.
Focus on accuracy. Press down with the very tips of your fingers, right behind the fret wire, not directly on top of it. Pluck each string individually to ensure it rings out clearly without buzzing or being muffled by adjacent fingers.
Week 3: Developing Rhythm, Timing, and Tone
A chord is only useful if you can play it in time. This week, introduce a simple down-down-down-down strumming pattern on every beat.
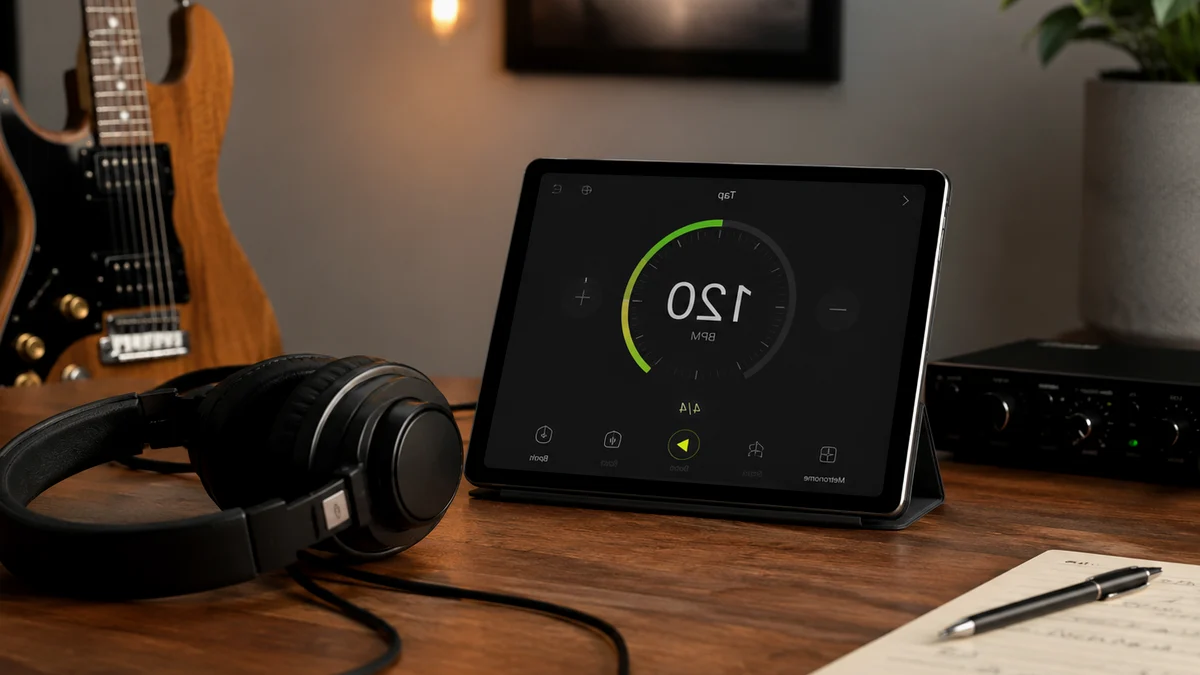
To develop a steady sense of timing, you must practice with a consistent pulse. If you are trying to play along with a favorite song but cannot quite match the speed, use the Chords.me Tap BPM finder. By tapping along to the beat of the song on your keyboard or screen, you can identify its exact tempo. Once you know the target BPM, you can slow it down by 20 or 30 beats per minute to practice your chord transitions at a manageable pace before building back up to full speed.
Keep your strumming wrist loose, like you are shaking water off your hand. Avoid stiffening your elbow, which produces a harsh, scraping tone.
Week 4: Switching Chords Smoothly
The biggest hurdle for beginners is transitioning between chords without pausing. If you have to stop for three seconds to reposition your fingers, the music loses its momentum.
Practice the "common pivot finger" technique. When moving from A minor to C major, for example, your index and middle fingers do not need to lift off the fretboard entirely. They stay in the exact same positions, while only your ring finger moves to the third fret of the fifth string. Identifying these shared anchor points makes your chord changes twice as fast with half the effort.
Core Skills Checklist: Building Technique, Tone, and Accuracy
As you progress, you must constantly monitor the physical details of your playing. Bad habits formed in the first few weeks can take months of frustrating practice to correct later. Use this checklist and the table below to keep your physical technique on track.
- Thumb Position: Keep your fretting thumb pointing upward behind the middle of the neck. Do not let it wrap completely around the top of the neck unless a specific chord shape requires it. This gives your other fingers the reach they need.
- Wrist Angle: Keep a slight, comfortable bend in your wrist. If your wrist is bent at a sharp 90-degree angle, you risk strain or injury.
- Fingertips: Always play on the tips of your fingers. If your fingers flatten out, they will accidentally mute the strings below them, ruining your tone.
- Pick Grip: Hold your pick between your thumb and the side of your index finger. Leave only about half an inch of the tip exposed. This gives you maximum control and prevents the pick from slipping out of your hand.
| Skill | Practice Method | Daily Time | Common Mistake to Avoid |
|---|---|---|---|
| Tuning & Pitch | Tune before every session using a digital tuner. | 2 mins | Playing an out-of-tune guitar, which ruins ear training. |
| Chord Accuracy | Pluck each string of a chord individually to check for buzzes. | 5 mins | Pressing too hard, which pushes the notes sharp. |
| Chord Transitions | Switch back and forth between two shapes without stopping the strumming hand. | 10 mins | Pausing the right hand while the left hand searches for frets. |
| Timing & Rhythm | Strum along to a steady metronome or beat. | 8 mins | Rushing the tempo when the chord changes get difficult. |
| Finger Strength | Play the 1-2-3-4 chromatic scale exercise across all strings. | 5 mins | Lifting fingers too high off the fretboard between notes. |
How to Learn Guitar Mistakes Beginners Make
When figuring out how to learn guitar mistakes beginners make, understanding what not to do is just as important as knowing what to do. Many self-taught guitarists hit plateaus simply because they fall into common traps that slow down their progress.
Mistake 1: Practicing Without a Reference Tempo
Many beginners practice chords at whatever speed their hands can manage at that exact second. This results in erratic playing where easy parts are played too fast and hard parts are dragged out. Always use a steady pulse. If you are learning a song, find its tempo using the Tap BPM finder, write it down, and practice at a consistent, reduced tempo until your hand transitions are completely smooth.
Mistake 2: Pressing Too Hard on the Frets
Beginners often assume that more physical force equals a cleaner sound. This is incorrect. Pressing too hard causes hand fatigue, creates deep, painful grooves in your fingertips, and actually pulls the notes sharp, ruining your overall tone. Press down only with enough pressure to make the note ring clearly. Experiment by slowly releasing pressure on a fretted note until it starts to buzz, then apply just a tiny bit of pressure back. That minimal point of contact is your target fretting force.
Mistake 3: Learning Too Many Songs at Once
It is tempting to try to learn ten different songs in your first week. However, this usually results in knowing the first five seconds of ten songs and zero complete songs. Focus on mastering one simple three-chord song from start to finish. Learning how to navigate an entire song structure—intro, verse, chorus, and outro—teaches you how real music flows.
Mistake 4: Avoiding the Pinky Finger
Your pinky is naturally the weakest finger on your hand, so it is tempting to leave it out of your playing entirely. However, avoiding your pinky now will severely limit your ability to play scale patterns, barre chords, and solos later. Force yourself to use your pinky during basic warm-up exercises to build its strength and independence early on.
Designing Your Daily Practice Routine
Consistency beats duration every single time. Practicing for 20 minutes every day is infinitely better than practicing for two hours only on Sundays. Your hands and brain need daily repetition to build muscle memory and calluses.
A balanced, highly effective 30-minute daily practice routine looks like this:
1. Warm-up (5 Minutes)
Begin with simple physical stretches for your hands and wrists. Then, play slow, single-note chromatic runs up and down the neck. Do not worry about speed here; focus entirely on clean tone and making sure each note rings out clearly.
2. Technical Exercises (10 Minutes)
Dedicate this block to your weakest area. If you struggle with chord transitions, set a slow tempo and practice switching between two difficult shapes (like C major to G major) repeatedly. Focus on moving all your fingers simultaneously rather than placing them down one by one.
3. Song Application (10 Minutes)
Apply your technical skills to a real song. Work on the strumming pattern, lyric cue timing, or structural transitions of a song you are actively trying to learn.
4. Creative Exploration (5 Minutes)
End your session with something fun. Play whatever you want without worrying about mistakes. Improvise, experiment with different strumming dynamics, or simply enjoy the sound of the instrument. Ending on a fun note keeps you excited to pick up the guitar again tomorrow.
How Long Does It Take to Learn Guitar?
One of the most common questions beginners ask is: How long does it take to learn how to learn guitar? The answer depends entirely on your goals and your dedication to regular practice.
- 1 to 3 Months: With daily practice, you can expect to play basic open chords, transition between them with minimal pausing, and play along with simple folk, pop, or rock songs. Your fingertips will stop hurting as you develop solid calluses.
- 3 to 6 Months: You will start mastering more complex chord shapes, including basic barre chords like F major. Your strumming patterns will feel natural, and you will be able to play dozens of songs with confidence.
- 6 to 12 Months: You will develop a strong ear for rhythm, start exploring basic scales for improvisation, and be able to learn new songs quickly. At this stage, you will feel like a competent, self-sufficient guitarist.
Simplifying Songs with Smart Tools
When you are learning at home, you will occasionally run into chord sheets that feature difficult shapes like barre chords or complex jazz voicings. Do not let these stop you from learning a song you love. You can use smart digital tools to simplify any piece of music.
If a song is in a difficult key like E-flat or G-sharp minor, you can use a chord transposer to shift the song into an easier key like G major or C major. If the new key is too low or high for your singing voice, simply clip a capo onto your guitar neck. A capo allows you to use the easy, open chord shapes you already know while raising the overall pitch of the instrument to match the original recording or your vocal range.
By combining physical practice with these digital utilities, you can bypass frustrating technical barriers and keep your learning momentum moving forward.
Success on the guitar does not come from natural talent; it comes from deliberate, focused practice. By setting up a comfortable space, sticking to a structured daily routine, and using helpful tools to guide your timing and chord choices, you will build a musical foundation that lasts a lifetime. Keep your guitar on its stand, practice a little bit every day, and enjoy the process of watching your skills grow.
Related Chords.me Guides
For the next step, read How to Change a Song Key, Guitar Capo FAQs: Common Beginner Questions, and Chromatic Tuner Guitar Guide: How to Tune Accurately as a Beginner before moving on. You can also test the same idea in another key and compare capo positions while practicing this lesson.
Practice This With Chords.me
Use the Chord Transposer to test the idea in another key, then practice the same example slowly. Focus on clean notes and steady timing before increasing speed.
Frequently Asked Questions
What is the best way to learn guitar at home?
The best way to learn guitar at home is to slow the movement down, use a tuned guitar, and repeat a short exercise until it feels controlled. Speed should come after clean sound and steady timing.
Is how to learn guitar at home hard for beginners?
It can feel difficult at first, but it becomes manageable when you break it into small steps. Focus on clean notes, relaxed hands, and short practice sessions instead of trying to master everything in one day.
What should I practice first for how to learn guitar at home?
Start with the simplest version of the idea: one chord, one pattern, one short exercise, or one small section of the fretboard. Once that feels stable, add timing, transitions, or a second example.
What common mistakes should I avoid?
Avoid rushing, pressing harder than necessary, ignoring tuning, and practicing mistakes at full speed. Slow, accurate repetitions usually fix beginner problems faster than long unfocused practice sessions.
Which Chords.me tool helps with this topic?
The Guitar Tuner is the best supporting tool here because it helps with checking pitch, tuning stability, and practice accuracy. Use it before or during practice so the article’s examples translate into real playing more easily.
About the Contributor
Chords.me Tuning & Setup Desk Tuning, strings, and setup contributor
A brand contributor profile for Chords.me tuning and setup content. This desk focuses on tuning accuracy, string choice, fret buzz, intonation, action, and maintenance topics for everyday players. Content is checked for practical clarity, beginner readability, and accurate links to relevant Chords.me tools.