Guitar Capo FAQs: Common Beginner Questions
Clear answers to common guitar capo questions about placement, tuning, buzzing, key changes, and beginner practice.

For many new guitarists, the capo is a mysterious little clamp. Some beginners view it as a cheat code to avoid learning difficult chords, while others see it as an intimidating piece of gear reserved only for advanced singer-songwriters. As a working musician and guitar practice guide, I encounter these misconceptions every week in the studio.
The truth is simple: a capo is an essential tool that expands the voice of your instrument. It allows you to change keys instantly, match your guitar to a singer's vocal range, and access bright, bell-like chord voicings that are impossible to play in standard open positions.
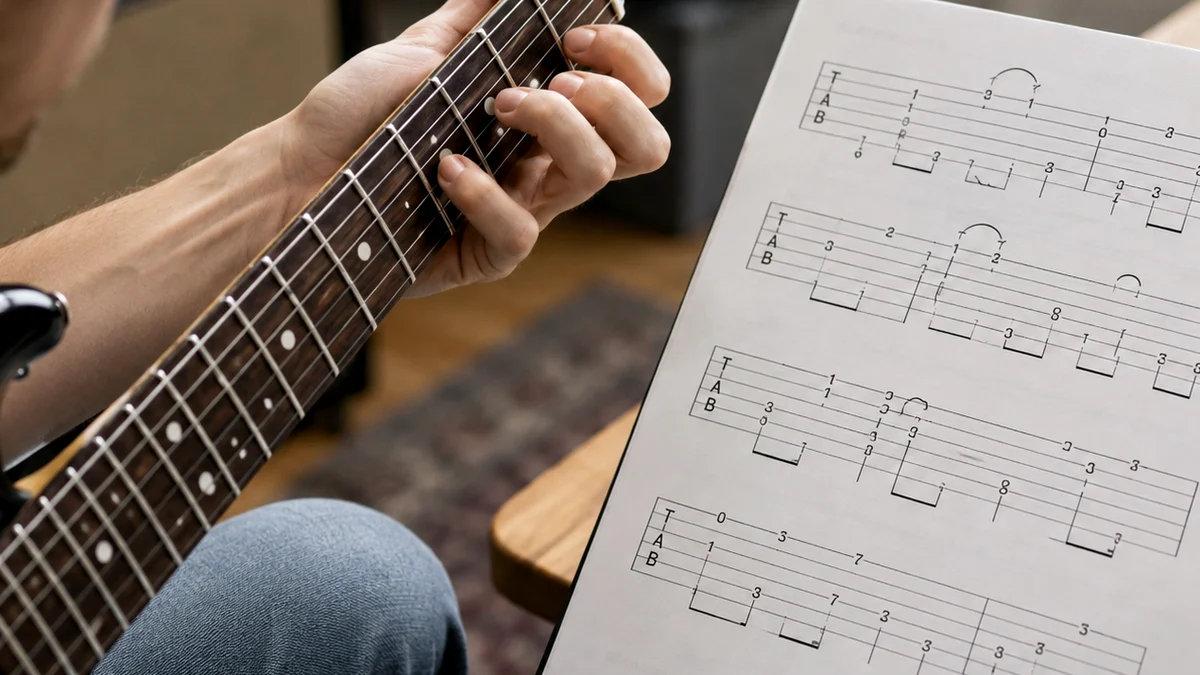
This capo FAQ guide compiles the most common capo questions answered by a professional instructor. Whether you are struggling with tuning issues or trying to figure out which model to buy, you will find practical, real-world answers below.
What is a Guitar Capo?
Definition: A guitar capo is a mechanical device clamped across the fretboard of a stringed instrument. By holding down all the strings at a specific fret, it shortens the playable length of the strings. This raises the pitch of the open strings, allowing you to play in different musical keys while using the familiar open chord shapes you already know.
Quick Capo Reference Guide
| Question | Short Answer | Recommended Resource |
|---|---|---|
| What does a capo do? | It raises the pitch of your guitar so you can play in new keys using easy open chords. | Chords.me Capo Calculator |
| Do I need one as a beginner? | Yes. It unlocks hundreds of popular songs immediately without requiring complex barre chords. | Capo Basics Section |
| Does one capo work on all guitars? | No. Necks have different widths and fretboard curvatures (radii) that require specific capos. | Capo Buying Advice |
| Why does my guitar go out of tune? | Usually due to uneven clamping tension or pulling the strings sideways during placement. | Capo Troubleshooting |
| Where do I place the capo? | Just behind the fret wire, not directly on top of it. | Capo Technique Section |
What Does a Capo Do?
To understand what a capo does, think of it as a moveable nut. The nut is the slotted piece of plastic or bone at the very top of your guitar neck where the strings rest. When you play an open chord, the nut determines where the vibrating portion of the string begins.
When you clamp a capo onto the second fret, the capo becomes the new nut. The playable portion of the neck is now shorter. Because shorter strings vibrate at a higher frequency, the pitch of your entire instrument goes up.
Each fret on the guitar represents a half-step (or semitone) in music theory. If you place a capo on the first fret, your open strings are raised by one half-step. Place it on the second fret, and they are raised by a whole step.
For example, if you play a standard open C major chord shape with a capo on the second fret, the actual pitch coming out of the guitar is a D major chord. This allows you to perform in the key of D major without having to play difficult barre chords or complex fingerings. You get the bright, resonant ring of open strings in a key that normally does not allow for them.
Is a Capo Necessary for Beginners?
If you are wondering, "do I need a capo as a beginner guitarist?" the short answer is yes. While you can certainly learn the mechanics of the instrument without one, a capo is one of the most practical accessories you can own. It is highly recommended for several reasons.
First, a capo grants you immediate access to a strong library of popular music. Many acoustic songs by artists like Ed Sheeran, Taylor Swift, The Beatles, and Oasis rely heavily on capos. If you try to play these songs without one, they will sound in the wrong key, making it impossible to play along with the original recordings.
Second, using a capo can actually make physical practice easier for new players. The frets on a guitar neck get closer together as you move higher up the neck toward the body. If you have small hands or struggle with the wide finger stretches required near the headstock, placing a capo on the third or fifth fret reduces the distance your fingers must stretch.
Additionally, the action (the height of the strings above the fretboard) is often lower and easier to press down near the middle of the neck. This helps beginners build finger dexterity and calluses without fighting high string tension near the nut.
Does a Capo Work on All Guitars?
A common point of confusion for beginners is whether a capo works on all guitars. While the basic mechanical concept is the same, a single capo may not perform well on every type of instrument in your collection.
The primary issue is fretboard radius. The fingerboards of most steel-string acoustic and electric guitars are slightly curved (radiused) to make gripping chords more comfortable. Classical guitars, on the other hand, have completely flat fretboards.
If you try to use a flat classical capo on a curved steel-string acoustic, the capo will press down too hard on the outer E strings while failing to hold down the middle G and D strings properly, resulting in annoying fret buzz. Conversely, clamping a curved capo onto a flat classical fingerboard will pinch the middle strings and cause severe tuning issues.
Furthermore, neck width and string tension vary wildly between instruments:
- Electric Guitars: Have thin necks and low string tension. They require a capo with lighter, adjustable tension so the strings are not squeezed sharp.
- Acoustic Guitars (Steel-string): Have thicker necks and higher tension, requiring a firmer clamp.
- 12-String Guitars: Have very wide necks and double the number of strings. They require specialized, heavy-duty capos to exert even pressure across all twelve strings.
- Classical Guitars: Have wide, flat necks and require flat, wide capos designed for nylon strings.
Before purchasing, always check the packaging to ensure the model matches your specific instrument type.
Capo Buying Advice: Choosing the Right Model
When shopping for your first capo, the sheer number of options can be overwhelming. Each design has its own advantages and trade-offs. Here is a breakdown of the most common types you will encounter in music stores.
Trigger Capos (Spring-Loaded)
These are the most popular capos on the market. They use a heavy-duty spring mechanism that allows you to clamp and remove the device with one hand.
- Pros: Extremely fast to use; great for live performances where you need to change keys quickly between songs.
- Cons: You cannot adjust the clamping tension. Over time, the strong spring can pull your strings sharp, especially on electric guitars with light-gauge strings.
Screw-Adjustable Capos (C-Clamp)
These capos use a small dial or screw mechanism to manually adjust how tightly the pad presses against the strings.
- Pros: Superior tuning stability. You can apply the exact amount of pressure needed to stop fret buzz without squeezing the strings out of tune. They are lightweight and low-profile.
- Cons: They require two hands to install and adjust, making them slower to move during a live performance.
Shubb-Style Capos (Over-Center Locking)
This design combines a mechanical lever lock with an adjustable tension screw. You set the perfect tension once using the dial, and then quickly clamp it in place using the lever.
- Pros: Outstanding tuning accuracy, highly durable, and very low profile.
- Cons: Requires initial setup adjustment when moving to different areas of the neck, as guitar necks get thicker as you move up.
Elastic or Strap Capos
These budget-friendly options use an elastic band or fabric strap to pull a metal bar down against the strings.
- Pros: Very inexpensive and highly portable.
- Cons: They wear out quickly, are difficult to align properly, and frequently cause tuning issues. Most guitar teachers advise avoiding these in favor of a solid metal clamp.

Capo Technique: How to Use It Correctly
To get the most out of your gear, you must master proper capo technique. Incorrect placement is the number one cause of tuning frustration and poor tone.
Follow these steps for perfect placement every time:
- Check your tuning first: Never put a capo on an out-of-tune guitar. The capo will only lock in those tuning errors.
- Position just behind the fret: Place the rubber pad of the capo parallel to and just behind the metal fret wire (about 1 to 2 millimeters back). Do not place it directly on top of the wire, as this will muffle the notes. Do not place it too far back in the middle of the fret space, as this requires excessive pressure to prevent buzzing.
- Clamp straight down: Ensure the capo is applied perpendicular to the neck. If you clamp it at an angle, or if you drag the strings sideways while applying it, you will pull the strings out of pitch.
- Test each string: Pluck each string individually. If you hear a dull thud or a metallic buzz, adjust the angle or increase the tension slightly until every note rings out clearly.
How to Transpose Chords with a Capo
Understanding how to transpose chords is where capo basics meet practical music theory. Transposition is the process of changing the key of a piece of music while keeping the relationships between the notes identical.
Let's say you want to play a song written in the key of G major, but the vocalist needs it sung in the key of A major. You have two choices: you can relearn all the chords in the key of A (which might include difficult barre chords like F# minor), or you can use a capo.
Because each fret raises the pitch of your guitar by a half-step, you can use the chromatic scale to calculate where to place your capo:
By placing your capo on the second fret and playing your familiar G major chord shapes, the music will sound in the beautiful key of A major.
If you want to skip the manual music theory math, the easiest solution is to use the online Chords.me Capo Calculator. This practical tool allows you to input your current chord progression, select your target key, and instantly see exactly where to place your capo and which easy chord shapes to play. It is a strong time-saver for songwriting, band rehearsals, and practice sessions.
Capo Troubleshooting and Tuning Issues
Even experienced players run into occasional issues when using a capo. If your guitar sounds sour or buzzy, use this quick troubleshooting checklist to resolve the problem.
Why does my guitar go sharp when I apply a capo?
This is the most common capo troubleshooting issue. It happens when the capo applies too much downward pressure on the strings. The metal fret wire acts as a pivot point; if the string is pressed all the way down to the wood of the fretboard, it stretches the string and raises the pitch.
To fix this:
- Use a capo with adjustable tension (like a screw-type or Shubb-style) and back off the pressure until it is just tight enough to stop string buzz.
- Make sure you are placing the capo as close to the fret wire as possible, where less pressure is required to fret the notes cleanly.
- Ensure your guitar's nut slots are cut to the correct depth. High nut slots exacerbate this issue.
Why is my guitar buzzing?
Fret buzz occurs when a string is not held down firmly enough, allowing it to vibrate against the metal fret wires.
- Check your placement. If the capo is too far behind the fret wire, move it closer.
- Increase the clamping tension slightly.
- Check your guitar's neck relief (truss rod adjustment) and action. If your action is extremely low, a capo can cause strings to buzz against higher frets.
Will a capo damage my guitar?
When used correctly, a high-quality capo will not damage your instrument. The pads that contact your guitar strings and the back of the neck are made of soft rubber or silicone designed to protect the wood and finish.
However, you should avoid leaving a tight spring-loaded capo clamped onto your guitar neck for weeks or months at a time. This constant, localized pressure can compress the wood fibers over time or cause premature wear on your fret wires. It is best practice to remove your capo and store it in your gig bag when you are finished practicing.
Expanding Your Creativity with a Capo
Once you master the basics of capo use, you can begin exploring advanced creative applications. The capo is not just for singer-songwriters who want to sing in high keys; it is also a powerful tool for arranging music.
If you are playing in a band with another guitarist, having both players perform the exact same open chord shapes in the same position can make your band's mix sound muddy and cluttered. To create a wider, more professional sound, one guitarist can play standard open chords without a capo, while the second guitarist uses a capo higher up the neck to play complementary voicings.
For example, if the song is in the key of C major:
- Guitarist 1: Plays standard open C, F, and G chords at the nut.
- Guitarist 2: Places a capo on the 5th fret and plays open G, C, and D shapes.
Both guitarists are playing the exact same chords, but the second guitar's parts are voiced an octave higher. This sonic separation creates a beautiful, shimmering acoustic blend that sounds like a professional studio recording.
Experiment with different positions, keep your ears open to subtle tuning changes, and use practical online tools like the Chords.me chord transposer and capo calculator to streamline your practice sessions. With a solid understanding of these principles, the capo will quickly become one of the most valued tools in your guitar toolkit.
Related Chords.me Guides
For the next step, read Chromatic Tuner Guitar Guide: How to Tune Accurately as a Beginner, Blues Scale Guitar Guide: Beginner Practice Guide, and Major Scale Guitar Guide: Beginner Practice Guide before moving on. You can also test the same idea in another key and compare capo positions while practicing this lesson.
Practice This With Chords.me
Use the Guitar Capo Calculator to test the fret position, then compare the result with the Chord Transposer. Focus on clean notes and steady timing before increasing speed.
Frequently Asked Questions
What does a capo do?
A capo clamps across the guitar neck to shorten the strings, raising the pitch of every open string by the same amount without changing the chord shapes you play.
Do I need a capo as a beginner?
A capo isn't required for beginners, but it's a cheap, useful tool that makes it easier to play songs in different keys using only simple open chords.
Does a capo work the same on acoustic and electric guitar?
Yes, a capo works the same way on acoustic and electric guitars, though slimmer electric necks may need a slightly different capo style for a comfortable fit.
About the Contributor
Chords.me Tuning & Setup Desk Tuning, strings, and setup contributor
A brand contributor profile for Chords.me tuning and setup content. This desk focuses on tuning accuracy, string choice, fret buzz, intonation, action, and maintenance topics for everyday players. Content is checked for practical clarity, beginner readability, and accurate links to relevant Chords.me tools.