Barre Chords Without Hand Pain
Learn how to reduce hand pain when practicing barre chords by improving thumb position, pressure, and practice pace.
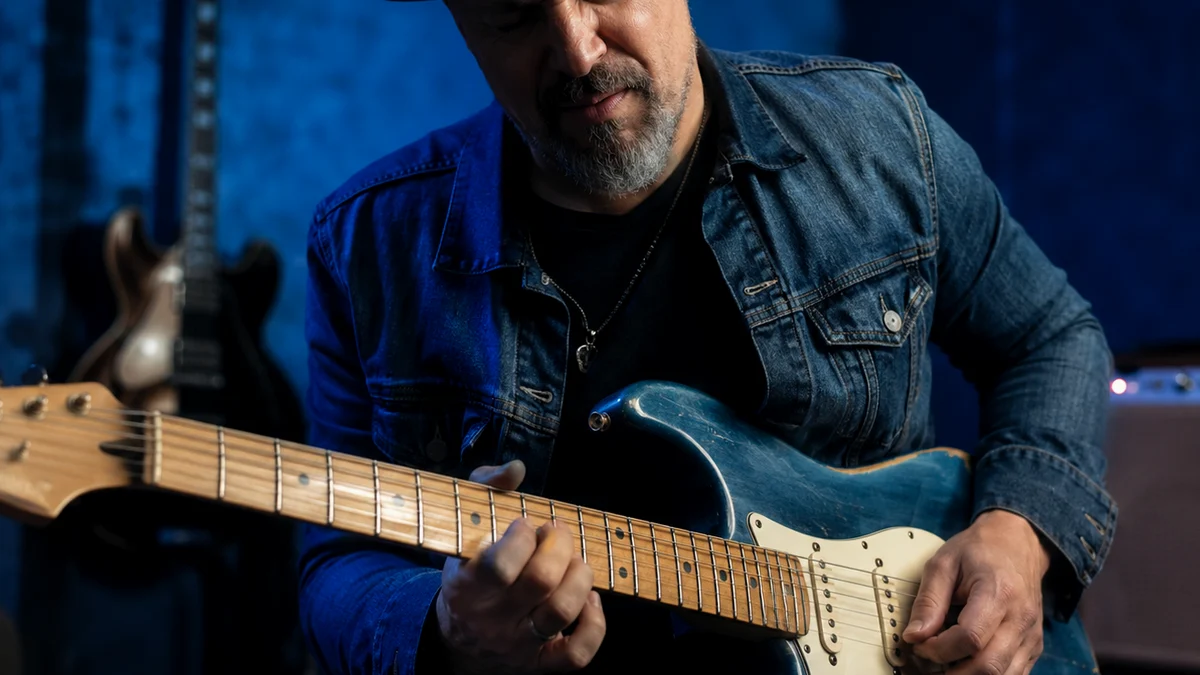
Many guitar players remember the exact moment they first tried to play an F major chord. For most, it is a moment of frustration, buzzing strings, and a dull ache in the thumb and palm. It feels as though your hand simply is not built to perform the task.
This physical barrier is one of the most common reasons beginners pause their guitar learning process. However, hand pain is not a rite of passage; it is a sign of incorrect biomechanics.
Learning how to play barre chords without hand pain is entirely possible when you stop relying on brute force and start using leverage, finger placement, and proper posture. By understanding how to align your hand with the guitar fretboard, you can play clean, resonant chords for hours without fatigue.
What is a Barre Chord?
Definition: A barre chord (sometimes spelled "bar") is a guitar chord shape where one finger—usually the index finger—is pressed flat across multiple strings at a single fret. This single finger acts as a moveable nut, raising the pitch of all the strings it covers, which allows you to play the same chord shape anywhere along the neck.
Is Barre Chords Good for Beginners?
Yes, learning barre chords is highly beneficial for beginners, even if it feels intimidating. While open chords limit you to the first few frets of the guitar, mastering barre chords helps you learn the entire fretboard.
Once you learn a single barre chord shape, you can play dozens of different chords simply by sliding that shape up and down the neck. It builds the finger strength, dexterity, and fretboard visualization skills necessary for intermediate and advanced playing styles.
Understanding the Mechanics: Why Barre Chords Cause Hand Pain
To play barre chords without hand pain, you must first understand why the pain happens. Most beginners approach the guitar neck with a "clamp" mentality. They place their index finger on the front of the neck, their thumb on the back, and squeeze as hard as they can.
This clamping action relies entirely on the small muscles of the hand, specifically the thenar eminence (the fleshy muscle at the base of the thumb). These muscles are not made to exert continuous, heavy pressure. Squeezing this way leads to rapid fatigue, cramping, and eventually, repetitive strain injuries like tendonitis.
Instead of squeezing, professional guitarists use leverage. The pressure required to fret a barre chord should come primarily from the larger muscles of your shoulder and back, combined with the weight of your fretting arm.
By pulling your fretting arm slightly backward, you press the strings against the frets using your arm weight. Your thumb acts merely as a guide and a pivot point on the back of the neck, rather than a vise grip.
Another major contributor to hand pain is the physical setup of the guitar. If your guitar has "high action"—meaning the strings sit high off the fretboard—it requires significantly more force to press them down. Heavy-gauge strings on an acoustic guitar also increase this resistance.
If you are practicing on an instrument that is poorly set up, even perfect technique can cause discomfort. Consider taking your guitar to a local shop for a setup, or using lighter strings while you build your technique.
How to Use Barre Chords Correctly: A Step-by-Step Guide
Transitioning from painful clamping to effortless fretting requires a systematic approach. Follow these steps to build a healthy, pain-free barre technique from scratch.
Step 1: Position the Index Finger (The Barre)
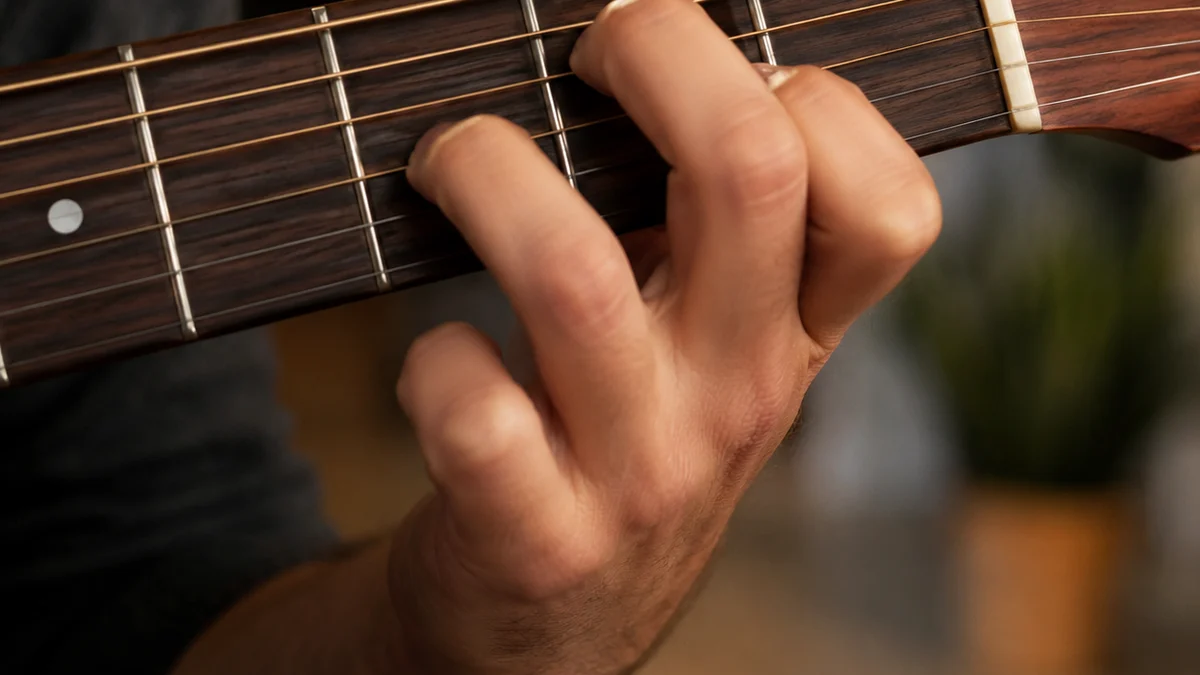
Do not place your index finger completely flat on its soft, fleshy underside. The underside of your finger has natural creases that align with the gaps between strings, which leads to muted notes. Instead, roll your index finger slightly onto its outer edge (the side closest to your thumb). This side of the finger is boney and firm, providing a much flatter, more consistent surface to press the strings.
Step 2: Place the Finger Close to the Fret
Position your index finger immediately behind the fret wire, not in the middle of the fret space. The closer your finger is to the fret wire, the less downward pressure you need to apply to get a clean, buzz-free note. If your finger is too far back, you will have to press twice as hard, which immediately triggers hand strain.
Step 3: Align the Thumb
Your thumb should rest on the lower half of the back of the neck, roughly opposite your middle finger. Keep your thumb straight or slightly curved, pointing upward toward the ceiling. Never wrap your thumb over the top of the neck when playing traditional barre chords, as this forces your hand into an angle that restricts the reach of your other fingers.
Step 4: Engage the Arm Pull Technique
Instead of squeezing your hand closed, pull your left elbow back slightly. Let the weight of your arm pull your index finger into the fretboard. To balance this, your right arm should rest on the body of the guitar, acting as a counterweight. This simple lever system reduces the workload on your thumb muscle by up to eighty percent.
Step 5: Add the Remaining Fingers
Once your index finger is in place, position your remaining fingers (middle, ring, and pinky) on their respective strings. Keep these fingers arched, using only the very tips to press the strings. If these fingers flatten out, they will accidentally mute adjacent strings, causing you to squeeze harder to compensate.
Essential Guitar Chord Shapes for Beginners
To apply this technique, you need to understand the two most common families of barre chords: those rooted on the sixth (low E) string and those rooted on the fifth (A) string.
The E-Major Shape (6th String Root)
This is the most common barre chord shape. It is based on the open E major chord, shifted up the neck.
- Root Note: Located on the 6th string under your index finger.
- Index Finger: Barres all six strings.
- Middle Finger: Presses the 3rd string, one fret above the barre.
- Ring Finger: Presses the 5th string, two frets above the barre.
- Pinky Finger: Presses the 4th string, two frets above the barre.
If you play this shape at the third fret, your index finger barres the third fret, making it a G Major chord. If you slide it to the fifth fret, it becomes an A Major chord.
The A-Minor Shape (5th String Root)
This shape is based on the open A minor chord and is used to play minor chords across the neck.
- Root Note: Located on the 5th string under your index finger.
- Index Finger: Barres the 1st through 5th strings (do not play the 6th string).
- Middle Finger: Presses the 2nd string, one fret above the barre.
- Ring Finger: Presses the 4th string, two frets above the barre.
- Pinky Finger: Presses the 3rd string, two frets above the barre.
Playing this shape at the third fret gives you a C minor chord. Sliding it to the fifth fret gives you a D minor chord.
| Chord Shape | Finger Position | Common Problem | Easier Option |
|---|---|---|---|
| E-Major Shape (6th String Root) | Index barres all 6 strings; Middle on 3rd string; Ring on 5th; Pinky on 4th. | The 3rd (G) string buzzes or is completely muted. | Play a "four-string" version on the top four strings without barring. |
| A-Minor Shape (5th String Root) | Index barres 1st-5th strings; Middle on 2nd; Ring on 4th; Pinky on 3rd. | Accidentally striking the low E string, causing a muddy sound. | Mute the low E string with the tip of your index finger. |
| E-Minor Shape (6th String Root) | Index barres all 6 strings; Ring on 5th string; Pinky on 4th string. | Middle finger hangs in the air, causing tension. | Place your middle finger directly on top of your index finger for extra support. |
| A-Major Shape (5th String Root) | Index barres 1st-5th strings; Ring finger barres 2nd, 3rd, and 4th strings. | High E string is muted or ring finger bends backward painfully. | Leave the high E string unplayed, focusing only on the middle strings. |
Common Barre Chords Mistakes Beginners Make
When learning how to learn barre chords step by step, avoiding bad habits early will save you weeks of recovery from hand strain. Here are the most common barre chords mistakes beginners make and how to fix them.
Clamping the Neck Like Pliers
As discussed, using your thumb and index finger like a pair of pliers is the fastest way to cause pain. If you feel a burning sensation in the web of your hand between your thumb and index finger, stop playing immediately. Shake your hand out, place your hand back on the neck, and focus on pulling with your arm instead of squeezing with your hand.
Placing the Index Finger Directly on Top of the Frets
Your finger should sit right next to the metal fret wire, not directly on top of it. Placing your finger on top of the wire dampens the vibration of the strings, resulting in a dull, thudding sound. Conversely, placing it too far back in the fret space causes string buzz.
Letting the Wrist Collapse
Many beginners let their fretting wrist bend at a sharp, ninety-degree angle. This puts immense pressure on the carpal tunnel and limits the reach of your fingers.
Keep your wrist as straight as possible by adjusting the height of your guitar neck. Pointing the headstock of the guitar slightly upward rather than keeping the neck parallel to the floor naturally straightens your wrist.
Ignoring Muted Strings
When a note in a barre chord does not ring out clearly, the natural reaction is to squeeze the whole hand harder. This is a mistake.
Instead, play the chord one string at a time to identify the exact note that is buzzing or muted. Often, you only need to adjust the angle of a single finger by a millimeter to clear up the sound, requiring zero extra physical force.
Practical Exercises to Build Finger Strength and Flexibility
You cannot expect your hand to master barre chords overnight. Like any physical discipline, it requires targeted practice to build the necessary coordination and flexibility. Use these three exercises daily for five to ten minutes.
Exercise 1: The Half-Barre Progression
Instead of trying to barre all six strings at once, start small.
- Place your index finger across only the high E and B strings at the fifth fret.
- Pluck both strings to ensure they ring clearly.
- Move up to three strings (G, B, and E), then four, and finally five.
- Gradually working your way up allows your hand to adapt to the flat shape without overwhelming your muscles.
Exercise 2: The "Release and Squeeze" Exercise
This exercise trains your muscles to use only the minimum amount of force required to fret a chord.
- Form an F major barre chord at the first fret.
- Touch the strings with your fingers, but do not press them down to the fretboard.
- Strum the strings; they should sound completely muted and percussive.
- Slowly apply pressure until the notes just begin to ring out clearly.
- Note how little pressure is actually required. Release the pressure back to the muted state. Repeat this cycle five times.
Exercise 3: Fretboard Sliding
Building muscle memory is easier when you practice on parts of the neck where the frets are closer together and the string tension is lower.
- Form a barre chord shape at the seventh fret (where the frets are narrower and easier to reach).
- Slide the shape down to the sixth fret, then the fifth, all the way down to the first fret.
- Focus on maintaining a relaxed hand posture during the slides, releasing pressure slightly as you move between frets.
When to Use a Capo Instead of Barre Chords
While barre chords are an essential tool, they are not always the best choice for every musical situation. Playing song after song filled with heavy barre chords can tire out even professional guitarists during a long performance.
This is where a capo becomes incredibly valuable. A capo acts as a mechanical barre, clamping down the strings at a specific fret so you can use comfortable, open guitar chord shapes further up the neck.
For example, if a song is written in the key of G# minor, playing it with standard barre chords requires constant hand effort. By using the Guitar Capo Calculator on Chords.me, you can instantly find out which fret to place your capo on so you can play the exact same song using simple, open Em or Am shapes.
This tool is perfect for beginners who want to perform complex songs immediately without waiting months to develop advanced hand endurance. It allows you to focus on your rhythm, strumming, and vocals while keeping your hands completely free of pain.
Transitioning Between Open Chords and Barre Chords
Complete test of your barre chord technique is how smoothly you can transition into and out of them during a chord progression. If your song stops completely while you slowly position your fingers, you lose the groove.
To improve your transitions, look for "anchor fingers." These are fingers that stay on the same string or in the same relative position when moving from one chord to another.
For example, when transitioning from an open C Major chord to an F Major barre chord, your ring finger only needs to move across one string, from the fifth string to the fourth string. Keeping this finger close to the fretboard helps guide the rest of your hand into the new shape.
Open C Major Chord:
E|---0---|
B|---1---|
G|---0---|
D|---2---|
A|---3---| <-- Anchor finger (Ring)
E|---x---|

F Major Barre Chord:
E|---1---|
B|---1---|
G|---2---|
D|---3---| <-- Ring finger shifts here
A|---3---|
E|---1---|
Additionally, practice visualizing the next chord shape before your hand actually moves. As you play the final beat of an open chord, release your grip slightly early and shape your fingers into the barre position while your hand is in mid-air.
Landing the entire shape on the fretboard at the exact same moment is far more efficient than placing your fingers down one by one.
With consistent, mindful practice, your hand will adapt to the unique mechanics of the guitar fretboard. By prioritizing leverage over raw power, maintaining a straight wrist, and using tools like capos when necessary, you can enjoy a lifetime of playing your favorite songs completely free of hand pain.
Related Chords.me Guides
For the next step, read Major vs Minor Keys: Guitar Guide, Blues Scale Guitar Guide: Beginner Practice Guide, and Major Scale Guitar Guide: Beginner Practice Guide before moving on. You can also test the same idea in another key and keep practice timing steady with the tap tempo tool while practicing this lesson.
Practice This With Chords.me
Use the Chord Transposer to test the idea in another key, then practice the same example slowly. Focus on clean notes and steady timing before increasing speed.
Frequently Asked Questions
What is Barre Chords Without Hand Pain?
Barre Chords Without Hand Pain is a guitar-learning topic that helps players build a clearer connection between technique, sound, and practice. For beginners, the most useful approach is to learn the basic idea first, then apply it slowly on a tuned guitar.
Is barre chords without hand pain hard for beginners?
It can feel difficult at first, but it becomes manageable when you break it into small steps. Focus on clean notes, relaxed hands, and short practice sessions instead of trying to master everything in one day.
What should I practice first for barre chords without hand pain?
Start with the simplest version of the idea: one chord, one pattern, one short exercise, or one small section of the fretboard. Once that feels stable, add timing, transitions, or a second example.
What common mistakes should I avoid?
Avoid rushing, pressing harder than necessary, ignoring tuning, and practicing mistakes at full speed. Slow, accurate repetitions usually fix beginner problems faster than long unfocused practice sessions.
Which Chords.me tool helps with this topic?
The Guitar Tuner is the best supporting tool here because it helps with checking pitch, tuning stability, and practice accuracy. Use it before or during practice so the article’s examples translate into real playing more easily.
About the Contributor
Chords.me Tuning & Setup Desk Tuning, strings, and setup contributor
A brand contributor profile for Chords.me tuning and setup content. This desk focuses on tuning accuracy, string choice, fret buzz, intonation, action, and maintenance topics for everyday players. Content is checked for practical clarity, beginner readability, and accurate links to relevant Chords.me tools.