B Minor Chord Guitar Guide: Learn the Bm Chord Step-by-Step
B Minor Chord Guitar Guide: Learn the Bm Chord Step-by-Step: clear guitar guide with practical examples, common mistakes, and Chords.me practice tools.
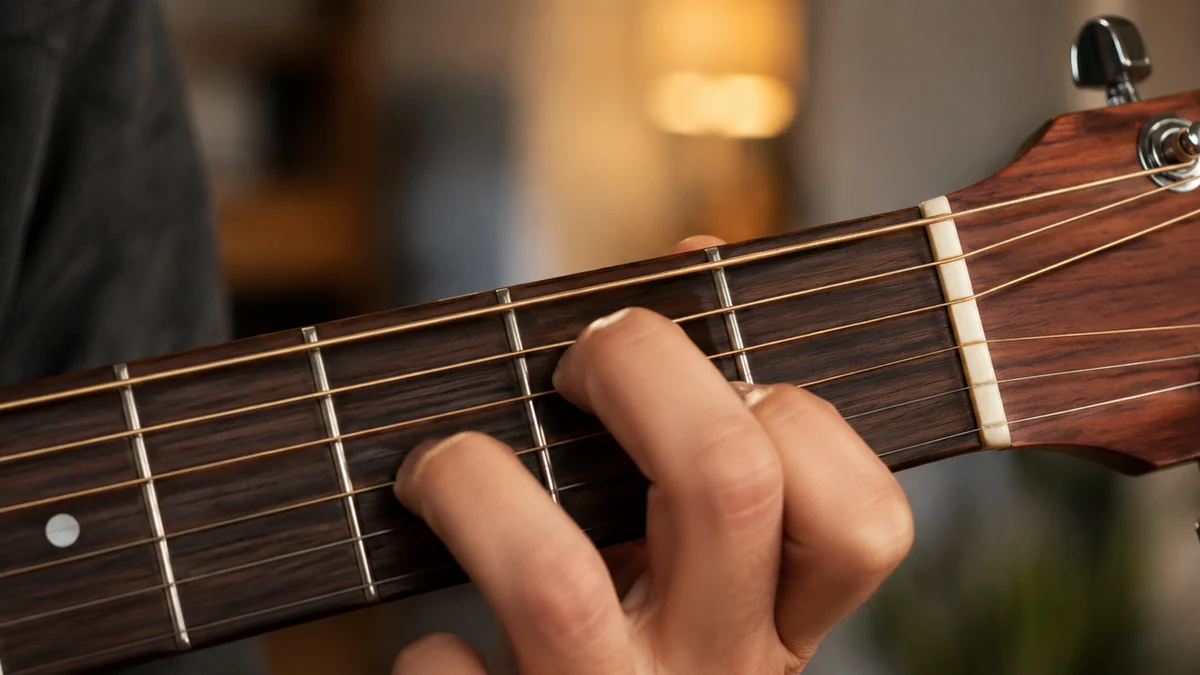
Every guitarist remembers the exact moment they first encountered the B minor chord. You have spent weeks mastering fundamental open chords like G major, C major, D major, and E minor. Your fingers are starting to develop calluses, your transitions are getting smoother, and you feel ready to tackle your favorite songs. Then, you open a chord sheet and see it: Bm. You try to press your index finger across five strings at once, only to hear a dull, thudding click.
This experience is incredibly common. The B minor chord is the traditional gatekeeper of intermediate guitar playing. It is often a beginner's very first introduction to barre chords, representing a significant step up in physical difficulty. However, mastering this chord opens up thousands of songs in popular keys like D major and G major.
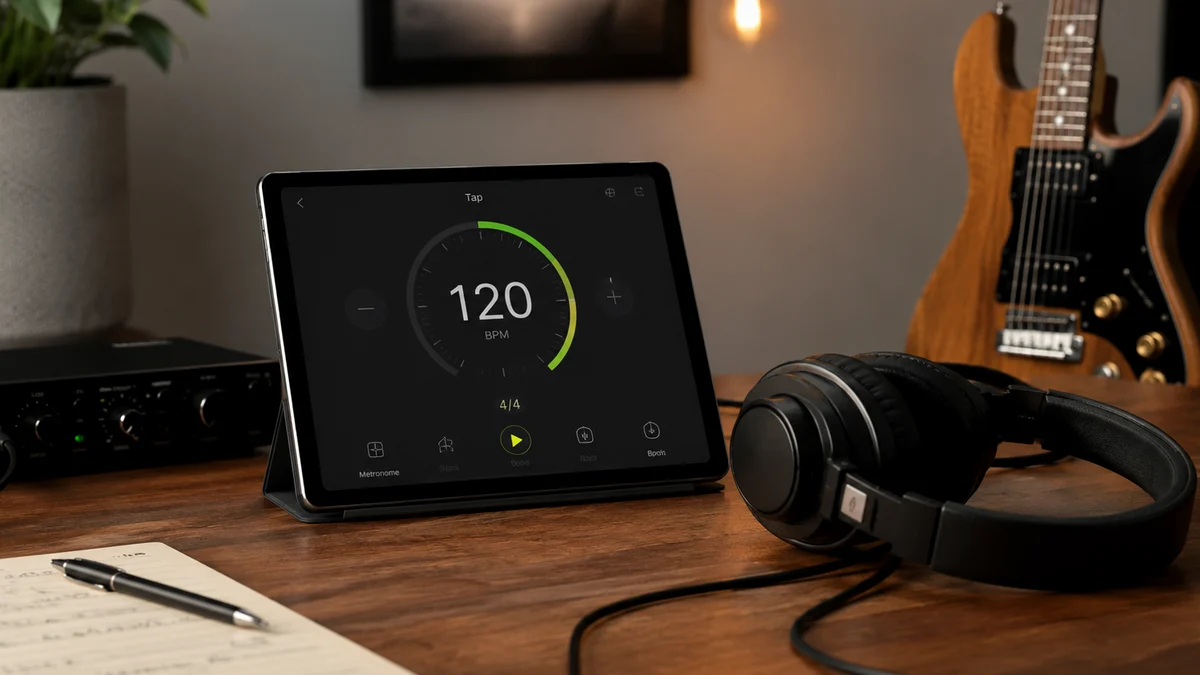
This guide is made to demystify the B minor chord. We will break down the physical mechanics of the chord, explore multiple beginner-friendly variations, identify common mistakes, and look at how to use practical tools to make playing this chord much easier.
What is the B Minor Chord on Guitar
Before placing your fingers on the guitar fretboard, it helps to understand what you are playing from a musical perspective. Understanding the structure of the chord makes it easier to memorize and apply in different contexts.
Definition: The B minor chord (abbreviated as Bm) is a three-note minor triad consisting of the root note B, the minor third D, and the perfect fifth F#. On the guitar, these three notes are often repeated across different octaves to create a fuller sound. The most common standard shape is played as a five-string barre chord starting on the second fret of the A (fifth) string.
In music theory, a minor chord is defined by its minor third interval. While a B major chord uses the notes B, D#, and F#, lowering that middle note by a single half-step (one fret) to D natural transforms the chord from bright and happy to melancholic, dark, and introspective. This tiny structural change is what gives the B minor chord its distinct emotional character.
On a standard tuned guitar (E-A-D-G-B-E), the notes of the standard five-string B minor barre chord are arranged from the fifth string to the first string as follows:
- 5th String (A): 2nd fret = B (Root note)
- 4th String (D): 4th fret = F# (Perfect fifth)
- 3rd String (G): 4th fret = B (Octave root)
- 2nd String (B): 3rd fret = D (Minor third)
- 1st String (E): 2nd fret = F# (Octave fifth)
The sixth string (low E) is not played in this standard shape, as the lowest note must be the root note, B, located on the fifth string.
Is the B Minor Chord Good for Beginners?
When beginners ask if the B minor chord is suitable for them, the honest answer is both yes and no.
If you attempt to play the full, five-string barre chord on your first day of playing guitar, you will likely find it incredibly frustrating. The physical strength, finger flexibility, and calluses required to clean-press five strings simultaneously with one finger take time to develop. The high string tension near the guitar nut (the plastic or bone piece at the top of the neck) makes fretting at the second fret particularly difficult for undeveloped hands.
However, the B minor chord is absolutely essential for beginners to learn because it serves as the bridge between basic open chords and advanced fretboard navigation. Fortunately, you do not have to start with the full barre chord.
There are several highly accessible, simplified versions of the B minor chord that do not require barring. These modified shapes allow you to play your favorite songs immediately while gradually building the hand strength and finger independence needed for the full version. Learning these variations step-by-step is the most effective way to avoid injury and stay motivated.
How to Learn B Minor Chord Guitar Step by Step
To build your confidence and strength, we will look at four different ways to play the B minor chord. We will start with the easiest three-string version and work our way up to the standard five-string barre chord and an alternative six-string version.
Shape 1: The 3-String Triad (The Easiest Entry Point)
If you are a complete beginner and want to play a song containing a B minor chord right now, this is the shape to use. It requires only three fingers, uses no barre, and focuses entirely on the highest three strings of the guitar.
Step-by-Step Instructions:
- Place your index finger on the 2nd fret of the 1st (high E) string. This note is F#.
- Place your middle finger on the 3rd fret of the 2nd (B) string. This note is D.
- Place your ring finger on the 4th fret of the 3rd (G) string. This note is B.
- Strum only the top three strings (G, B, and E).
To make this shape sound clean, you must completely avoid striking the 4th, 5th, and 6th strings. Because those lower strings are open, striking them will introduce notes that clash horribly with your B minor triad. This shape is excellent for developing the precise finger tip pressure needed for more complex shapes.
Shape 2: The 4-String Beginner-Friendly Bm Chord (No Barre)
This is the most popular alternative for beginner guitar chords. It sounds much fuller than the three-string triad because it adds a lower octave note, yet it still completely bypasses the need to lay your index finger flat across the fretboard.
Step-by-Step Instructions:
- Place your index finger on the 2nd fret of the 1st (high E) string.
- Place your middle finger on the 3rd fret of the 2nd (B) string.
- Place your pinky finger on the 4th fret of the 3rd (G) string.
- Place your ring finger on the 4th fret of the 4th (D) string.
- Strum from the 4th string down to the 1st string. Do not play the 5th or 6th strings.
This shape can feel a bit crowded for your fingers at first, particularly getting both your ring and pinky fingers onto the fourth fret of adjacent strings.
Pro Tip for Muting: To keep this shape sounding clean, let the tip of your ring finger gently brush against the side of the 5th (A) string. This will naturally mute the A string, meaning that even if your pick accidentally hits it, it will only produce a quiet, percussive click rather than an out-of-tune drone.
Shape 3: The Standard 5-String Barre Chord
Once your fingers are comfortable with the four-string shape and your hand strength has improved, you are ready to tackle the standard B minor barre chord. This is the shape you will see in most chord books and chord diagrams.
Step-by-Step Instructions:
- Lay your index finger flat across the 2nd fret, covering strings 1 through 5. Your finger acts like a mechanical capo at the second fret. Do not cover the 6th string.
- Place your middle finger on the 3rd fret of the 2nd (B) string.
- Place your ring finger on the 4th fret of the 4th (D) string.
- Place your pinky finger on the 4th fret of the 3rd (G) string.
- Strum the five highest strings, starting from the 5th (A) string down to the 1st.
The practical way to a Clean Barre:
Do not try to press straight down with the soft, fleshy front part of your index finger. Instead, rotate your index finger slightly to the side (toward the headstock) so you are pressing down with the harder, bonier edge of the finger.
Additionally, do not rely solely on squeezing your thumb and index finger together like a clamp. This will quickly exhaust your hand muscles. Instead, pull your fretting-hand elbow back slightly, using the weight of your arm and shoulder to help pull your index finger flat against the fretboard.
Shape 4: The 6-String Barre Chord (7th Fret)
Many guitarists forget that you can play the B minor chord higher up the guitar fretboard. If you are struggling with the high string tension near the nut, playing a barre chord at the 7th fret can actually be physically easier because the frets are closer together and the strings have more give.
Step-by-Step Instructions:
- Lay your index finger flat across all six strings at the 7th fret. Your index finger is barring the 7th fret, where the root note B sits on the 6th string.
- Place your ring finger on the 9th fret of the 5th (A) string.
- Place your pinky finger on the 9th fret of the 4th (D) string.
- Leave your middle finger resting on top of your index finger for extra clamping pressure, or keep it hovering.
- Strum all six strings.
This shape uses the exact same finger configuration as an open E minor chord, just shifted up so that your index finger bar rests on the 7th fret. It provides a very deep, bass-rich B minor sound that works beautifully in rock and acoustic rhythm playing.
Summary of B Minor Chord Shapes
To help you compare these shapes and choose the best one for your current skill level, refer to the table below:
| Chord Shape | Finger Position | Common Problem | Easier Option |
|---|---|---|---|
| 3-String Triad | Index: 1st string (2nd fret)<br>Middle: 2nd string (3rd fret)<br>Ring: 3rd string (4th fret) | Accidentally striking open lower strings. | Focus on small, controlled strumming motions. |
| 4-String No-Barre | Index: 1st string (2nd fret)<br>Middle: 2nd string (3rd fret)<br>Ring: 4th string (4th fret)<br>Pinky: 3rd string (4th fret) | Ring finger blocking the open sound of adjacent strings. | Arch your fingers high to clear adjacent strings. |
| 5-String Barre | Index: Barre 1st-5th strings (2nd fret)<br>Middle: 2nd string (3rd fret)<br>Ring: 4th string (4th fret)<br>Pinky: 3rd string (4th fret) | Hand fatigue; buzzing on the 2nd or 3rd strings. | Use the bony side of your index finger; pull back with your arm. |
| 6-String Barre | Index: Barre all strings (7th fret)<br>Ring: 5th string (9th fret)<br>Pinky: 4th string (9th fret) | Muted middle strings due to insufficient barre pressure. | Rest your middle finger on top of your index finger for support. |
B Minor Chord Guitar Mistakes Beginners Make
When learning how to play the B minor chord, almost every guitarist encounters the same mechanical hurdles. Recognizing these mistakes early will save you hours of frustrated practice.
1. Placing the Thumb Too High on the Neck
When playing open chords like G or D, it is common to wrap your thumb over the top of the neck. While this is fine for those chords, it is disastrous for the B minor chord. Wrapping your thumb over the top restricts your finger reach and prevents your hand from arching properly.
To play the B minor chord cleanly, slide your thumb down to the middle of the back of the neck, roughly opposite your middle finger. This pushes your wrist forward, giving your fingers the vertical clearance they need to press the strings without muting adjacent ones.
2. Squeezing with Pure Thumb Force
Many beginners try to squeeze the neck as hard as possible between their thumb and index finger to make the barre sound clear. This leads to rapid hand cramping and can even cause repetitive strain injuries.
Instead, think of your fretting arm as a lever. Use your shoulder and upper back muscles to gently pull your hand back against the fretboard, using your chest and the body of the guitar (stabilized by your picking arm) as a counterweight. Your thumb should act primarily as a guide and stabilizer, not a clamp.
3. Letting the Index Finger Sit on the Fretwire
If your index finger is placed directly on top of the metal fretwire, the notes will sound muffled and dead. Conversely, if your finger is too far behind the fretwire (closer to the headstock), the strings will buzz unless you apply strong pressure.
The sweet spot for your barre is just a millimeter behind the fretwire. This positioning requires the absolute minimum amount of downward pressure to produce a crystal-clear note.
4. Allowing the Knuckle Creases to Align with the Strings
The human finger has natural creases at the knuckles. When you lay your index finger flat across the fretboard, these soft creases can align perfectly with one or two strings. When this happens, those strings sink into the creases and do not get pressed down firmly, resulting in a muted or buzzing sound (most commonly on the 3rd or 2nd string).
To fix this, try shifting your index finger slightly upward or downward vertically. Even a tiny adjustment of a few millimeters can move the knuckle creases away from the strings, ensuring that a firm, bony part of your finger is doing the pressing.
How to Use the B Minor Chord in Practical Progressions
Once you can play at least one version of the B minor chord, the next step is integrating it into actual chord progressions. The B minor chord is most commonly found in the keys of D major and G major.
Progression 1: The Classic Pop/Rock Progression (Key of D Major)
This is one of the most common chord progressions in modern music. It has a driving, emotional quality.
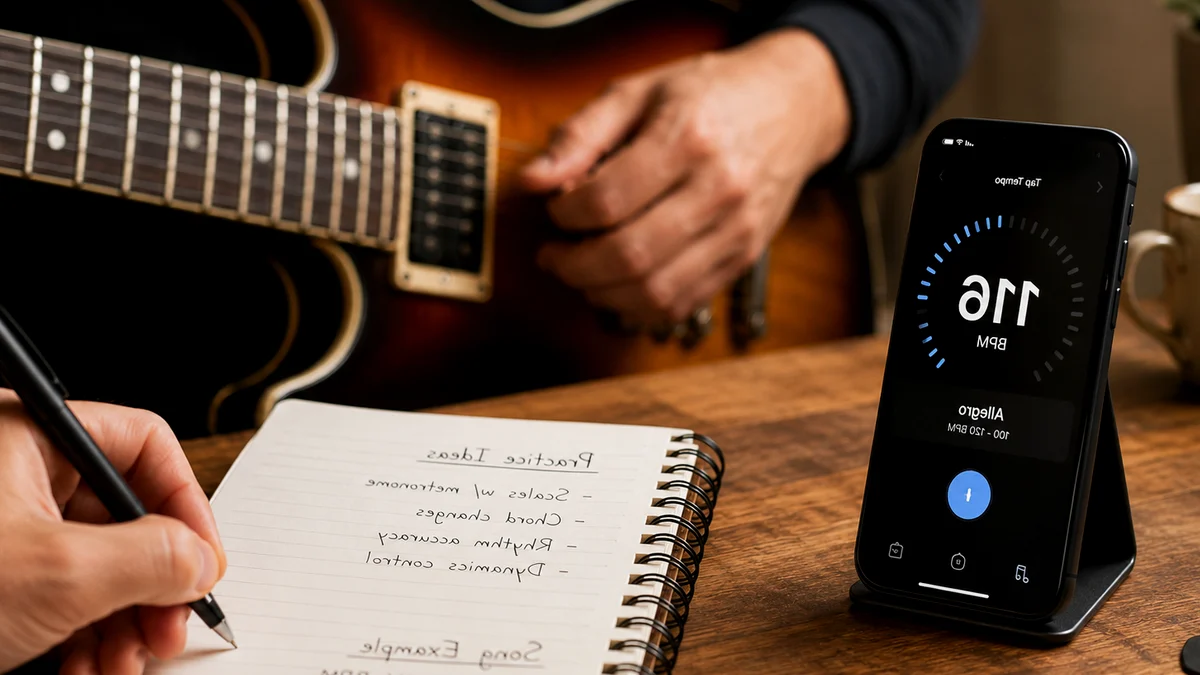
- How to practice this: Start by using the 4-string beginner version of B minor. Strum each chord four times before moving to the next. Focus on keeping a steady tempo, even if you have to play very slowly.
Progression 2: The Emotional Minor Progression (Key of B Minor)
This progression leans into the dark, melancholic quality of the B minor chord by starting directly on it.
- How to practice this: Notice how the transition from B minor to G major feels. If you are playing the 5-string barre chord, you can transition to a standard open G major chord by releasing the barre and shifting your fingers upward.
Complete Transition Tip: The Pivot Finger
One of the hardest parts of playing the B minor chord is getting into it quickly from another chord. If you are transitioning from a standard D Major chord to the 4-string B minor chord, pay close attention to your middle finger.
Use this as a practical starting point for B Minor Chord Guitar Guide. Before you move on, play a few familiar chords and check that the guitar sounds stable across all six strings.
Related Chords.me Guides
For the next step, read Major vs Minor Keys: Guitar Guide, Beginner Guitar Lessons Roadmap: Your Step-by-Step Path to Playing Songs, and Chromatic Tuner Guitar Guide: How to Tune Accurately as a Beginner before moving on. You can also test the same idea in another key and check each string with the guitar tuner while practicing this lesson.
Practice This With Chords.me
Use the Chord Transposer to test the idea in another key, then practice the same example slowly. Focus on clean notes and steady timing before increasing speed.
Frequently Asked Questions
What is B Minor Chord Guitar?
B Minor Chord Guitar is a guitar-learning topic that helps players build a clearer connection between technique, sound, and practice. For beginners, the most useful approach is to learn the basic idea first, then apply it slowly on a tuned guitar.
Is b minor chord guitar hard for beginners?
It can feel difficult at first, but it becomes manageable when you break it into small steps. Focus on clean notes, relaxed hands, and short practice sessions instead of trying to master everything in one day.
What should I practice first for b minor chord guitar?
Start with the simplest version of the idea: one chord, one pattern, one short exercise, or one small section of the fretboard. Once that feels stable, add timing, transitions, or a second example.
What common mistakes should I avoid?
Avoid rushing, pressing harder than necessary, ignoring tuning, and practicing mistakes at full speed. Slow, accurate repetitions usually fix beginner problems faster than long unfocused practice sessions.
Which Chords.me tool helps with this topic?
The Guitar Tuner is the best supporting tool here because it helps with checking pitch, tuning stability, and practice accuracy. Use it before or during practice so the article’s examples translate into real playing more easily.
About the Contributor
Chords.me Tuning & Setup Desk Tuning, strings, and setup contributor
A brand contributor profile for Chords.me tuning and setup content. This desk focuses on tuning accuracy, string choice, fret buzz, intonation, action, and maintenance topics for everyday players. Content is checked for practical clarity, beginner readability, and accurate links to relevant Chords.me tools.