Guitar Chords for Beginners: Practical Reference Guide
Learn essential beginner guitar chords, how to read chord names, and how to practice clean changes.

Learning to play the guitar is one of the most rewarding musical journeys you can undertake. The early stages, however, can feel physically demanding and mentally overwhelming. Your fingertips might feel tender, your fingers may refuse to stretch where you want them to, and the strings might buzz instead of ring. This is a completely normal part of the process that every guitarist has experienced.
The key to overcoming these early hurdles is focusing on the fundamental shapes that yield the greatest musical results with the least amount of physical strain. By mastering a handful of essential open chords, you helps you learn the ability to play thousands of popular songs across every genre. This guide serves as a practical, hands-on reference to help you build clean, buzz-free chords from day one.
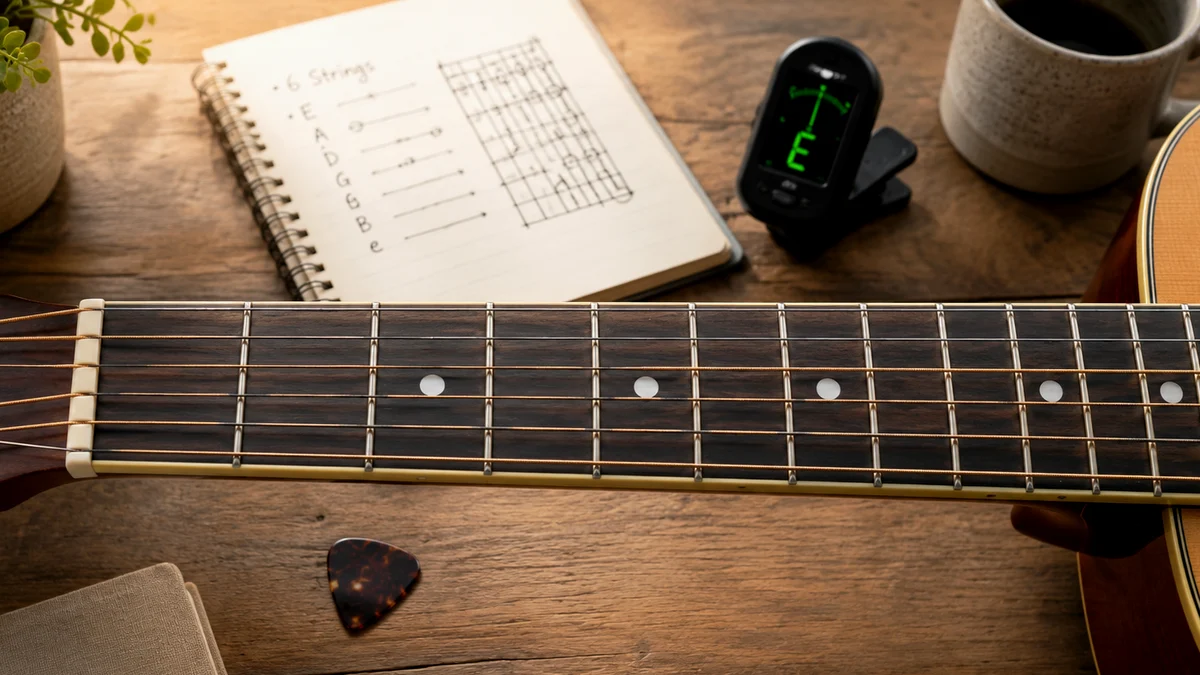
What is Guitar Chords for Beginners?
Guitar chords for beginners are a specific set of open-position chord shapes that require minimal finger stretching and utilize unfretted strings (open strings) to create a full, resonant sound. These shapes serve as the building blocks of guitar playing, allowing new players to accompany vocalists, play simple songs, and develop the finger strength and calluses necessary for more advanced techniques.
How to Use Guitar Chords for Beginners Correctly
- Locate the Root Note: Identify the primary note that gives the chord its name, which is typically the lowest-pitched note played in the shape.
- Position Your Fingers: Place your fingertips close to the metal fret wires, using the very tips of your fingers rather than the flat pads.
- Mute Unused Strings: Use the sides of your fingers or your thumb to gently touch strings marked with an "X" on chord diagrams to prevent them from ringing.
- Strum and Troubleshoot: Strum each string individually to listen for dead notes or buzzing, adjusting your finger arch until every note rings clearly.
Understanding the Basics of Guitar Chords
Before pressing your fingers into the fretboard, it is helpful to understand what a chord actually is and how it is represented on paper. A chord is simply a combination of three or more different notes played simultaneously. When these notes harmonize, they create a specific emotional quality—such as the bright, happy sound of a major chord or the dark, melancholy sound of a minor chord.
If you are wondering, is guitar chords for beginners good for beginners to start with, the answer is an absolute yes. Trying to learn complex jazz chords or barre chords on day one leads to frustration and physical fatigue. Open chords are made to maximize the natural resonance of the instrument by letting unpressed strings vibrate freely. This gives you a big, satisfying sound with relatively little physical effort.
Reading Chord Diagrams
To learn these shapes, you must understand how to read a chord diagram. Think of a chord diagram as a visual map of your guitar's fretboard when the instrument is standing vertically in front of you.
- Vertical Lines: These represent the six strings of the guitar, running from the low E string (6th string, on the far left) to the high E string (1st string, on the far right).
- Horizontal Lines: These represent the metal frets on the neck. The thick line at the very top represents the nut, which is the plastic or bone piece the strings pass through before reaching the tuning pegs.
- Black Circles: These show you exactly where to place your fingers. The numbers inside or next to these circles indicate which finger to use.
- X and O Symbols: An "X" at the top of a string means you should not play or strum that string. An "O" means the string is played "open," meaning you strum it without pressing down any frets.
Fretboard Geography
To communicate effectively with other musicians, you need to know how your fingers and the guitar strings are numbered.
Your fretting hand fingers are numbered as follows:
- 1: Index finger
- 2: Middle finger
- 3: Ring finger
- 4: Pinky finger
The strings are numbered from thin to thick (1 to 6):
- 1st String: High E (the thinnest string, closest to the floor)
- 2nd String: B
- 3rd String: G
- 4th String: D
- 5th String: A
- 6th String: Low E (the thickest string, closest to the ceiling)
A common mnemonic to remember the open string names from the 6th string to the 1st string is: Even Angry Dogs Growl Before Ending.
How to Learn Guitar Chords for Beginners Step by Step
Learning to play chords cleanly requires a systematic approach. If you simply press your hand onto the neck and squeeze as hard as you can, you will experience hand pain and muffled notes. Follow this step-by-step method to develop clean chord transitions and proper hand mechanics.
Step 1: Establish Proper Thumb Placement
Your thumb is the anchor for your fretting hand. For most beginner shapes, your thumb should rest flat against the back of the guitar neck, roughly opposite your middle finger. Avoid wrapping your thumb tightly over the top of the neck like a baseball bat, as this flattens your fingers and causes them to accidentally mute adjacent strings. Keep a small pocket of air between the palm of your hand and the bottom of the neck.
Step 2: Arch Your Fingers
To prevent your fingers from leaning against neighboring strings, you must arch them at every joint. Imagine you are holding a small, delicate glass marble in the palm of your fretting hand while you play. This force-corrects your hand shape, ensuring that only the very tips of your fingers make contact with the strings.
Step 3: Play Behind the Fret Wire
When placing a finger on a fret, aim for the sweet spot: just behind the metal fret wire (closer to the tuning pegs, but not directly on top of the wire). If you press too far back in the fret space, the string will buzz. If you press directly on top of the metal wire, the note will sound deadened.
Step 4: The Arpeggio Test
Once you have placed your fingers for a chord, do not just strum across all the strings at once. Instead, pluck each string one by one from the lowest to the highest. This is called an arpeggio test. If a string sounds dull, muffled, or buzzy, stop and identify which finger is causing the issue. Adjust that specific finger, then test the strings again until every single note rings out clearly.

The Essential Beginner Guitar Chords
For chord practice, connect this idea with C Major Chord Guitar Guide and Chord Inversions Guitar Explained so the shapes, notation, and song examples stay connected.
Now let us look at the core shapes you need to learn. These eight shapes are the foundation of modern music. Take your time with each one, focusing on clarity of tone before worrying about speed.
1. E Minor (Em)
The E Minor chord is widely considered the easiest chord to learn on the guitar because it only requires two fingers and allows you to strum all six strings. It has a dark, somber, and spacious sound.
- Finger Placement: Place your 2nd (middle) finger on the 2nd fret of the 5th (A) string. Place your 3rd (ring) finger on the 2nd fret of the 4th (D) string.
- Which Strings to Strum: Strum all six strings, from the low E to the high E.
- Root Note: The open 6th string (Low E) is the root note.
- Common Pitfall: Letting your 3rd finger sag down and touch the open 3rd (G) string, which will cause a dull buzz. Keep that ring finger highly arched.
2. A Minor (Am)
The A Minor chord has a melancholic, reflective quality. Its shape is identical to the E Major chord, but shifted down by one string toward the floor.
- Finger Placement: Place your 2nd (middle) finger on the 2nd fret of the 4th (D) string. Place your 3rd (ring) finger on the 2nd fret of the 3rd (G) string. Place your 1st (index) finger on the 1st fret of the 2nd (B) string.
- Which Strings to Strum: Strum five strings, starting from the open 5th (A) string. Do not play the low E string.
- Root Note: The open 5th string (A) is the root note.
- Common Pitfall: Accidentally striking the low E string during your downstrum. Practice starting your strumming motion precisely on the A string.
3. C Major (C)
The C Major chord is bright and cheerful, but it presents the first major physical challenge for beginners because of the diagonal stretch required across three different frets.
- Finger Placement: Place your 3rd (ring) finger on the 3rd fret of the 5th (A) string. Place your 2nd (middle) finger on the 2nd fret of the 4th (D) string. Place your 1st (index) finger on the 1st fret of the 2nd (B) string.
- Which Strings to Strum: Strum five strings, starting from the 5th (A) string. Avoid the low E string.
- Root Note: The 3rd fret of the 5th string (C) is the root note.
- Common Pitfall: The underside of your 3rd finger will often rest against the open 4th (D) string, muting it. You must stretch your hand forward slightly to get your fingers completely vertical.
4. G Major (G)
G Major is one of the most common chords in acoustic music. It has a full, resonant sound that uses all six strings. There are several ways to play G Major, but the three-finger version is the best starting point.
- Finger Placement: Place your 2nd (middle) finger on the 3rd fret of the 6th (Low E) string. Place your 1st (index) finger on the 2nd fret of the 5th (A) string. Place your 3rd (ring) finger on the 3rd fret of the 1st (High E) string.
- Which Strings to Strum: Strum all six strings.
- Root Note: The 3rd fret of the 6th string (G) is the root note.
- Common Pitfall: The 1st finger muting the open 4th (D) string. Ensure your index finger is arched high and not collapsing flat onto the fretboard.
5. D Major (D)
D Major is a bright, triumphant chord that forms a small triangle shape on the highest three strings of the guitar. Because it only uses four strings, it requires precise strumming.
- Finger Placement: Place your 1st (index) finger on the 2nd fret of the 3rd (G) string. Place your 3rd (ring) finger on the 3rd fret of the 2nd (B) string. Place your 2nd (middle) finger on the 2nd fret of the 1st (High E) string.
- Which Strings to Strum: Strum only the top four strings, starting from the open 4th (D) string.
- Root Note: The open 4th string (D) is the root note.
- Common Pitfall: Allowing the thumb to hang too low behind the neck. For the D chord, bringing your thumb slightly higher up the back of the neck can make the finger placement feel much more natural.
6. E Major (E)
The E Major chord is powerful, driving, and a staple of rock and blues music. It uses the exact same finger shape as A Minor, but every finger is shifted up one string toward the ceiling.
- Finger Placement: Place your 2nd (middle) finger on the 2nd fret of the 5th (A) string. Place your 3rd (ring) finger on the 2nd fret of the 4th (D) string. Place your 1st (index) finger on the 1st fret of the 3rd (G) string.
- Which Strings to Strum: Strum all six strings.
- Root Note: The open 6th string (Low E) is the root note.
- Common Pitfall: Buzzing on the 3rd string if the 1st finger is not pressed firmly enough. Since the index finger is closest to the nut, it requires a bit more direct pressure to ring clearly.
7. A Major (A)
A Major requires you to squeeze three fingers into the exact same fret (the 2nd fret) across three adjacent strings. This can feel incredibly crowded if you have wider fingers.
- Finger Placement: Place your 1st (index) finger on the 2nd fret of the 4th (D) string. Place your 2nd (middle) finger on the 2nd fret of the 3rd (G) string. Place your 3rd (ring) finger on the 2nd fret of the 2nd (B) string.
- Which Strings to Strum: Strum five strings, starting from the open 5th (A) string.
- Root Note: The open 5th string (A) is the root note.
- Common Pitfall: The ring finger drifting too far back from the 2nd fret wire, causing the B string to buzz. To fix this, you can try angling your fingers slightly diagonally across the fret rather than keeping them perfectly straight.
8. F Major (Simplified)
The full F Major chord is a barre chord, which requires your index finger to press down all six strings at once. This is notoriously difficult for beginners. Instead, use this simplified four-string version, which acts as a bridge to the full barre shape.
- Finger Placement: Place your 3rd (ring) finger on the 3rd fret of the 4th (D) string. Place your 2nd (middle) finger on the 2nd fret of the 3rd (G) string. Place your 1st (index) finger on the 1st fret of both the 2nd (B) and 1st (High E) strings simultaneously (a mini-barre).
- Which Strings to Strum: Strum the bottom four strings, starting from the D string.
- Root Note: The 3rd fret of the 4th string (F) is the root note.
- Common Pitfall: The index finger failing to flatten enough to press down both the B and High E strings cleanly. Focus on using the side of your index finger rather than the soft, fleshy front pad.
Practical Reference Table for Beginner Chords
This reference table outlines the physical coordinates, common issues, and alternative options for each of the core beginner shapes.
| Chord Shape | Finger Positions (Fret / String) | Common Problem | Easier Option |
|---|---|---|---|
| E Minor (Em) | Finger 2 on Fret 2 of String 5<br>Finger 3 on Fret 2 of String 4 | Ring finger muting the open G string. |
Related Chords.me Guides
For the next step, read Major vs Minor Keys: Guitar Guide, Blues Scale Guitar Guide: Beginner Practice Guide, and Major Scale Guitar Guide: Beginner Practice Guide before moving on. You can also test the same idea in another key and keep practice timing steady with the tap tempo tool while practicing this lesson.
Practice This With Chords.me
Use the Chord Transposer to test the idea in another key, then practice the same example slowly. Focus on clean notes and steady timing before increasing speed.
Frequently Asked Questions
What is Guitar Chords?
Guitar Chords is a guitar-learning topic that helps players build a clearer connection between technique, sound, and practice. For beginners, the most useful approach is to learn the basic idea first, then apply it slowly on a tuned guitar.
Is guitar chords hard for beginners?
It can feel difficult at first, but it becomes manageable when you break it into small steps. Focus on clean notes, relaxed hands, and short practice sessions instead of trying to master everything in one day.
What should I practice first for guitar chords?
Start with the simplest version of the idea: one chord, one pattern, one short exercise, or one small section of the fretboard. Once that feels stable, add timing, transitions, or a second example.
What common mistakes should I avoid?
Avoid rushing, pressing harder than necessary, ignoring tuning, and practicing mistakes at full speed. Slow, accurate repetitions usually fix beginner problems faster than long unfocused practice sessions.
Which Chords.me tool helps with this topic?
The Guitar Tuner is the best supporting tool here because it helps with checking pitch, tuning stability, and practice accuracy. Use it before or during practice so the article’s examples translate into real playing more easily.
About the Contributor
Chords.me Tuning & Setup Desk Tuning, strings, and setup contributor
A brand contributor profile for Chords.me tuning and setup content. This desk focuses on tuning accuracy, string choice, fret buzz, intonation, action, and maintenance topics for everyday players. Content is checked for practical clarity, beginner readability, and accurate links to relevant Chords.me tools.