F Chord Guitar Made Easier
Learn easier ways to practice the F chord, reduce buzzing, and build toward a cleaner barre chord shape.
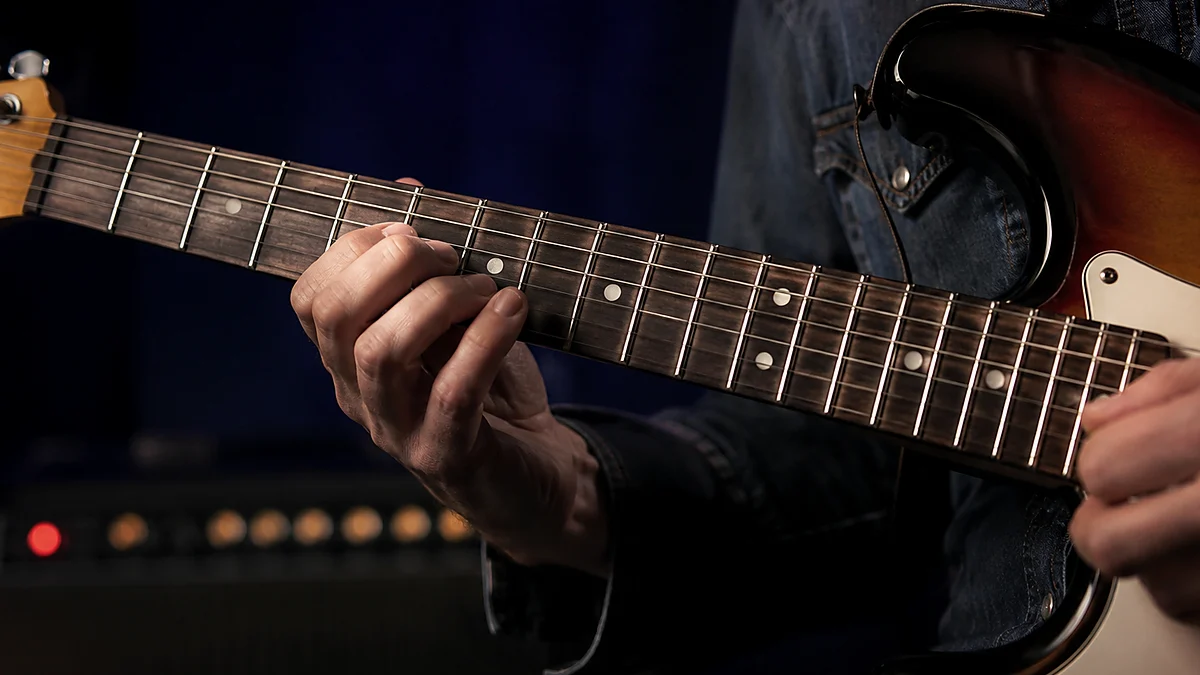
Every guitar player remembers the first time they tried to play an F chord. It is a defining moment in a musician's learning process. You press your fingers down, strike the strings, and instead of a beautiful, ringing chord, you get a collection of dull, thudding clicks and buzzes. This is the exact moment many aspiring guitarists consider putting the instrument down, assuming their hands are too small, their fingers are too weak, or they simply do not have the natural talent to play.
The truth is, your hands are completely fine. The F chord is simply the first shape you encounter that demands precise physical leverage rather than raw force. By learning how to approach this chord systematically, you can bypass the physical frustration and start playing your favorite songs. This guide will show you how to make the F chord guitar made easier using practical shapes, positioning adjustments, and smart online tools.

Why is the F Chord the "Great Gatekeeper" of Guitar?
To understand why the F chord presents such a monumental challenge, we have to look at the physics of the guitar itself. When you play open chords like G major, C major, or E minor, you are utilizing the guitar's nut. The nut is the slotted piece of plastic, bone, or synthetic material at the top of the fretboard that holds the strings in place. Open strings ring out freely without requiring any finger pressure.
When you transition to the F major chord, everything changes. In its standard form, the F chord is a barre chord. This means your index finger must act as a "movable nut," pressing down multiple strings simultaneously across a single fret.
There are two primary reasons why this is exceptionally difficult for beginners:
- The Physics of the First Fret: The first fret is located directly adjacent to the nut. Because the strings are anchored tightly at the nut, the physical tension of the strings is at its absolute highest at the first fret. Pressing the strings down here requires significantly more downward force than pressing them down at the fifth, seventh, or twelfth frets.
- Asymmetrical Muscle Demands: Playing a barre chord requires your index finger to remain completely straight and flat, while your middle, ring, and pinky fingers must curve gracefully to frets further down the neck. Your brain and hand muscles are not naturally wired to perform these two opposing actions at the same time. It requires a level of finger independence that only comes with targeted practice.
Rather than trying to force your hand to do something it isn't ready for, the practical detail to mastering the F chord is progression. By starting with simplified versions of the chord, you can build the necessary muscle memory, hand strength, and dexterity without the frustration of muted strings.
Anatomy of the F Major Chord
Before we look at the physical shapes, let's look at what actually makes up an F major chord. In music theory, a major chord is a triad, meaning it is built from three notes: the root, the major third, and the perfect fifth.
For the F major chord, these notes are:
- Root: F
- Major Third: A
- Perfect Fifth: C
No matter where or how you play an F chord on the guitar neck, as long as you are playing some combination of these three notes (F, A, and C), you are playing an F major chord.
The standard six-string barre chord repeats these notes across different octaves to create a thick, full sound. However, you do not need all six strings to convey the harmonic essence of the chord. In fact, playing fewer strings can often sound cleaner and sit better in a mix, especially when playing with a bassist or keyboard player.
The table below outlines the most common ways to play the F major chord, ranked from the absolute easiest beginner shapes to the advanced full barre version.
| Chord Name / Style | Difficulty (1-10) | Strings Played | Fingering (Low to High String) | Best Use Case |
|---|---|---|---|---|
| 3-String Triad | 2/10 | 3 (G, B, E) | x - x - x - 2 - 1 - 1 (Mini-barre) | Absolute beginners, fast tempos |
| 3-String Open-Voiced | 3/10 | 3 (D, G, B) | x - x - 3 - 2 - 1 - x | Fingerpicking, clean transitions from C |
| 4-String "Mini-Barre" | 5/10 | 4 (D, G, B, E) | x - x - 3 - 2 - 1 - 1 | Standard pop/rock accompaniment |
| 5-String F/C Voicing | 6/10 | 5 (A, D, G, B, E) | x - 3 - 3 - 2 - 1 - 1 | Smooth transition from standard C chord |
| 6-String "Hendrix" Style | 8/10 | 6 (All) | 1 - x - 3 - 2 - 1 - 1 (Thumb on low E) | Acoustic strumming, blues, embellishments |
| Full 6-String Barre | 9/10 | 6 (All) | 1 - 3 - 3 - 2 - 1 - 1 | Heavy rock, driving rhythms, dynamic control |
Step 1: The Easiest 3-String F Chord Shapes
If you are in your first few weeks of playing guitar, do not try to play the full barre chord. Instead, start with one of these three-string variations. These shapes allow you to play songs containing the F chord immediately, keeping your practice sessions fun and engaging.
Option A: The High-Triad F Chord (x-x-x-2-1-1)
This version focuses entirely on the thinnest three strings of the guitar (G, B, and high E).
E |--1-- (Index Finger - bars both B and E strings)
B |--1-- (Index Finger)
G |--2-- (Middle Finger)
D |--x-- (Do not play)
A |--x-- (Do not play)
E |--x-- (Do not play)
How to play it:
- Place your middle finger on the 2nd fret of the G (3rd) string.
- Lay your index finger flat across the 1st fret of both the B (2nd) and high E (1st) strings.
- Strum only the thinnest three strings.
While this shape does require a tiny "mini-barre" with your index finger, it is incredibly easy to press down because the high E and B strings have the lowest tension of all the strings.
Option B: The Middle-Triad F Chord (x-x-3-2-1-x)
If you want to avoid barring altogether, this is the shape for you. It uses three fingers for three strings, completely eliminating the need to press down more than one string with a single finger.
E |--x-- (Do not play)
B |--1-- (Index Finger)
G |--2-- (Middle Finger)
D |--3-- (Ring Finger)
A |--x-- (Do not play)
E |--x-- (Do not play)
How to play it:
- Place your ring finger on the 3rd fret of the D (4th) string. This is your root note, F.
- Place your middle finger on the 2nd fret of the G (3rd) string. This is your major third, A.
- Place your index finger on the 1st fret of the B (2nd) string. This is your perfect fifth, C.
- Strum only the D, G, and B strings. Let your index finger lean slightly to rest against the high E string to mute it, ensuring it doesn't ring out if you accidentally strike it.
This shape is a fantastic stepping stone because your fingers are already in the exact relative positions they will need to be in for the more advanced versions of the chord.
Step 2: The 4-String "Mini-Barre" F Chord
Once your fingers are comfortable with the three-string variations, it is time to step up to the 4-string "mini-barre." This is the version of the F chord that most guitar teachers recommend as the standard beginner option. It provides a fuller, warmer tone than the 3-string versions while still avoiding the brutal physical demands of the low E and A strings.
E |--1-- (Index Finger - bars both B and E)
B |--1-- (Index Finger)
G |--2-- (Middle Finger)
D |--3-- (Ring Finger)
A |--x-- (Do not play)
E |--x-- (Do not play)
Step-by-Step Finger Placement:
- The Ring Finger: Place your ring finger on the 3rd fret of the D (4th) string. Make sure this finger is highly arched, pressing down with the very tip of the finger. If it collapses, it will accidentally mute the G string below it.
- The Middle Finger: Place your middle finger on the 2nd fret of the G (3rd) string. Like the ring finger, this should be arched and pressing down with the tip.
- The Mini-Barre: Lay the pad of your index finger across the 1st fret of both the B (2nd) and high E (1st) strings.
The "Roll" Technique for the Index Finger
The biggest mistake beginners make with this shape is trying to press down on the B and high E strings using the soft, fleshy front pad of the index finger. This often results in the high E string buzzing or being completely muted.
Instead, roll your index finger slightly onto its side (the side closest to your thumb). The side of your finger is naturally boney and much harder than the front pad. This provides a firm, solid surface to press the strings cleanly against the fret wire with significantly less effort.
Step 3: The 5-String F/C Chord (The C-to-F Cheat Code)
In popular music, the F major chord is most frequently paired with the C major chord. Think of songs like "Let It Be" by The Beatles or "Imagine" by John Lennon. Moving from a standard C major chord to a standard F barre chord is a strong leap that often breaks the rhythm of beginner players.
This is where the 5-string F/C chord comes in. It is physically easy to play, sounds incredibly rich, and requires only a tiny adjustment from the C major shape.
E |--1-- (Index Finger - bars B and E)
B |--1-- (Index Finger)
G |--2-- (Middle Finger)
D |--3-- (Pinky Finger)
A |--3-- (Ring Finger)
E |--x-- (Do not play)
How to Transition from C Major to F/C:
- Start by forming a standard open C major chord (
x-3-2-0-1-0). Your ring finger is on the 3rd fret of the A string, your middle finger is on the 2nd fret of the D string, and your index finger is on the 1st fret of the B string. - To transition to the F/C chord, keep your ring finger exactly where it is (on the 3rd fret of the A string).
- Move your middle finger down one string to the 2nd fret of the G string.
- Place your pinky finger on the 3rd fret of the D string.
- Flatten your index finger so it bars both the B and high E strings at the 1st fret.
By keeping your ring finger anchored on the A string, you maintain a physical reference point on the fretboard. This makes the transition exceptionally smooth. Musically, this chord is called "F over C" (written as F/C) because it is an F major chord with a C note in the bass. It sounds incredibly warm on acoustic guitars and is a favorite voicing of professional singer-songwriters.
Step 4: Mastering the Full 6-String Barre F Chord
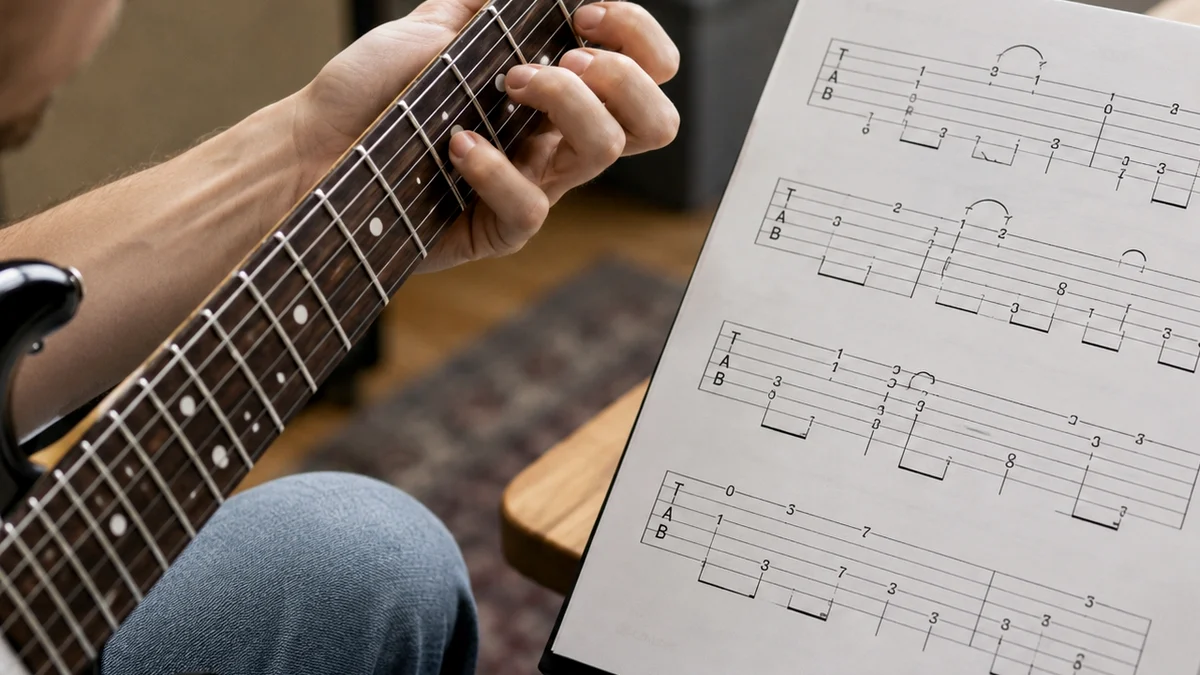
Eventually, you will want to tackle the mountain: the full, six-string F major barre chord. This shape uses the "E-shape" barre configuration, meaning your hand mimics the shape of an open E major chord, shifted up one fret, with your index finger acting as the nut.
E |--1-- (Index Finger - bars all 6 strings)
B |--1-- (Index Finger)
G |--2-- (Middle Finger)
D |--3-- (Pinky Finger)
A |--3-- (Ring Finger)
E |--1-- (Index Finger)
To play this without injuring your hand or getting discouraged, you must understand the mechanics of leverage.
1. The Arm-Pull Technique (Stop Squeezing!)
Most beginners try to clamp the guitar neck between their index finger and thumb like a pair of pliers. This relies entirely on the small, weak muscles of the hand (specifically the adductor pollicis), which will quickly fatigue, cramp, and cause pain.
Instead, use the arm-pull technique:
- Place your fingers on the fretboard in the F shape.
- Pull your fretting-arm elbow back slightly toward your torso. This uses the large muscles of your shoulder and upper back to pull your fingers into the fretboard.
- Use your picking-arm elbow to rest on the body of the guitar, pushing it slightly forward. This creates a natural lever effect.
- Your thumb on the back of the neck should act merely as a guide and pivot point, not a clamp. You should actually be able to play a clean F major barre chord with your thumb completely off the back of the neck using this arm-pull method.
2. Finger Placement Relative to the Fret Wire
Always place your fretting fingers as close to the metal fret wire as possible without actually sitting on top of it.
If your finger is in the middle of the fret space (closer to the headstock), you have to press down significantly harder to get a clean note. By placing your index finger directly behind the first fret wire, you maximize your physical leverage, allowing you to get a clear, buzz-free sound with half the effort.
3. The "Magic Pivot" and Wrist Angle
If you struggle to get your index finger flat across all six strings, look at your wrist. If your wrist is straight, your fingers will naturally want to curl. To straighten your index finger, you need to push your wrist forward and down under the guitar neck. This changes the angle of your hand, allowing your index finger to lie completely flat and parallel to the frets.
The "Hendrix" Style F Chord: An Alternative for Electric Guitarists
If you watch videos of legendary guitarists like Jimi Hendrix, John Frusciante, or John Mayer, you will notice they rarely play standard six-string barre chords. Instead, they use their thumb to wrap over the top of the neck to play the bass notes. This is an incredibly ergonomic way to play, especially on electric guitars with narrower necks.
Why use the Hendrix Style?
- Reduces Wrist Strain: It keeps your wrist in a natural, neutral position, reducing the risk of strain or tendonitis.
- Frees up your Pinky: With your pinky finger completely free, you can easily add melodic embellishments, hammer-ons, and pull-offs to your chords.
- Easy Muting: Your thumb can easily mute the A string, allowing you to strum aggressively without worrying about unwanted muddy frequencies.
To play this version, simply wrap your thumb over the top of the neck until the pad of your thumb rests firmly on the 1st fret of the low E string. Your index finger bars the B and high E strings, while your middle and ring fingers take care of the G and D strings.
Common Mistakes and How to Fix Them
If you are practicing the F chord and it still sounds like a collection of dead thuds, don't panic. Use this troubleshooting guide to identify and fix the issue.
1. The Buzzing G String
- The Problem: The G (3rd) string is buzzing or muted.
- The Cause: Your ring finger (on the D string) or your middle finger (on the G string) is collapsing and touching the adjacent strings.
- The Fix: Ensure you are playing on the very tips of your fingers. Cut your fingernails short; if your fingernails are too long, they will force your fingers to lie flat, causing them to mute neighboring strings.
2. The Dead High E String
- The Problem: The thinnest string makes a dull clicking sound.
- The Cause: Your index finger is not pressing hard enough at the very bottom of the fretboard, or the fleshy part of your finger is absorbing the string's vibration.
- The Fix: Roll your index finger slightly onto its boney side. Also, try shifting your index finger slightly up or down vertically. Everyone’s fingers have natural creases where the joints bend; if a guitar string falls directly into one of these creases, it won't get pressed down fully. Shifting your finger up or down by just a millimeter can solve this instantly.
3. Rapid Hand Fatigue
- The Problem: Your hand begins to cramp or hurt after only 30 seconds of holding the chord.
- The Cause: You are squeezing too hard with your thumb, or your wrist is bent at an extreme angle.
- The Fix: Drop your shoulder, relax your elbow, and focus on the "arm-pull" technique. Shake your hand out between attempts. Never play through sharp physical pain.
Practical Practice Routines to Build Muscle Memory
You cannot master the F chord by simply holding it for hours. Muscle memory is built through the act of transitioning into and out of the chord. Here are three highly effective, daily 5-minute drills made to build your F chord proficiency rapidly.
Drill 1: The "C to F" Pivot Drill (2 Minutes)
Since C major and F major are frequently paired together, this drill focuses on the physical relationship between them.
- Set a metronome to a slow tempo (60 BPM).
- Play a standard C major chord for 4 beats.
- On the next 4 beats, transition to the 4-string F major chord.
- Focus on keeping your ring finger anchored near the D and A string area to minimize unnecessary movement.
- Repeat this back-and-forth cycle for two minutes. Do not worry if the F chord doesn't sound perfect; focus entirely on the fluid movement of your fingers.
Drill 2: The "Squeeze and Release" Stamina Builder (1.5 Minutes)
This drill builds the isometric strength required for barre chords without fatiguing your muscles.
- Form your chosen F chord shape (start with the 4-string version).
- Press down firmly so all notes ring out clearly.
- Hold the pressure for 5 seconds.
- Completely release your grip, letting your hand rest loosely on your lap for 5 seconds.
- Form the chord again and repeat the cycle.
- This teaches your brain the exact amount of physical pressure required to make the chord sound clean, preventing you from over-squeezing.
Drill 3: The "Air Shape" Visualization Drill (1.5 Minutes)
This is a practical detail weapon used by classical guitarists to program muscle memory.
- Hold your hand about an inch away from the guitar fretboard.
- In the air, form your fingers into the exact shape of the F major chord.
- Bring your hand down onto the fretboard, landing all of your fingers on their respective strings at the exact same time.
- Lift your hand off, flatten your fingers, and repeat.
- Landing all fingers simultaneously is the hallmark of an advanced player. This drill prevents you from placing your fingers down "one by one," which slows down your chord changes.
Gear and Setup Tweaks: The Hidden Obstacles
Sometimes, the difficulty of the F chord has nothing to do with your hands and everything to do with your guitar. If you are practicing on an instrument that is poorly set up, even a professional guitarist will struggle to play a clean F chord.
1. High Action at the Nut
"Action" refers to the height of the strings above the fretboard. If the slots in your guitar's nut are not cut deep enough, the strings will sit incredibly high off the first fret. This requires immense, unnatural finger pressure to play an F chord.
How to check: Place a capo on the 1st fret. If playing a C major chord suddenly feels dramatically easier and your hand feels instantly relieved, your guitar's nut action is too high. Take your guitar to a local music shop for a professional "setup." Having a technician lower the nut slots is an inexpensive adjustment that will instantly make your guitar twice as easy to play.
2. String Gauge
The thickness of your guitar strings dramatically impacts their tension.
- Acoustic Guitars: Many acoustic guitars come from the factory with "Medium" gauge strings (13-56). These are incredibly stiff. Switching to "Extra Light" (10-47) or "Custom Light" (11-52) strings will significantly reduce the tension, making barre chords much more manageable.
- Electric Guitars: If you are struggling on electric guitar, try switching to a set of super-light strings, such as.009s (very slinky) or even.008s. The reduced physical resistance will allow you to focus on proper hand geometry and finger placement without fighting excessive string tension.
3. Fretboard Radius and Neck Profile
The physical shape of your guitar's neck plays a strong role in how easy it is to bar. Vintage-style electric guitars often have a rounder fretboard radius (7.25 inches), which actually makes barring easier because the fretboard curves to match the natural curve of your index finger. Modern guitars with flatter radii (12 inches or more) require a flatter index finger. Knowing your gear can help you adjust your finger angle to match the instrument.
Applying the F Chord in Common Chord Progressions
To truly cement the F chord in your playing, you must practice it within the context of real musical progressions. The F major chord belongs to several highly common musical keys, most notably the Key of C Major (where it serves as the IV chord) and the Key of F Major (where it is the I root chord).
Below are three classic chord progressions that will help you integrate the F chord into your everyday playing. Practice these slowly, ensuring that every transition is smooth and rhythmic.
1. The Classic Pop Progression (I - V - vi - IV)
This is the most famous chord progression in modern music history. You can hear it in songs like "Let It Be" (The Beatles), "With or Without You" (U2), and "Don't Stop Believin'" (learning process).
Use this as a practical starting point for F Chord Guitar Made Easier. Before you move on, play a few familiar chords and check that the guitar sounds stable across all six strings.
Related Chords.me Guides
For the next step, read Major vs Minor Keys: Guitar Guide, Blues Scale Guitar Guide: Beginner Practice Guide, and Major Scale Guitar Guide: Beginner Practice Guide before moving on. You can also test the same idea in another key and keep practice timing steady with the tap tempo tool while practicing this lesson.
Practice This With Chords.me
Use the Chord Transposer to test the idea in another key, then practice the same example slowly. Focus on clean notes and steady timing before increasing speed.
Frequently Asked Questions
What is F Chord Guitar Made Easier?
F Chord Guitar Made Easier is a guitar-learning topic that helps players build a clearer connection between technique, sound, and practice. For beginners, the most useful approach is to learn the basic idea first, then apply it slowly on a tuned guitar.
Is f chord guitar made easier hard for beginners?
It can feel difficult at first, but it becomes manageable when you break it into small steps. Focus on clean notes, relaxed hands, and short practice sessions instead of trying to master everything in one day.
What should I practice first for f chord guitar made easier?
Start with the simplest version of the idea: one chord, one pattern, one short exercise, or one small section of the fretboard. Once that feels stable, add timing, transitions, or a second example.
What common mistakes should I avoid?
Avoid rushing, pressing harder than necessary, ignoring tuning, and practicing mistakes at full speed. Slow, accurate repetitions usually fix beginner problems faster than long unfocused practice sessions.
Which Chords.me tool helps with this topic?
The Guitar Tuner is the best supporting tool here because it helps with checking pitch, tuning stability, and practice accuracy. Use it before or during practice so the article’s examples translate into real playing more easily.
About the Contributor
Chords.me Tuning & Setup Desk Tuning, strings, and setup contributor
A brand contributor profile for Chords.me tuning and setup content. This desk focuses on tuning accuracy, string choice, fret buzz, intonation, action, and maintenance topics for everyday players. Content is checked for practical clarity, beginner readability, and accurate links to relevant Chords.me tools.