How to Hold a Guitar Pick: Complete Guide to Comfort, Control, and Tone
How to Hold a Guitar Pick: Complete Guide to Comfort, Control, and Tone: clear guitar guide with practical examples, common mistakes, and Chords.me practice tools.
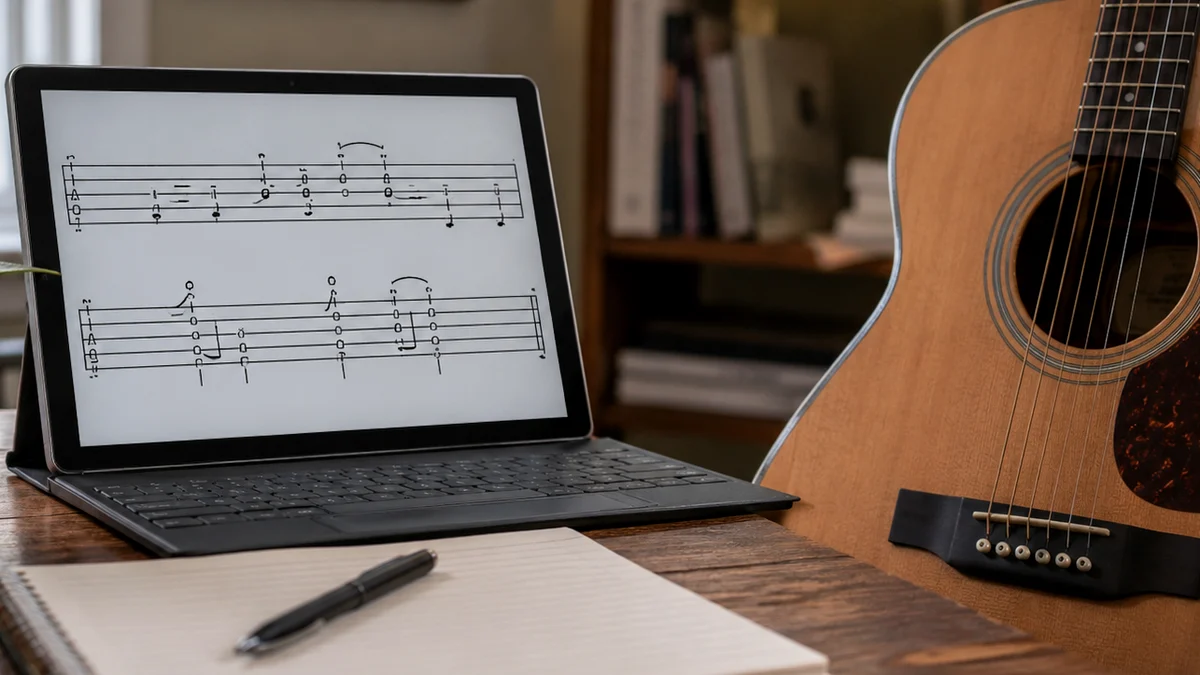
The way you hold a guitar pick is the literal bridge between your musical mind and the strings of your instrument. It is the foundation of your picking-hand technique, dictating your speed, accuracy, and overall tone. Yet, many beginner and intermediate guitarists treat the guitar pick as an afterthought, grabbing it any which way just to get the strings vibrating.
Holding a pick incorrectly can hold your playing back for years. It leads to dropped picks, uneven strumming, hand fatigue, and even chronic injuries like tendonitis or carpal tunnel syndrome. Conversely, a clean, relaxed, and efficient pick grip helps you learn effortless speed, precise dynamic control, and a beautiful, consistent tone.
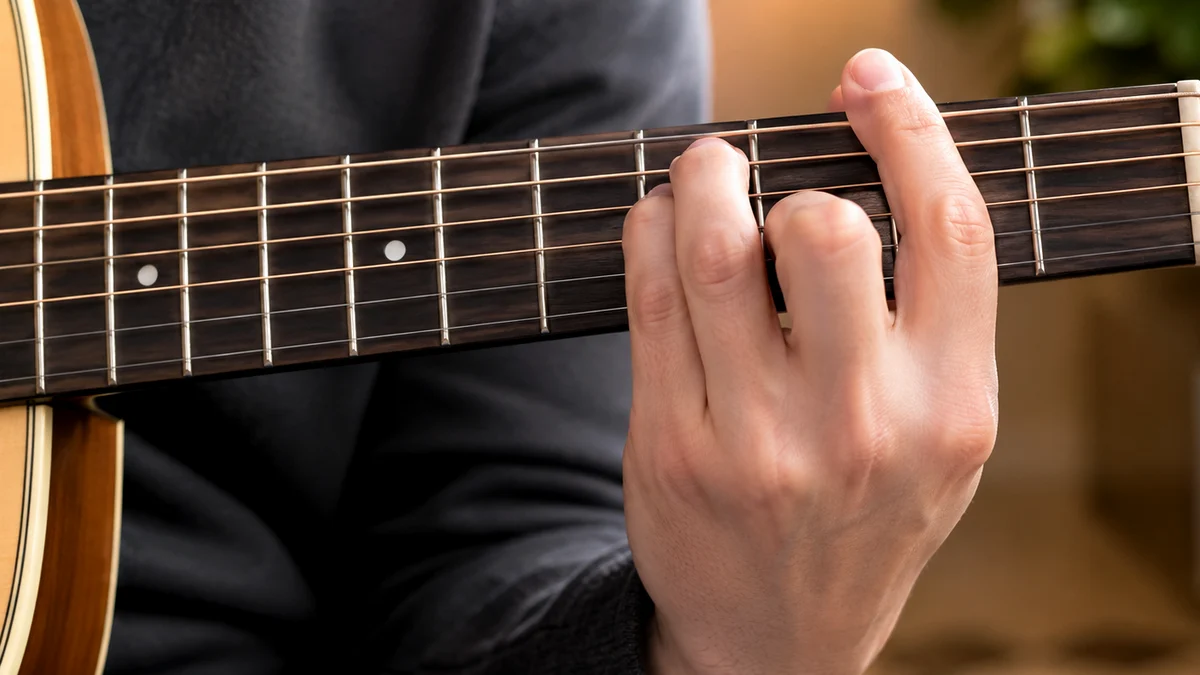
There is no single "perfect" grip that works for 100% of guitarists, as human hands differ in size, flexibility, and shape. However, there are fundamental mechanical principles that apply to everyone. this guide will walk you through the anatomy of a pick, the step-by-step process of establishing a standard grip, alternative grip styles, how to manage grip tension, and practical exercises to make your pick feel like a natural extension of your hand.
Anatomy of a Guitar Pick (And Why It Matters to Your Grip)
Before you can hold a pick properly, you need to understand what you are holding. Guitar picks—often called plectrums—come in a dizzying array of shapes, thicknesses, and materials. Each of these variables directly influences how the pick sits in your hand, how much friction it generates against the strings, and how much pressure you need to exert to keep it secure.
Pick Shapes
- Standard (351 Shape): This is the classic heart-shaped pick. It provides a wide body for your thumb and finger to grip, tapering down to a moderately pointed tip. It is the most versatile shape and the best starting point for any guitarist.
- Jazz III: Much smaller than a standard pick, with a very sharp tip. It is favored by lead guitarists and metal players because its small surface area forces a highly compact, efficient grip close to the strings, minimizing wasted movement.
- Triangle: Large, equilateral triangles. These are popular among acoustic rhythm guitarists and bassists. Because all three corners are identical, you can rotate the pick as it wears down. It offers a strong gripping surface for players with larger hands.
- Teardrop: Narrower than the standard pick, forcing your fingers closer together. It encourages a very tight, precise grip but can be difficult for beginners to hold without it spinning out of alignment.
Pick Thickness (Gauge)
Pick thickness is measured in millimeters (mm) and generally falls into four categories. The thickness you choose directly impacts how tightly you must hold the pick:
| Gauge Category | Thickness Range | Flexibility | Best Used For | Grip Impact |
|---|---|---|---|---|
| Thin | 0.38mm – 0.60mm | High Flex | Acoustic strumming, light rhythm | Highly forgiving; requires very little grip pressure. |
| Medium | 0.60mm – 0.80mm | Moderate Flex | General rhythm and basic lead | Balanced; requires moderate control to prevent slipping. |
| Heavy | 0.80mm – 1.20mm | Stiff / Low Flex | Rock rhythm, precise lead, blues | Demands a refined grip; the pick will not bend to hide mistakes. |
| Extra Heavy | Above 1.20mm | Rigid | Jazz, technical metal, bass | Demands absolute control; immediate transfer of power. |
Materials and Texture
Picks are made from various materials, each offering a different level of natural friction:
- Celluloid: The traditional material. It has a smooth, glossy feel but can become incredibly slippery when your fingers sweat.
- Nylon: Highly flexible and durable. Nylon picks almost always feature molded-in grip grids or raised lettering, making them excellent for players who struggle with dropping their picks.
- Delrin / Tortex: Developed to mimic the matte texture of tortoise shell. These picks have a powdery, dry finish that naturally resists sweat and provides excellent grip stability.
- Ultex / Ultem: A modern, incredibly stiff plastic that offers a bright attack. It has a slightly tacky natural texture that adheres well to the skin.
The Standard Grip: A Step-by-Step Guide
The standard grip is the most widely taught and mechanically balanced way to hold a guitar pick. It provides an optimal balance of stability, flexibility, and control, making it the ideal baseline for players of all genres. Follow these five steps to build your grip from scratch.
Step 1: Relax Your Picking Hand
Let your picking hand hang completely limp by your side. Shake it out for a few seconds. Notice how your fingers naturally curl inward toward your palm when relaxed. This relaxed, semi-curled position is the natural state your hand should maintain while playing. Avoid flattening your fingers out like a board or clenching them into a tight, white-knuckled fist.
Step 2: Form the "Come Here" Sign
Bring your picking hand up in front of you. Curl your index finger inward toward your palm, as if you are making a gentle "come here" gesture or pointing back at yourself. The side of your index finger, specifically the area between the first knuckle (closest to the fingernail) and the second knuckle, will act as the shelf or platform where the pick will rest.
Step 3: Place the Pick on the Index Finger
Pick up your plectrum with your fretting hand. Place the flat side of the pick on the side of your curled index finger.
- The pointed tip of the pick should point perpendicular to your finger (pointing directly to the left if you are right-handed).
- The back, rounded edge of the pick should align roughly with the outer edge of your index finger's joint.
Visual Alignment (Right-Handed Player):
Back of Pick
|
(Index Finger) ====> Pointed Tip
|
Back of Pick
Step 4: Clamp Down with the Thumb
Bring your thumb down flat on top of the pick. Your thumb should run perpendicular to your index finger, creating a "T" shape or cross shape.
- The pad of your thumb should cover roughly half to two-thirds of the pick’s surface area.
- Only a small triangle of the pick's tip (about 3 to 5 millimeters) should protrude from beneath your thumb. Exposing too much of the pick reduces your leverage and control.
Step 5: Check the Alignment
Look at your hand from the front. You should see the flat pad of your thumb resting securely on the pick, supported from underneath by the side of your curled index finger.
The remaining three fingers (middle, ring, and pinky) should be completely relaxed. You can either let them curl loosely into your palm (a "closed-fist" picking hand) or let them fan out gently (an "open-fist" picking hand). Both styles are used by world-class players; choose whichever feels most natural and tension-free for your hand.
Alternative Grip Styles
For rhythm practice, connect this lesson with 3 Guitar Pick Thicknesses Explained and Alternate Picking for Cleaner Guitar Playing so your picking hand, timing, and song feel improve together.
While the standard grip is highly recommended, human hands are diverse, and different musical genres demand different physical approaches. Here are four common alternative grips used by professional guitarists.
1. The Pinch Grip (Pad-to-Pad)
In this grip, instead of resting the pick on the side of the index finger, you pinch it between the flat pad of the thumb and the flat pad of the index finger.
- Pros: It offers a very light, springy touch, which is excellent for delicate acoustic fingerstyle-hybrid playing or light, airy strumming.
- Cons: It is inherently less stable than the standard grip. Because there is less surface area contact, the pick is much more likely to spin, shift, or fly out of your hand during heavy strumming or fast alternate picking.
2. The Three-Finger Grip (The "Hetfield" Grip)
Popularized by rhythm guitar icons like James Hetfield of Metallica, this grip involves placing the pick between the pad of the thumb and the pads/sides of both the index and middle fingers.
- Pros: This grip is incredibly stable. It provides strong downstroke power and prevents the pick from shifting, even during aggressive, high-velocity metal riffing.
- Cons: It locks up the wrist and fingers, significantly reducing your flexibility for fast alternate picking, lead runs, and subtle dynamic shifts. It also makes hybrid picking (using your free fingers to pluck strings) impossible.
3. The O-Grip (The "George Benson" Grip)
In this variation, the index finger is curled tightly so that the tip of the finger points back toward the palm, forming an "O" shape with the thumb. The pick is held near the tip of the index finger.
- Pros: This grip naturally tilts the pick at a steep angle relative to the strings, allowing it to glide across them with minimal resistance. It is highly favored by jazz fusion players for incredibly fast, smooth single-note lines.
- Cons: It can feel highly unnatural and awkward for basic rhythm guitar and open-chord strumming.
4. The Rounded-Edge Grip (The "Pat Metheny" Style)
Instead of using the pointed tip of the pick, you rotate the pick in your hand and play using one of the rounded back corners.
- Pros: This immediately softens the attack of the pick, producing a warm, dark, and woody tone that mimics the sound of fingers. It is highly effective for jazz and warm acoustic accompaniment.
- Cons: You lose the sharp definition needed for fast, articulate lead lines and heavy rock rhythms.
The Kinetic Chain: Wrist, Elbow, and Shoulder
Your pick grip does not exist in a vacuum. How you hold the pick is directly connected to how you move your entire arm. To maintain a relaxed grip, you must understand the kinetic chain of picking mechanics.
When you strike a string, the motion should primarily come from your wrist, not your elbow or shoulder. Imagine shaking water off your hand—that fluid, rotational wrist motion is where your picking power and speed should originate.
If you generate all your picking motion from your elbow, your forearm muscles will tense up. This tension travels down your arm, forcing your fingers to squeeze the pick in a tight "death grip" to keep it from flying away. By keeping your elbow relatively still and letting your wrist do the work, you allow your fingers to remain relaxed, flexible, and responsive.
Finding the Perfect Balance: Grip Tension
The single biggest obstacle beginner guitarists face is tension. It is a natural human reaction to squeeze tighter when we feel we are losing control or when we try to play faster. However, squeezing the pick too hard is a direct path to poor tone, slow playing, and physical fatigue.
The 1-to-10 Tension Scale
To find the sweet spot of grip tension, try this simple visualization exercise:
- Hold your pick in your standard grip. Squeeze it as hard as you possibly can, until your knuckles turn white, your hand shakes, and your forearm muscles lock up. This is a 10.
- Now, loosen your grip so much that the pick literally falls out of your fingers and drops to the floor. This is a 0.
- Pick it up again. Your ideal playing tension should sit comfortably between a 3 and a 5.
You want just enough tension to keep the pick from falling out of your hand, but enough relaxation to allow the pick to "give" slightly when it strikes a string. Think of your thumb and index finger as a shock absorber. If the shock absorber is frozen solid (tension 10), every bump is jarring. If it is too loose (tension 0), the system collapses. It needs to be firm yet springy.
Dynamic Tension
Excellent guitarists do not maintain the exact same grip tension at all times. They use dynamic tension to adapt to what they are playing:
- When Strumming Chords: Loosen your grip to about a 3. This allows the pick to flap slightly back and forth as it glides over all six strings, producing a smooth, cohesive chord sound.
- When Playing Fast Leads: Tighten your grip to about a 5 or 6. This stabilizes the pick tip, allowing for micro-movements and precise, rapid-fire string contact.

Pick Angle and Attack
How you hold the pick determines how it approaches the strings. The angle of attack changes everything from the volume of your notes to the harmonic richness of your tone.
1. Flat Attack vs. Edge Picking
If you hold the pick completely flat against the strings (parallel to the fretboard), the entire flat face of the pick hits the string at once.
- The Result: A loud, aggressive, percussive "slap" sound. While good for heavy rhythm accents, it creates strong physical resistance, slowing down your hand.
- The Solution (Edge Picking): Rotate your wrist slightly so the pick strikes the string at an angle of roughly 30 degrees. Instead of slapping the string, the pick slices through it like a knife. This reduces friction, allows you to play much faster, and produces a warmer, smoother tone.
Flat Attack (High Resistance):
String =======
Pick ------- (Parallel to string)

Edge Picking (Low Resistance & High Speed):
String =======
Pick / / / / (Angled at ~30 degrees)
2. Pick Slanting
Pick slanting involves tilting the pick upward or downward relative to the floor to help your hand transition smoothly between strings:
- Downward Pick Slanting (DWPS): The top of the pick (where your thumb is) tilts toward the ceiling, so the tip points slightly down toward the floor. This helps the pick escape the strings cleanly on upward strokes.
- Upward Pick Slanting (UWPS): The top of the pick tilts toward the floor, pointing the tip slightly up toward the ceiling. This helps the pick escape cleanly on downward strokes.
Common Mistakes and How to Fix Them
It is easy to fall into bad habits, especially when practicing alone. Use this table to diagnose your picking hand issues and implement immediate fixes.
| Common Mistake | Why It Happens | Symptom / Consequence | The Step-by-Step Fix |
|---|---|---|---|
| The Death Grip | Fear of dropping the pick; trying to play too fast too soon. | Hand fatigue, forearm pain, harsh/brittle tone, pick gets stuck in strings. | Practice the 1-to-10 Tension Scale. Consciously drop your shoulder and shake out your hand every 5 minutes. |
| Too Much Pick Exposed | Holding the pick too far back toward the rounded edge. | The pick bends excessively, slips out of position, or gets ripped out of your hand. | Pull the pick back into your fingers. Only allow 3 to 5mm of the pointed tip to protrude from your thumb. |
| The Flat-Fingered Pinch | Natural instinct to pinch items between the pads of the fingers. | The pick constantly spins around in your fingers, pointing sideways or backward. | Transition to the standard grip. Rest the pick on the side of the index finger, not the flat pad. |
| Anchoring the Pinky | Seeking stability by planting the pinky finger firmly on the guitar body. | Tenses up the wrist, limits hand movement, and prevents smooth strumming across all strings. | Hover your hand instead. If you must anchor, let your pinky/ring fingers lightly glide across the pickguard rather than planting them. |
| Using the Whole Arm | Generating all picking motion from the elbow rather than the wrist. | Inaccurate picking, slow speeds, rapid fatigue, and lack of dynamic control. | Keep your elbow relatively still. Imagine shaking water off your hand—that fluid, rotational wrist motion is where picking power should come from. |
| Slipping Due to Sweat | Smooth pick material combined with natural hand perspiration. | Pick rotates mid-song, pointing sideways, or flies out of your hand entirely. | Switch to textured nylon or Tortex picks, or use a utility knife to score a crosshatch pattern into your current picks. |
Practical Exercises to Practice Grip
Like any physical skill, muscle memory is built through focused, repetitive practice. Integrate these four exercises into your daily warm-up routine to solidify your pick grip.
Exercise 1: The Drop and Reset (2 Minutes)
This exercise trains your brain to find the standard grip instantly without looking.
- Sit down with your guitar. Drop your pick onto your lap or a table.
- Close your eyes.
- Reach down, grab the pick, and place it into your standard grip using only your sense of touch.
- Open your eyes and check your alignment. Is the tip pointing the right way? Is it resting on the side of your index finger?
- Repeat this 20 times.
Exercise 2: The Ghost Strum (3 Minutes)
This exercise builds the perfect balance of grip tension and wrist flexibility.
- Lightly mute the strings of your guitar with your fretting hand so they make a dull "thud" when struck.
- Hold your pick with your standard grip.
- Begin strumming down and up across all six strings in a steady, continuous rhythm.
- As you strum, focus on the pick. It should glide over the strings smoothly. If it snags or catches, loosen your grip tension. If it flies out of your hand, tighten it slightly.
- Do this for three minutes, focusing entirely on a relaxed, fluid wrist motion.
Exercise 3: Alternate Picking Accents (5 Minutes)
This exercise trains your grip to handle sudden shifts in dynamic power.
- Choose a single string (the Low E or D string works best).
- Set a metronome to a comfortable, slow tempo (e.g., 60 BPM).
- Play continuous eighth notes (two notes per beat) using alternate picking (Down, Up, Down, Up).
- On beat 1 of every measure, strike the string significantly harder (accent the note). To do this, you must briefly tighten your grip to a 6 for that single stroke, then immediately relax back to a 3 for the remaining notes.
- This teaches your hand to dynamically adjust tension on a millisecond-by-millisecond basis.
Exercise 4: The Pick Rotation Drill (2 Minutes)
It is inevitable that your pick will shift slightly while playing a song. This drill teaches you how to micro-adjust its position on the fly without stopping your performance.
- Hold the pick in your standard grip.
- Using only the fingers of your picking hand (do not use your other hand or press the pick against your clothes), use your thumb and index finger to rotate the pick 360 degrees in a circle.
- Once you rotate it all the way around, adjust it back into the perfect standard grip.
- Try doing this while strumming open strings. This is an invaluable skill for live performances.
How Grip Changes Across Genres
As you progress on your guitar learning, you will find that different musical styles benefit from subtle tweaks to your pick grip.
Acoustic Strumming (Folk, Pop, Country)
- The Setup: A thin to medium pick (0.50mm – 0.73mm).
- The Grip: Hold the pick slightly further back, exposing a bit more of the tip. Keep your grip tension very low (around a 3).
- Why: This allows the pick to act like a soft brush, blending the individual strings of a chord into a beautiful, shimmering wall of sound.
Metal and Hard Rock Riffing
- The Setup: A heavy to extra-heavy pick (1.0mm – 1.5mm+).
- The Grip: Hold the pick very close to the tip, leaving only 2 to 3 millimeters exposed. Use a firm grip tension (around a 5 or 6) and employ edge picking (30-degree angle).
- Why: This setup is crucial for executing tight, palm-muted rhythm tracks, aggressive downstrokes, and pinch harmonics (where the side of your thumb lightly grazes the string immediately after the pick strikes it).
Jazz, Fusion, and Progressive Rock Leads
- The Setup: A small, stiff pick (such as a Jazz III or a heavy teardrop).
- The Grip: A highly compact standard grip or O-grip. The hand is kept close to the strings, and the wrist performs micro-movements.
- Why: Speed and economy of motion are the goals here. Minimizing pick exposure and maximizing pick stiffness ensures that there is zero wasted movement, allowing you to fly through complex scales and arpeggios cleanly.
Funk Rhythm Guitar
- The Setup: A medium pick (0.73mm – 0.88mm).
- The Grip: A relaxed standard grip, but with an incredibly loose, whipping wrist action.
- Why: Funk requires rapid, percussive scratching across multiple muted strings. If your grip or wrist is tense, your funk rhythm will sound stiff, sterile, and out of time.
Final Thoughts: Be Patient with Your Progress
If you have been holding your pick incorrectly for months or years, switching to a correct, mechanically sound grip will feel incredibly awkward at first. You might feel like you have lost all your accuracy, and the pick may slip or drop constantly during your first few practice sessions.
This is entirely normal. You are fighting years of established muscle memory. Give yourself at least two weeks of consistent, daily practice using the exercises outlined above. Trust the physics of the standard grip. Soon, the tension will melt away, the pick will feel like a natural extension of your fingers, and your tone, speed, and comfort will reach levels you never thought possible. Happy practicing!
Related Chords.me Guides
For the next step, read Chromatic Tuner Guitar Guide: How to Tune Accurately as a Beginner, Drop C Tuning Guide: Notes, Setup, and Common Mistakes, and Beginner Guitar Lessons Roadmap: Your Step-by-Step Path to Playing Songs before moving on. You can also check each string with the guitar tuner and keep practice timing steady with the tap tempo tool while practicing this lesson.
Practice This With Chords.me
Use the Chord Transposer to test the idea in another key, then practice the same example slowly. Focus on clean notes and steady timing before increasing speed.
Frequently Asked Questions
What is the best way to hold a guitar pick?
The best way to hold a guitar pick is to slow the movement down, use a tuned guitar, and repeat a short exercise until it feels controlled. Speed should come after clean sound and steady timing.
Is how to hold a guitar pick hard for beginners?
It can feel difficult at first, but it becomes manageable when you break it into small steps. Focus on clean notes, relaxed hands, and short practice sessions instead of trying to master everything in one day.
What should I practice first for how to hold a guitar pick?
Start with the simplest version of the idea: one chord, one pattern, one short exercise, or one small section of the fretboard. Once that feels stable, add timing, transitions, or a second example.
What common mistakes should I avoid?
Avoid rushing, pressing harder than necessary, ignoring tuning, and practicing mistakes at full speed. Slow, accurate repetitions usually fix beginner problems faster than long unfocused practice sessions.
Which Chords.me tool helps with this topic?
The Guitar Tuner is the best supporting tool here because it helps with checking pitch, tuning stability, and practice accuracy. Use it before or during practice so the article’s examples translate into real playing more easily.
About the Contributor
Chords.me Tuning & Setup Desk Tuning, strings, and setup contributor
A brand contributor profile for Chords.me tuning and setup content. This desk focuses on tuning accuracy, string choice, fret buzz, intonation, action, and maintenance topics for everyday players. Content is checked for practical clarity, beginner readability, and accurate links to relevant Chords.me tools.