Fingerstyle Guitar for Beginners: A Practical Guide to Acoustic Picking
Fingerstyle Guitar for Beginners: A Practical Guide to Acoustic Picking: clear guitar guide with practical examples, common mistakes, and Chords.me practice tools.
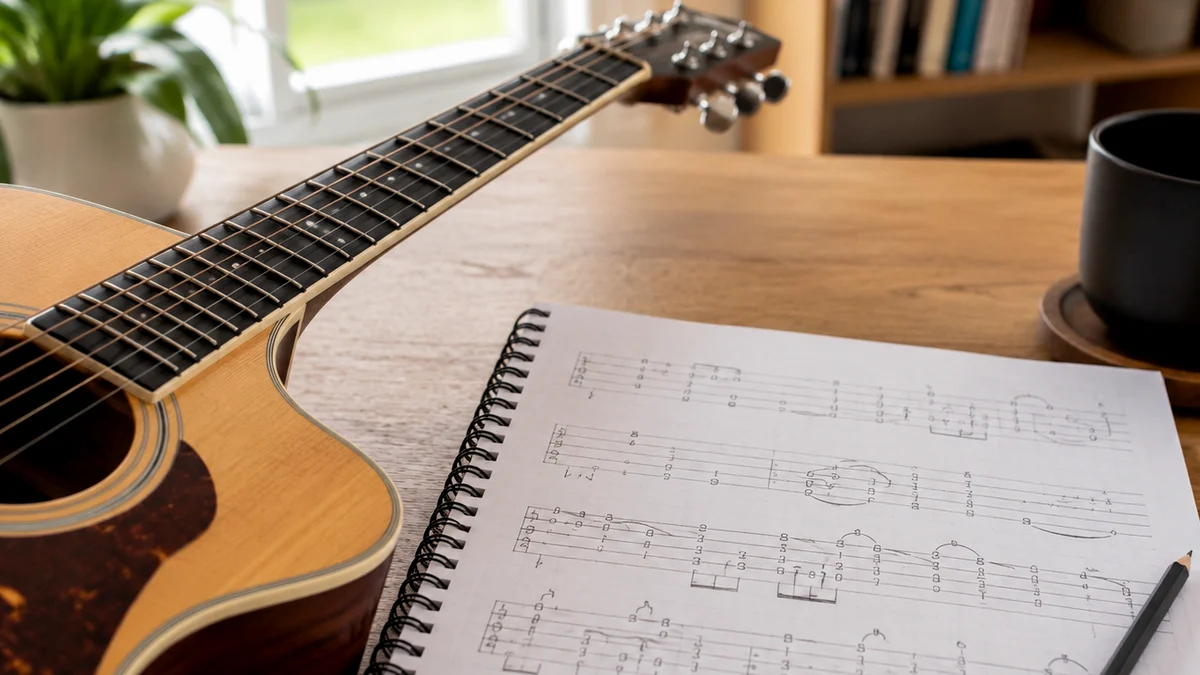
As a guitar practice guide, I often see students look at fingerstyle guitar with a mix of awe and intimidation. It sounds like two people playing at once: one holding down a steady bassline, the other weaving a melody on top. But behind that complex sound is a structured system of simple movements. If you can play a few basic open chords, you already have the foundation needed to start learning fingerstyle.
This style of playing brings out the true expressive potential of the acoustic guitar. It allows you to control the dynamics, voice leading, and texture of your music in a way that flatpicking simply cannot match. Let's break down the mechanics of this technique step by step, so you can start playing with clarity, control, and confidence.
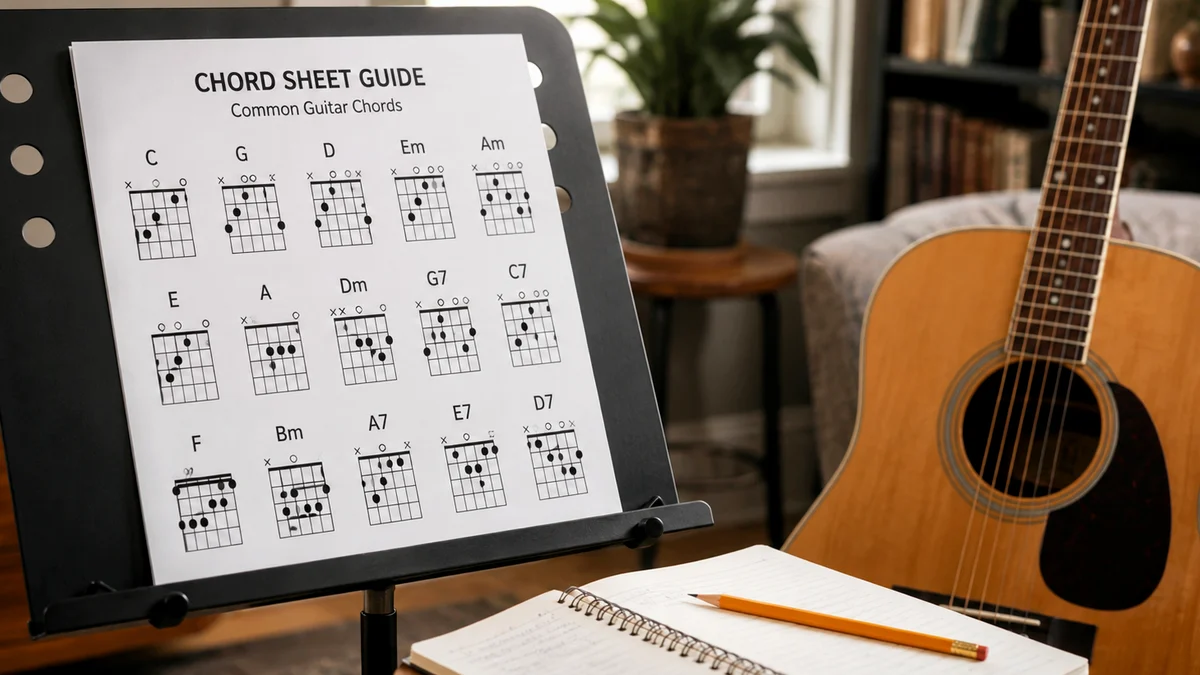
What is Fingerstyle Guitar? Fingerstyle guitar is a playing technique where the guitarist plucks the strings directly with their individual fingertips, fingernails, or picks attached to the fingers, rather than using a flatpick. This approach allows the player to perform multiple musical parts simultaneously, such as basslines, harmony, and melodies.
Is Fingerstyle Guitar Good for Beginners?
Many new players ask: is fingerstyle guitar good for beginners, or should you start with a pick? The answer is that fingerstyle is excellent for beginners. Starting with fingerstyle early builds exceptional hand independence, finger strength, and a deep physical connection to the instrument.
When you use a pick, your picking hand moves as a single unit. In contrast, fingerstyle forces you to develop fine motor control in each individual finger of your picking hand. While it might feel awkward for the first week or two, this early training prevents bad habits from forming later. It also opens up a strong library of acoustic music, from folk and blues to classical and modern fingerstyle arrangements.
Learning fingerstyle also improves your overall fretboard awareness. Because you are plucking individual strings rather than sweeping across all of them, you quickly learn exactly where each note lies. This precision carries over directly to your lead playing, improvisation, and overall rhythm guitar technique.
How Do You Use Fingerstyle Guitar
To understand how to use fingerstyle guitar in real-world playing, think of your picking hand as a small band. Your thumb acts as the bass player, keeping a steady pulse on the lower three strings (E, A, and D). Your index, middle, and ring fingers act as the melody instruments, playing the harmony on the higher three strings (G, B, and high E).
You use this technique by assigning specific duties to each finger. Instead of sweeping across all six strings with a single downward motion, you pluck specific strings at precise times. This gives you complete control over which notes ring out and how loud they are, allowing you to highlight a vocal melody or create a driving rhythmic groove underneath a chord progression.
In practice, you can use fingerstyle to arrange solo instrumental versions of popular songs, accompany singers with a soft, rolling background texture, or drive a fast-paced folk song with an alternating bassline. It is a highly versatile tool that adapts to almost any genre of music.
The Anatomy of the Picking Hand: PIMA
For rhythm practice, connect this lesson with Alternate Picking for Cleaner Guitar Playing and How to Find the BPM of a Song so your picking hand, timing, and song feel improve together.
Before we pluck a single string, we must learn the universal language of fingerstyle notation. Guitar teachers and classical methods use a Spanish lettering system to label the fingers of the picking hand. This is known as the PIMA system:
- P (Pulgar): The Thumb
- I (Indice): The Index Finger
- M (Medio): The Middle Finger
- A (Anular): The Ring Finger
The pinky finger (often called chico or C) is rarely used to pluck strings in standard fingerstyle guitar, though it sometimes acts as a light stabilizer against the guitar body.
For absolute beginners, your finger assignment should remain consistent to build muscle memory:
- P handles the 6th (Low E), 5th (A), and 4th (D) strings.
- I handles the 3rd (G) string.
- M handles the 2nd (B) string.
- A handles the 1st (High E) string.
Hand Posture and Technique for Good Tone
Your physical setup determines your tone and accuracy. Sit up straight and hold the guitar so the neck is slightly angled upward. Your picking arm should rest on the upper bout of the guitar body, allowing your hand to drape naturally over the soundhole.
Keep your wrist relaxed and slightly arched. Avoid resting the palm of your hand flat against the guitar bridge, as this mutes the strings and restricts finger movement. Your fingers should curve gently toward the strings, like you are holding a tennis ball.
To get a clean tone, pluck the strings with a combination of the flesh of your fingertip and a tiny bit of fingernail (if you grow them out slightly). If you do not have nails, use the side-tip of your fingers, pulling the string slightly upward and releasing it cleanly. Avoid pulling the strings outward away from the guitar body, which causes an unpleasant, metallic snapping sound.
How to Learn Fingerstyle Guitar Step by Step
Learning fingerstyle guitar is about building muscle memory through incremental steps. Do not try to play complex patterns immediately. Instead, break the movements down into isolated exercises.
Step 1: Mastering the Thumb Bassline (P)
Your thumb is the anchor of your rhythm. Start by placing your fretting hand in a standard open C Major chord. Keep your index, middle, and ring fingers resting lightly on the G, B, and high E strings to keep them quiet.
Practice plucking the 5th string (A) with your thumb, then the 4th string (D), and back again. Keep a steady, slow beat. Your thumb should move from the joint near your wrist, not just the knuckle. The movement should feel heavy and deliberate, establishing a solid rhythmic foundation.
Step 2: Introducing the Index Finger (I)
Once your thumb can move steadily without your conscious attention, introduce your index finger. Hold that same C Major chord.
Pluck the 5th string with your thumb (P), then pluck the 3rd string with your index finger (I). Repeat this cycle: P - I - P - I. Focus on keeping the volume of both notes equal and the timing perfectly even. This simple two-note alternation is the basis of many folk picking patterns.
Step 3: Adding the Middle and Ring Fingers (M and A)
Now, let's bring in the rest of the hand. We will practice a rolling pattern that uses all four fingers.
With your fretting hand still holding the C Major chord, play this sequence:
- Pluck the 5th string with your thumb (P).
- Pluck the 3rd string with your index finger (I).
- Pluck the 2nd string with your middle finger (M).
- Pluck the 1st string with your ring finger (A).
Go slowly. The pattern should sound like a continuous wave of notes: P - I - M - A. Once you reach the top, try reversing it: P - I - M - A - M - I.
Step 4: The Travis Picking Pattern
Named after country legend Merle Travis, this pattern is a staple of acoustic guitar playing. It uses an alternating bassline played by the thumb while the fingers pluck treble notes on the off-beats.
To play a basic Travis pick over a C Major chord:
- Pluck the 5th string (P) and the 2nd string (M) at the same time.
- Pluck the 4th string (P).
- Pluck the 3rd string (I).
- Pluck the 5th string (P).
- Pluck the 2nd string (M).
- Pluck the 4th string (P).
This pattern feels tricky at first because your thumb has to jump between the 5th and 4th strings while your fingers play around it. Practice this at a very slow tempo until the alternation feels automatic.
Developing Tone, Timing, and Accuracy
In fingerstyle guitar, speed is a byproduct of accuracy. If you try to play fast before your fingers know exactly where the strings are, your playing will sound sloppy and uneven.
To build accuracy, practice your patterns without looking at your picking hand. This forces your brain to map the physical distance between the strings. If you find yourself hitting the wrong string, slow down the tempo by half.
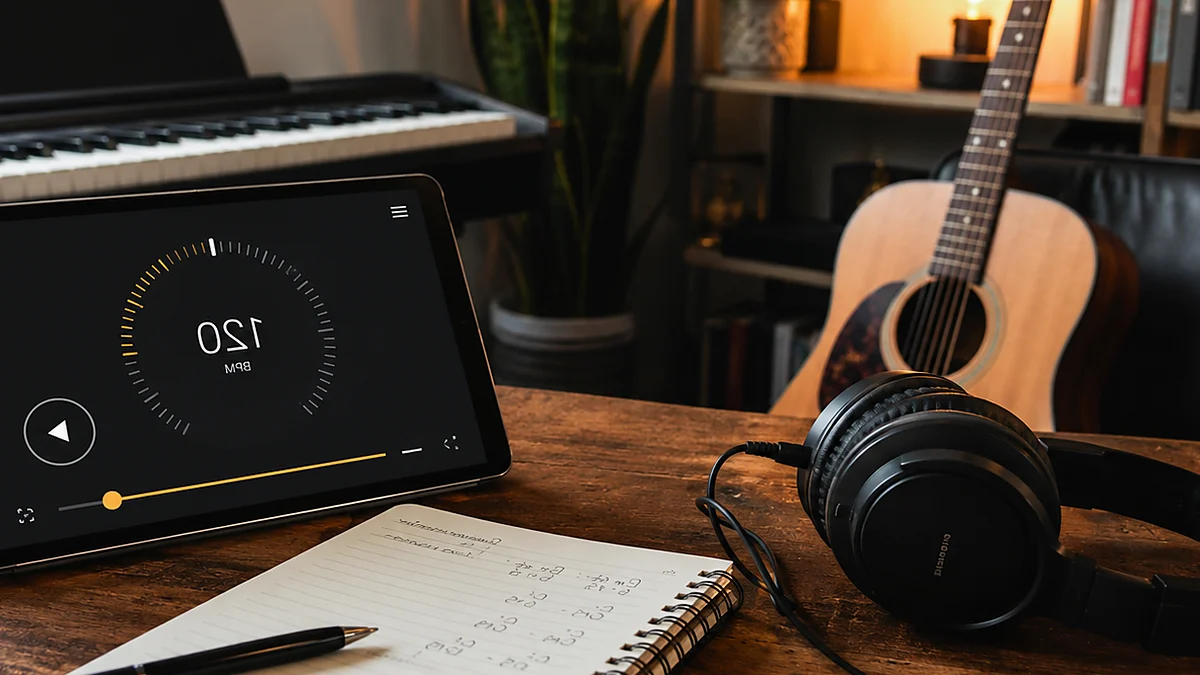
Timing is the glue that holds fingerstyle together. Because you are playing both the bass and the melody, any hesitation in your picking hand will ruin the groove. Practice with a metronome set to a slow BPM (around 60 beats per minute). Ensure that every note falls precisely on the click or directly between the clicks.
If you are practicing a new song and want to find its natural pulse, you can use the Chords.me Tap BPM finder to establish a comfortable practice tempo. Start practicing at 70% of the song's actual speed, then gradually work your way up as your muscle memory solidifies.
Essential Practice Framework
To keep your practice sessions structured, use this quick reference table to guide your daily routine.
| Skill | Practice Method | Daily Time | Common Mistake to Avoid |
|---|---|---|---|
| Thumb Independence | Alternate P between strings 6, 5, and 4 over a G chord. | 5 minutes | Letting the thumb bend at the knuckle instead of the wrist joint. |
| PIMA Roll | Play P-I-M-A-M-I continuously over a C chord. | 5 minutes | Rushing the transition between the ring (A) and middle (M) fingers. |
| Travis Picking | Slow, metronome-aligned alternating bass with off-beat melody notes. | 10 minutes | Losing the steady bass pulse when the fingers pluck. |
| Chord Transitions | Change chords on beat 1 while keeping the picking pattern active. | 10 minutes | Pausing the picking hand while the fretting hand moves. |
Fingerstyle Guitar Mistakes Beginners Make
Even with dedicated practice, it is easy to fall into habits that limit your long-term progress. Recognizing these fingerstyle guitar mistakes beginners make early on will save you months of frustration.
1. Anchoring the Pinky Finger Too Hard
Many beginners plant their picking-hand pinky finger firmly on the guitar body to stabilize their hand. While a light touch can help with spatial awareness, pressing down hard creates severe tension in your wrist and forearm. This tension limits your speed and alters your tone. If you must anchor, let your pinky glide lightly across the pickguard without bearing any weight.
2. Flying Fingers
Watch your picking hand in a mirror. Do your fingers fly far away from the strings after they pluck? This is known as "flying fingers." It wastes energy and makes accuracy almost impossible at faster tempos. Keep your fingers hovering close to their assigned strings, ready for the next pluck. The movement should be small, efficient, and controlled.
3. Neglecting the Fretting Hand
It is easy to focus so much on your picking hand that you forget about your fretting hand. In fingerstyle, you must hold chords down firmly so the plucked notes ring out clearly. If your fretting fingers are lazy, you will get buzzing strings and dead notes, no matter how perfect your picking technique is. Press down close to the frets and keep your fingers arched.
4. Rushing the Tempo
The desire to sound like an advanced player often causes beginners to play faster than they are capable of. This leads to uneven timing, missed strings, and tension. Always prioritize a steady, slow rhythm over speed. A simple pattern played in perfect time sounds infinitely better than a complex pattern played with erratic timing.
Applying Fingerstyle to Real Songs
Once you have mastered basic patterns, the best way to improve is by applying them to actual songs. Classic fingerstyle songs like "Dust in the Wind" by Kansas, "Landslide" by Fleetwood Mac, or "House of the Rising Sun" by The Animals are perfect for beginners because they use standard open chords and repetitive picking patterns.
When learning a new song, it is incredibly helpful to have a clean, easy-to-read chord sheet in front of you. You can use the Chords.me Chord Sheet PDF Generator to create and print clean, distraction-free chord sheets for your favorite songs. This allows you to write your customized fingerstyle patterns, PIMA labels, and thumb-bass indicators directly onto the page, creating a highly personalized study guide.
If a song feels a bit too high or low for your voice, don't abandon it. You can use a capo to change the key while keeping the same easy open fingerstyle shapes. If you are unsure where to place the capo, tools like a capo calculator or chord transposer on Chords.me can help you find the perfect key instantly, keeping your practice sessions efficient and focused.
Learning fingerstyle guitar is a deeply rewarding learning process that transforms how you interact with your instrument. By breaking down complex patterns into simple, repeatable movements and maintaining a relaxed, tension-free technique, you will quickly build the muscle memory needed to play beautiful acoustic arrangements. Keep your practice slow, focus on clean tone and precise timing, and use the right tools to keep your learning organized. With patience and consistent daily practice, those independent finger movements will soon become second nature, allowing you to play with confidence and expression.
Related Chords.me Guides
For the next step, read CAGED System Guitar Explained: Complete Beginner’s Guide to Fretboard Mast, Major vs Minor Keys: Guitar Guide, and Blues Scale Guitar Guide: Beginner Practice Guide before moving on. You can also test the same idea in another key and keep practice timing steady with the tap tempo tool while practicing this lesson.
Practice This With Chords.me
Use the Tap Tempo to keep the exercise slow, steady, and repeatable. Focus on clean notes and steady timing before increasing speed.
Frequently Asked Questions
What is Fingerstyle Guitar?
Fingerstyle Guitar is a guitar-learning topic that helps players build a clearer connection between technique, sound, and practice. For beginners, the most useful approach is to learn the basic idea first, then apply it slowly on a tuned guitar.
Is fingerstyle guitar hard for beginners?
It can feel difficult at first, but it becomes manageable when you break it into small steps. Focus on clean notes, relaxed hands, and short practice sessions instead of trying to master everything in one day.
What should I practice first for fingerstyle guitar?
Start with the simplest version of the idea: one chord, one pattern, one short exercise, or one small section of the fretboard. Once that feels stable, add timing, transitions, or a second example.
What common mistakes should I avoid?
Avoid rushing, pressing harder than necessary, ignoring tuning, and practicing mistakes at full speed. Slow, accurate repetitions usually fix beginner problems faster than long unfocused practice sessions.
Which Chords.me tool helps with this topic?
The Guitar Tuner is the best supporting tool here because it helps with checking pitch, tuning stability, and practice accuracy. Use it before or during practice so the article’s examples translate into real playing more easily.
About the Contributor
Chords.me Tuning & Setup Desk Tuning, strings, and setup contributor
A brand contributor profile for Chords.me tuning and setup content. This desk focuses on tuning accuracy, string choice, fret buzz, intonation, action, and maintenance topics for everyday players. Content is checked for practical clarity, beginner readability, and accurate links to relevant Chords.me tools.