Vibrato Guitar Technique Explained: Beginner Guide
Vibrato Guitar Technique Explained: Beginner Guide: clear guitar guide with practical examples, common mistakes, and Chords.me practice tools.
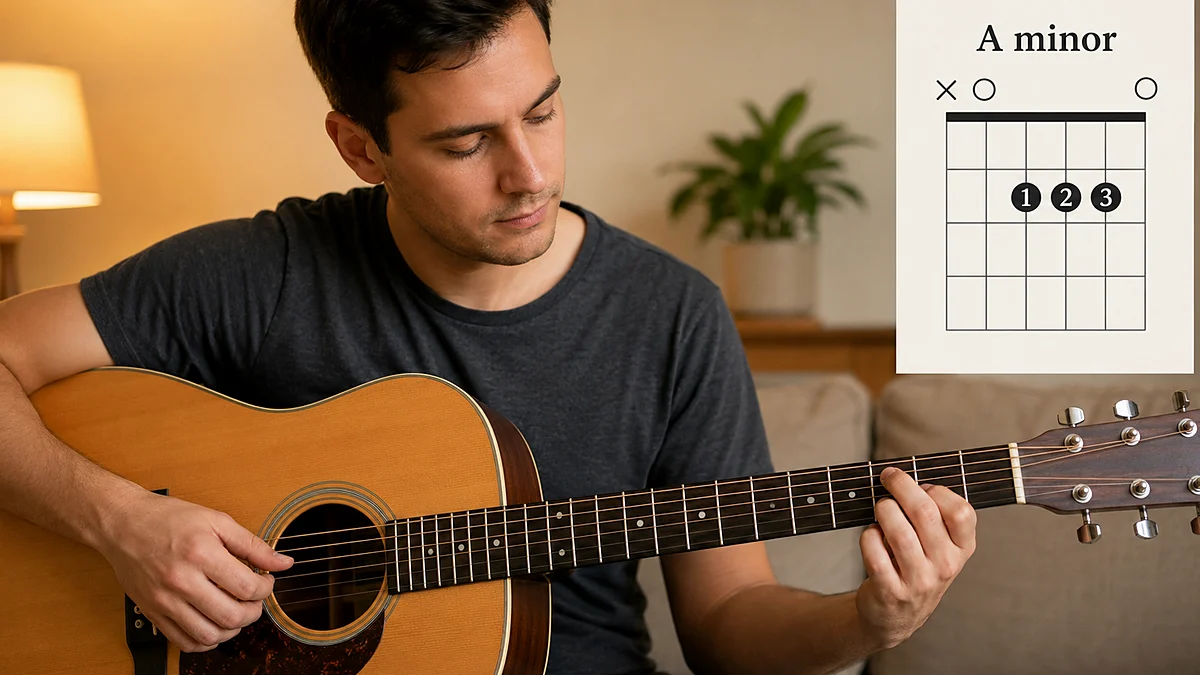
Think of your favorite guitar solo. What makes that one sustained note send shivers down your spine? It is rarely just the pitch itself. It is the way the note breathes, shakes, and sings. That vocal quality is vibrato.
Without it, sustained notes can sound flat, sterile, and mechanical. With it, you can make a single note carry the emotional weight of an entire song. Vibrato is often described as the fingerprint of a guitarist. It is Complete form of personal expression on the instrument.
If you want to transition from simply pressing down frets to truly playing the music, mastering this Lead Guitar Technique is essential. This guide covers the mechanics, styles, and common pitfalls of this fundamental skill.
What is vibrato guitar? Vibrato on the guitar is a technique where a player repeatedly alters the pitch of a sustained note by bending and releasing the string in a controlled, rhythmic motion. This creates a warm, singing effect that mimics the natural pitch modulation of the human voice.
Is Vibrato Guitar Good for Beginners?
Beginners often wonder if they should tackle vibrato early in their musical learning process or wait until they have mastered basic chords and scales. The short answer is yes, learning vibrato guitar for beginners is highly recommended.
While it requires fine motor control, starting early prevents you from developing a stiff, robotic playing style. It forces you to focus on hand anatomy, fretboard friction, and pitch awareness from day one.
Learning this technique early helps build the necessary finger and wrist strength. It also trains your ears. To execute a great vibrato, you must listen closely to the pitch. You have to hear when the note goes sharp and when it returns to its pitch center.
This active listening is a core skill for any improvising musician. While you might not sound like David Gilmour in your first week, practicing the basic movements early will pay strong dividends as your lead playing develops.
How to Learn Vibrato Guitar Step by Step
To execute a clean vibrato, you cannot simply wiggle your finger on the fretboard. This is a common point of confusion. True string-bending vibrato relies on the rotation of your wrist, not the independent movement of your finger joints.
Here is how to learn vibrato guitar step by step.
Step 1: Establish Your Anchor Point
Place your index finger's base knuckle (where the finger meets the palm) against the bottom of the guitar neck. This is your pivot point. Your thumb should rest lightly over the top of the neck or flat against the back, depending on your hand size. This anchor point acts as a hinge, allowing your wrist to rotate smoothly.
Step 2: Choose Your Fret and Finger
Start on the G string at the 7th or 9th fret. Use your ring finger (third finger) to fret the note. Place your middle finger (second finger) on the fret behind it. This is called "finger reinforcement." Using two fingers to push the string makes the physical movement much easier and gives you better control.
Step 3: The Rotation (The "Door Handle" Motion)
Do not try to push the string up using only the muscles in your ring finger. Instead, rotate your wrist as if you are turning a door handle or turning a key in an ignition. As your wrist rotates upward, your fretting fingers will push the string toward the ceiling. This action stretches the string, raising the pitch.
Step 4: The Release
Let your wrist rotate back to its starting position. This releases the tension on the string, allowing the note to return to its original, unbent pitch. This return to center is crucial. If you do not release the string fully, the note will sound permanently sharp.
Step 5: Establish a Rhythmic Pulse
Repeat this bend-and-release cycle in a steady rhythm. Start slowly. Do not rush the movement. Focus on making the upward curve of the bend and the downward curve of the release symmetrical.
Different Types of Guitar Vibrato
Not all vibrato is created equal. Different genres and instruments require different mechanical approaches. Understanding these styles will help you choose the right tone and texture for the song you are playing.
1. Rock and Blues Vibrato (Vertical)
This is the most common style of vibrato used on electric guitars. It involves bending the string perpendicular to the neck (pushing it up toward the low E string or pulling it down toward the high E string).
- When to use it: Rock solos, blues turnarounds, high-gain lead lines.
- The Sound: Aggressive, vocal, and highly expressive. It can range from slow and wide to fast and narrow.
2. Classical Vibrato (Horizontal)
In classical guitar playing, you do not bend the string up and down. Instead, you slide your finger back and forth along the length of the string, parallel to the neck. This movement gently stretches and compresses the string, creating a subtle pitch variation.
- When to use it: Acoustic classical pieces, jazz chords, or on nylon-string guitars where vertical bending is less effective.
- The Sound: Subtle, sweet, and warm. It is much more delicate than rock vibrato.
3. Slide/Whammy Bar Vibrato
For players using a tremolo arm (whammy bar) or a slide, vibrato is achieved mechanically. With a slide, you shake your hand back and forth over the fret wire. With a whammy bar, you gently wiggle the metal arm to alter the tension of all the strings simultaneously.
- When to use it: Surf rock, ambient music, or when playing slide guitar.
- The Sound: Liquid, dramatic, and capable of shifting both above and below the target pitch.
Vibrato Guitar Mistakes Beginners Make
Because vibrato is a highly physical technique, it is easy to fall into bad habits. Recognizing these vibrato guitar mistakes beginners make early on will save you months of frustration.
The "Frightened Squirrel" (Too Fast and Narrow)
This is the most common mistake. Beginners often shake their finger rapidly out of nervousness or lack of control. This results in a fast, shallow wiggle that sounds like a trembling animal rather than a singing voice.
- The Fix: Slow down. Use a metronome or the tap BPM tool to practice moving your wrist in time with a slow pulse. Focus on wide, deliberate movements before increasing the speed.
The Pitch-Shift Trap (Going Out of Tune)
If you bend the string up but do not return it to its original pitch, you are essentially playing out of tune. This makes your vibrato sound sour and unpleasant.
- The Fix: Before you start shaking the note, play the clean, unbent note. Listen to its pitch. When you apply vibrato, ensure that the "bottom" of your wave returns exactly to that starting pitch. Keeping your instrument perfectly tuned is essential here. Use the Guitar Tuner to ensure your open strings are perfectly calibrated before you begin your practice session.
Using Only Finger Strength
Trying to shake the string by bending your finger joints back and forth will quickly tire out your hand. It also lacks the power needed to shake heavier gauge strings.
- The Fix: Keep your finger joints relatively rigid. Let your forearm and wrist do ninety percent of the work. The finger is simply the point of contact that transfers the energy from your rotating wrist to the fretboard.
Developing Pitch Accuracy and Tone
To make your vibrato sound professional, you must master two key elements: accuracy and timing.
Accuracy refers to how far you bend the string. If you bend it too far, the note sounds chaotic. If you do not bend it enough, the effect is barely audible.
Timing refers to the speed of your cycles. Great guitarists match their vibrato speed to the tempo of the song. A slow, mournful ballad demands a wide, slow vibrato. A fast, energetic rock anthem benefit from a quicker, tighter pulse.
To build these skills, structure your daily practice with specific goals. Use the table below to guide your routine.
| Skill Focus | Practice Method | Daily Time Needed | Common Mistake to Avoid |
|---|---|---|---|
| Wrist Rotation | Practice the "door handle" motion without striking the string. Focus on muscle memory. | 3 Minutes | Using finger joints instead of the wrist pivot. |
| Pitch Return | Play a note, bend it up a half-step, and focus on releasing it back to the exact starting pitch. | 5 Minutes | Leaving the note sharp at the end of the cycle. |
| Rhythmic Alignment | Set a metronome to 60 BPM. Play one vibrato cycle per beat, then transition to two cycles per beat. | 5 Minutes | Shaking the string randomly without matching the tempo. |
| Finger Strength | Practice vibrato using your index finger alone, then your middle, then your ring finger. | 4 Minutes | Neglecting the weaker fingers (like the pinky). |
Practical Examples and Song Exercises
To make this Lead Guitar Technique feel real, you need to apply it to actual music. Here are three classic approaches to vibrato modeled after legendary guitarists.
1. The B.B. King "Butterfly" Vibrato
B.B. King had one of the most recognizable vibrato styles in music history. He would release his thumb entirely from the back of the neck, letting his hand flutter rapidly against the fretboard. This created a fast, shimmering effect.
- How to try it: Fret a note on the B string at the 10th fret with your index finger. Take your thumb off the neck. Let your hand hang loose and shake your wrist rapidly. This takes time to master, but it produces a beautiful, vocal shimmer.
2. The David Gilmour Slow Burn
The Pink Floyd guitarist is famous for his incredibly wide, expressive bends and slow, dramatic vibrato. He often applies vibrato at the very top of a full-step string bend.
- How to try it: Fret the G string at the 9th fret. Bend the string up a full step (so it sounds like the 11th fret). Once you reach the top of the bend, gently release and re-bend the string slightly to create a slow, wide vibrato. This requires immense finger strength and pitch control.
3. The Eric Clapton Wrist Rock
Clapton’s vibrato is smooth, even, and highly rhythmic. It is the textbook example of classical-meets-rock technique on an electric guitar.
- How to try it: Choose the 7th fret on the D string. Use your ring finger, supported by your middle finger. Keep your thumb hooked over the top of the neck. Rock your wrist back and forth in a steady, medium-tempo rhythm. Focus on keeping the cycles perfectly even.
Mastering Your Own Expressive Voice
Developing a great vibrato is a learning process of patience. It is a physical skill that relies on muscle memory, finger calluses, and ear training. Do not rush the process. Spend a few minutes at the start of every practice session focusing on slow, controlled wrist movements. Ensure your guitar is perfectly in tune using reliable tools, and practice matching your movements to a steady rhythm. Over time, your hand will naturally find its unique shake, and your guitar will truly begin to sing.
Related Chords.me Guides
For the next step, read CAGED System Guitar Explained: Complete Beginner’s Guide to Fretboard Mast, Blues Scale Guitar Guide: Beginner Practice Guide, and Major Scale Guitar Guide: Beginner Practice Guide before moving on. You can also test the same idea in another key and turn your chords and lyrics into a clean PDF while practicing this lesson.
Practice This With Chords.me
Use the Chord Transposer to test the idea in another key, then practice the same example slowly. Focus on clean notes and steady timing before increasing speed.
Frequently Asked Questions
What is Vibrato Guitar Technique?
Vibrato Guitar Technique is a guitar-learning topic that helps players build a clearer connection between technique, sound, and practice. For beginners, the most useful approach is to learn the basic idea first, then apply it slowly on a tuned guitar.
Is vibrato guitar technique hard for beginners?
It can feel difficult at first, but it becomes manageable when you break it into small steps. Focus on clean notes, relaxed hands, and short practice sessions instead of trying to master everything in one day.
What should I practice first for vibrato guitar technique?
Start with the simplest version of the idea: one chord, one pattern, one short exercise, or one small section of the fretboard. Once that feels stable, add timing, transitions, or a second example.
What common mistakes should I avoid?
Avoid rushing, pressing harder than necessary, ignoring tuning, and practicing mistakes at full speed. Slow, accurate repetitions usually fix beginner problems faster than long unfocused practice sessions.
Which Chords.me tool helps with this topic?
The Guitar Tuner is the best supporting tool here because it helps with checking pitch, tuning stability, and practice accuracy. Use it before or during practice so the article’s examples translate into real playing more easily.
About the Contributor
Chords.me Guitar Theory Desk Chord, scale, and fretboard contributor
A brand contributor profile for Chords.me theory articles. This desk focuses on chords, scales, keys, fretboard patterns, and practical examples that connect music theory to real guitar playing. Content is checked for practical clarity, beginner readability, and accurate links to relevant Chords.me tools.