How to Read Guitar Tabs: Beginner Guide
How to Read Guitar Tabs: Beginner Guide: clear guitar guide with practical examples, common mistakes, and Chords.me practice tools.
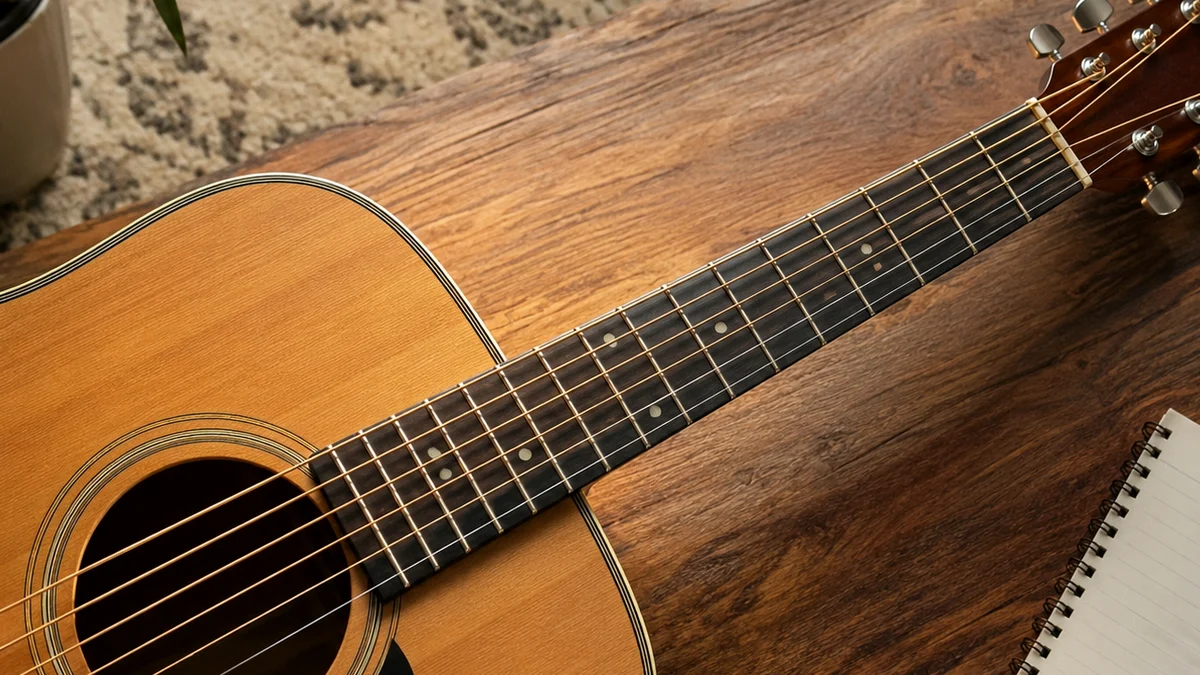
Think back to the first time you picked up a guitar. Perhaps you wanted to play a favorite classic rock riff, a delicate acoustic fingerpicking pattern, or a simple three-chord pop song. If you tried to open a book of standard musical notation, you were likely met with a wall of clefs, key signatures, and black dots on five lines. For many beginners, traditional sheet music feels like a foreign language and acts as an immediate roadblock.
Fortunately, guitar players have a highly intuitive shortcut: guitar tablature, commonly known as tabs. This system bypasses traditional music theory and shows you exactly where to place your fingers on the fretboard.
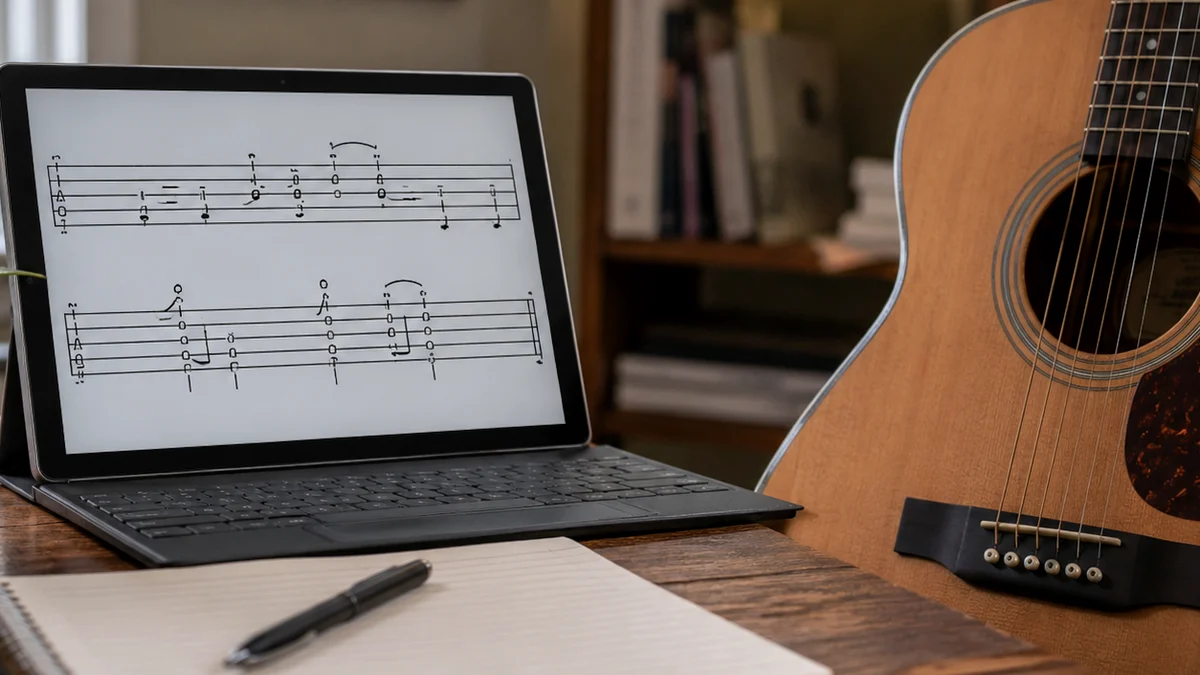
How to Read Guitar Tabs Correctly
To read guitar tabs accurately, follow this fundamental step-by-step process:
- Identify the horizontal lines: Look at the six horizontal lines on the page. These represent the six strings of your guitar. The bottom line is the thickest string (low E), and the top line is the thinnest string (high E).
- Read from left to right: Just like reading a book, look at the numbers placed on the lines from left to right. This represents the chronological order of the notes.
- Locate the fret numbers: The numbers on the lines tell you which fret to press down. A
0means play the open string without fretting. A3means press down behind the third fret wire. - Execute special techniques: Watch for letters or symbols between the numbers (such as
hfor hammer-on,pfor pull-off, or/for slide) and perform the corresponding physical action.
What is Guitar Tablature?
Guitar tablature is a simplified form of music notation designed specifically for fretted string instruments. While standard musical notation tells you what pitch to play, tablature tells you where to play it on your instrument.
This distinction is crucial because the guitar is unique: the exact same pitch can often be played in multiple locations on the fretboard. For example, the note E4 (the open high E string) can also be played on the 5th fret of the B string, the 9th fret of the G string, the 14th fret of the D string, and the 19th fret of the A string. Standard sheet music does not tell you which option to choose, leaving you to figure out the most efficient hand positions on your own. Tab notation solves this problem entirely by pointing you to the exact string and fret.
The history of tablature actually goes back centuries, long before the modern six-string guitar was invented. During the Renaissance and Baroque eras, lute players used various forms of tablature to write down complex polyphonic music. The system has survived for so long because it is highly practical. It maps directly to the physical layout of the instrument, making it the perfect tool for self-taught musicians and beginners who want to start making music quickly.
Understanding the Tab Grid: Strings and Frets
To understand how to read guitar tabs, you must first understand how the physical guitar relates to the lines on the page. This is the most common stumbling block for beginners, as the visual representation can feel upside down at first glance.
The Six Strings
A standard guitar has six strings, tuned from lowest pitch to highest pitch: E, A, D, G, B, and E. In tab notation, these strings are represented by six horizontal lines.
Notice that the thickest, lowest-pitched string (the low E) is at the bottom of the tab staff, while the thinnest, highest-pitched string (the high E) is at the top.
If you are holding your guitar in playing position and look down at the fretboard, the low E string is physically closest to your face. However, in tablature, it is placed at the bottom. The easiest way to conceptualize this layout is to imagine laying your guitar flat on its back on a table in front of you, with the headstock pointing to the left. When you look down at it in this position, the thinnest string is furthest away from you (corresponding to the top line of the tab), and the thickest string is closest to you (corresponding to the bottom line).
The Fret Numbers
The numbers placed directly on these horizontal lines represent the frets on your guitar. The metal wires running vertically across your guitar's neck are the fret wires. When a tab tells you to play a specific fret, you do not press down directly on top of the metal wire. Instead, you place your finger in the space just behind that wire (toward the headstock). This shortens the vibrating length of the string and raises the pitch.
- 0 (Zero): This indicates an "open string." You pluck the string with your picking hand without pressing down any frets with your fretting hand.
- 1: Press down the string in the space between the nut (the plastic or bone piece at the top of the neck) and the first metal fret wire.
- 5: Press down the string in the space between the fourth and fifth metal fret wires.
If a number on a line, you play that note. If a line is empty, you do not play that string.
How to Learn How to Read Guitar Tabs Step by Step
Let us walk through how to learn how to read guitar tabs step by step using real-world musical examples. We will start with a single-note melody and progress to chords.
Step 1: Reading Single Notes in Sequence
When numbers are spread out horizontally across the page, you play them one after the other from left to right. Take a look at this basic, recognizable melody:
E|-----------------------------------|
B|-----------------------------------|
G|---0---0---2---0-------0---0---2---|
D|-------------------3---------------|
A|-----------------------------------|
E|-----------------------------------|
To play this passage:
- Locate the first note. It is a
0on the G string (the third line from the top). You pluck the open G string. - The next note is also a
0on the G string. Pluck it again. - The third note is a
2on the G string. Place your middle finger just behind the second fret of the G string and pluck. - The fourth note is a
0on the G string. Lift your finger and play the open G string again. - The fifth note is a
3on the D string (the fourth line from the top). Place your ring finger on the third fret of the D string and pluck. - The final notes are two open G strings followed by a second fret on the G string.
By following this sequence, you have just played the opening line of a simple folk melody.
Step 2: Reading Chords (Stacked Numbers)
When numbers are stacked vertically on top of one another, it means you must play those notes at the exact same time. This is how chords are represented in guitar tablature.
Look at this example of three basic open chords:
E|---0-------3-------2---|
B|---1-------0-------3---|
G|---0-------0-------2---|
D|---2-------0-------0---|
A|---3-------2-----------|
E|-----------3-----------|
Let us break down these three vertical stacks from left to right:
- The First Stack (C Major Chord): numbers on five strings, while the bottom line (low E) is empty. This means you do not play the low E string. You press the 3rd fret on the A string, the 2nd fret on the D string, leave the G string open, press the 1st fret on the B string, and leave the high E string open. Strum these five strings simultaneously in a single downward motion.
- The Second Stack (G Major Chord): This stack has numbers on all six lines. Press the 3rd fret on the low E string, the 2nd fret on the A string, leave the D, G, and B strings open, and press the 3rd fret on the high E string. Strum all six strings together.
- The Third Stack (D Major Chord): The bottom two lines (E and A) are empty. Press the 2nd fret on the G string, the 3rd fret on the B string, and the 2nd fret on the high E string. Strum only the top four strings.
When practicing these chords, it is highly beneficial to have a clean reference sheet. If you are compiling your own chord diagrams and lyrics, using a tool like the Chords.me Chord Sheet PDF Generator can help you format your charts alongside your tabs, making it much easier to transition between reading single-note riffs and full rhythm arrangements.
Common Tab Symbols and Techniques
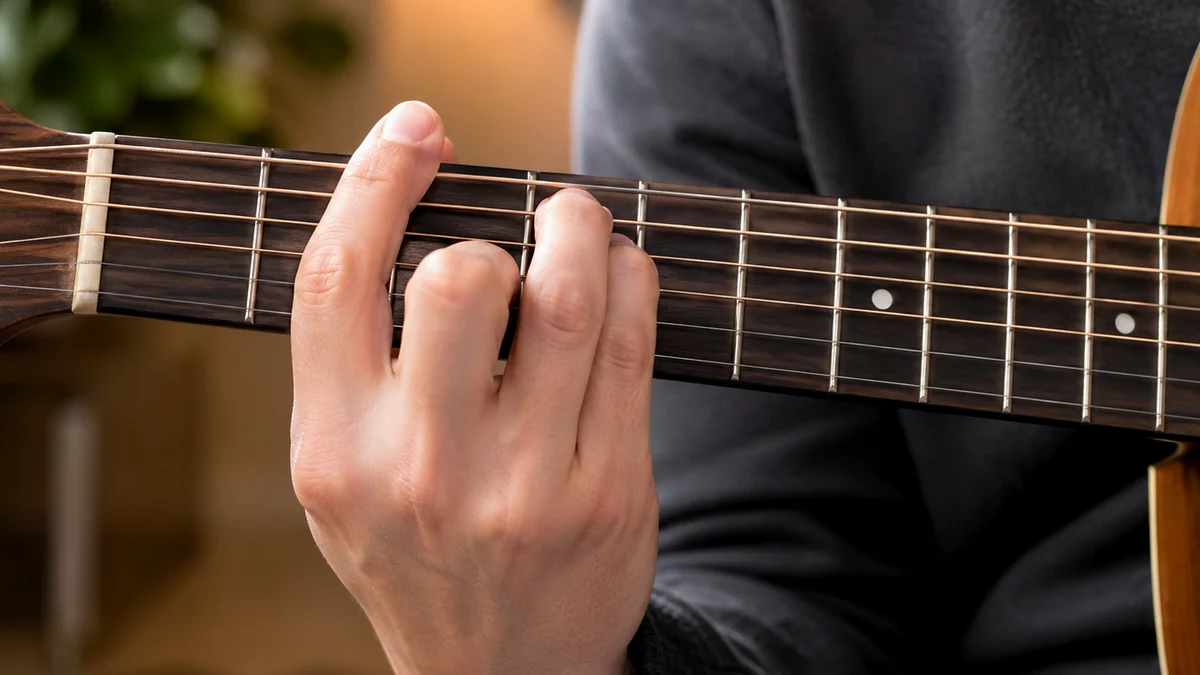
A guitar is an incredibly expressive instrument. We do not just pluck notes; we bend them, slide them, shake them, and snap them. To represent these physical techniques on a flat page, tab notation uses a variety of symbols.
The table below outlines the most common symbols you will encounter when learning how to read guitar tabs for beginners.
| Tab Symbol | Meaning | How to Play It | Beginner Note |
|---|---|---|---|
| h | Hammer-on | Pluck the first note, then use a fretting finger to tap down firmly on the higher fret to sound the second note without plucking again. | Requires speed and precision to get a clear tone. |
| p | Pull-off | Pluck a fretted note, then pull your finger off the string with a slight downward flick to sound a lower fretted note. | Make sure the lower note is already fretted before you pull off. |
| / or \\ | Slide (Up or Down) | Pluck the starting note, then slide your fretting finger up or down the string to the target fret while maintaining downward pressure. | Keep your finger firmly pressed against the wood of the fretboard. |
| b | Bend | Pluck the note, then push or pull the string across the fretboard to stretch it, raising the pitch. | Use your other fingers behind the bending finger for support. |
| r | Release | After bending a note up, let the string return to its original position while it is still vibrating. | Keep the pressure consistent so the note does not die out. |
| ~ or v | Vibrato | Rapidly bend and release the string slightly to create a pulsing, singing effect. | Start slow and focus on a wide, even pitch variation. |
| x | Palm Mute / Dead Note | Rest the side of your picking hand lightly on the strings near the bridge, or lay your fretting fingers flat across the strings to create a percussive click. | Do not press too hard, or you will mute the pitch completely. |
Let us look at how these symbols appear in context within a line of tab:
E|-----------------------------------------|
B|-----------------------------------------|
G|---5h7---7p5---5/7---7b9---(9)r7---7~----|
D|-----------------------------------------|
A|-----------------------------------------|
E|-----------------------------------------|
Here is how you would play this expressive lick step-by-step:
5h7on the G string: Fret the 5th fret, pluck the string, and then immediately "hammer" your ring finger down on the 7th fret without plucking again.7p5on the G string: Fret both the 7th and 5th frets. Pluck the 7th fret, then pull your ring finger off to sound the 5th fret.5/7on the G string: Fret the 5th fret, pluck, and slide your finger up to the 7th fret.7b9on the G string: Fret the 7th fret and pluck. Then, bend the string upward until the pitch matches the sound of the 9th fret.(9)r7on the G string: While the string is still bent up to the pitch of the 9th fret, release the bend back down to the natural 7th fret pitch.7~on the G string: Play the 7th fret and apply vibrato by gently shaking your fretting hand wrist.
Reading Rhythm and Timing in Tabs
One of the greatest limitations of traditional, text-based ASCII tablature is its lack of rhythm notation. If you only look at numbers on lines, you cannot tell how long to hold a note, where the beats fall, or what the tempo of the song is.
The Limitations of Text Tabs
In simple text files found on internet forums, authors often try to show timing by spacing the numbers out. If two numbers are close together, you play them quickly. If they are far apart, you hold them longer. This is a highly inaccurate system that relies entirely on your prior knowledge of the song. If you have never heard the track before, a text tab alone will not teach you how to play it with the correct rhythm.
Modern Hybrid Tabs
To solve this issue, modern sheet music books, digital tab software, and high-quality online learning platforms use hybrid notation. This system displays a standard musical staff directly above the tab staff.
The standard notation staff provides the precise rhythmic values (whole notes, half notes, quarter notes, eighth notes, sixteenth notes, and rests), while the tab staff below shows you where to put your fingers. Some modern tabs also include rhythmic stems and flags attached directly to the numbers on the tab lines:
- Stems: Vertical lines extending down from the numbers indicate the beat divisions (e.g., a single vertical line often represents a quarter note).
- Flags/Beams: Horizontal bars connecting the bottom of the stems indicate eighth notes or sixteenth notes.
- Bar Lines: Vertical lines crossing all six string lines represent the boundaries of each musical measure (bar), helping you keep track of the time signature (such as 4/4 or 3/4 time).
How to Overcome Rhythm Challenges
When you are learning how to read guitar tabs as a beginner, the best way to master rhythm is to combine visual reading with active listening.
- Listen to the recording: Play the original track at a slow speed and try to tap your foot to the beat while following the tab with your eyes.
- Isolate the rhythm: Put your guitar down and clap the rhythm of the notes before you try to play them on the fretboard.
- Use a metronome: Start practicing the tab at a very slow tempo (e.g., 60 BPM). Do not speed up until you can play every note perfectly in time with the click.
What Mistakes Should Beginners Avoid with How to Read Guitar Tabs?
Learning a new skill always comes with a few traps. By knowing what mistakes should beginners avoid with how to read guitar tabs, you can save yourself hours of frustration and prevent bad habits from taking root.
Mistake 1: Reading the Strings Upside Down
As discussed earlier, this is the number one error for new players. A beginner will see a 3 on the bottom line of the tab and immediately place their finger on the 3rd fret of the high E string (the thinnest string).
- The Fix: Always remind yourself that the bottom line is the floor, and the top line is the ceiling. The floor is the heavy, low-pitched string. The ceiling is the light, high-pitched string. If a note on the bottom line, your hand should be reaching up toward the ceiling to press the thickest string.
Mistake 2: Ignoring Finger Placement and Efficiency
Tablature tells you which fret to press, but it almost never tells you which finger to use to press it. If a tab shows a sequence like 2 on the G string, 3 on the B string, and 2 on the high E string, an inexperienced player might try to use their index finger for all three notes, hopping wildly across the strings.
- The Fix: Look ahead at the next few notes in the tab before you play. Position your hand so that your fingers are distributed naturally across the frets. As a general rule of thumb, try to assign one finger per fret. If you are playing notes on the 2nd, 3rd, and 4th frets, use your index finger for the 2nd fret, your middle finger for the 3rd fret, and your ring finger for the 4th fret.
Mistake 3: Playing with a Broken Rhythm
Many beginners play a note, stop to look at the tab to find the next number, move their finger, and then play the next note. This creates a jerky, disconnected sound that does not resemble music.
- The Fix: It is far better to play a riff at a painfully slow, steady tempo than to play it fast with pauses between every note. Use a slow metronome setting. If you cannot make the transition to the next note in time with the beat, lower the tempo further. Your brain needs time to process the visual information and translate it into physical movement.
Mistake 4: Relying Solely on Tabs and Ignoring Your Ears
Because tabs are so easy to read, it is easy to become lazy. Some players stop listening to the music and simply paint-by-numbers. Furthermore, because many tabs on the internet are created by hobbyists, they frequently contain errors, incorrect notes, or inefficient fingerings.
- The Fix: Treat tablature as a guide, not absolute law. If a note in a tab sounds wrong to your ears when you play along with the record, trust your ears. Experiment with neighboring frets to see if you can find a note that fits the melody better.
How Long Does It Take to Learn How to Read Guitar Tabs?
If you are wondering how long does it take to learn how to read guitar tabs, the answer is surprisingly encouraging.
Use this as a practical starting point for How to Read Guitar Tabs. Before you move on, play a few familiar chords and check that the guitar sounds stable across all six strings.
Related Chords.me Guides
For the next step, read CAGED System Guitar Explained: Complete Beginner’s Guide to Fretboard Mast, Blues Scale Guitar Guide: Beginner Practice Guide, and Major Scale Guitar Guide: Beginner Practice Guide before moving on. You can also test the same idea in another key and keep practice timing steady with the tap tempo tool while practicing this lesson.
Practice This With Chords.me
Use the Chord Sheet PDF Generator to test the layout and make the chart easier to read. Focus on clean notes and steady timing before increasing speed.
Frequently Asked Questions
What is the best way to read guitar tabs?
The best way to read guitar tabs is to slow the movement down, use a tuned guitar, and repeat a short exercise until it feels controlled. Speed should come after clean sound and steady timing.
Is how to read guitar tabs hard for beginners?
It can feel difficult at first, but it becomes manageable when you break it into small steps. Focus on clean notes, relaxed hands, and short practice sessions instead of trying to master everything in one day.
What should I practice first for how to read guitar tabs?
Start with the simplest version of the idea: one chord, one pattern, one short exercise, or one small section of the fretboard. Once that feels stable, add timing, transitions, or a second example.
What common mistakes should I avoid?
Avoid rushing, pressing harder than necessary, ignoring tuning, and practicing mistakes at full speed. Slow, accurate repetitions usually fix beginner problems faster than long unfocused practice sessions.
Which Chords.me tool helps with this topic?
The Guitar Tuner is the best supporting tool here because it helps with checking pitch, tuning stability, and practice accuracy. Use it before or during practice so the article’s examples translate into real playing more easily.
About the Contributor
Chords.me Tuning & Setup Desk Tuning, strings, and setup contributor
A brand contributor profile for Chords.me tuning and setup content. This desk focuses on tuning accuracy, string choice, fret buzz, intonation, action, and maintenance topics for everyday players. Content is checked for practical clarity, beginner readability, and accurate links to relevant Chords.me tools.