Guitar Tabs for Beginners: Complete Step-by-Step Guide to Reading Tablatur
Guitar Tabs for Beginners: Complete Step-by-Step Guide to Reading Tablatur: clear guitar guide with practical examples, common mistakes, and Chords.me practice...
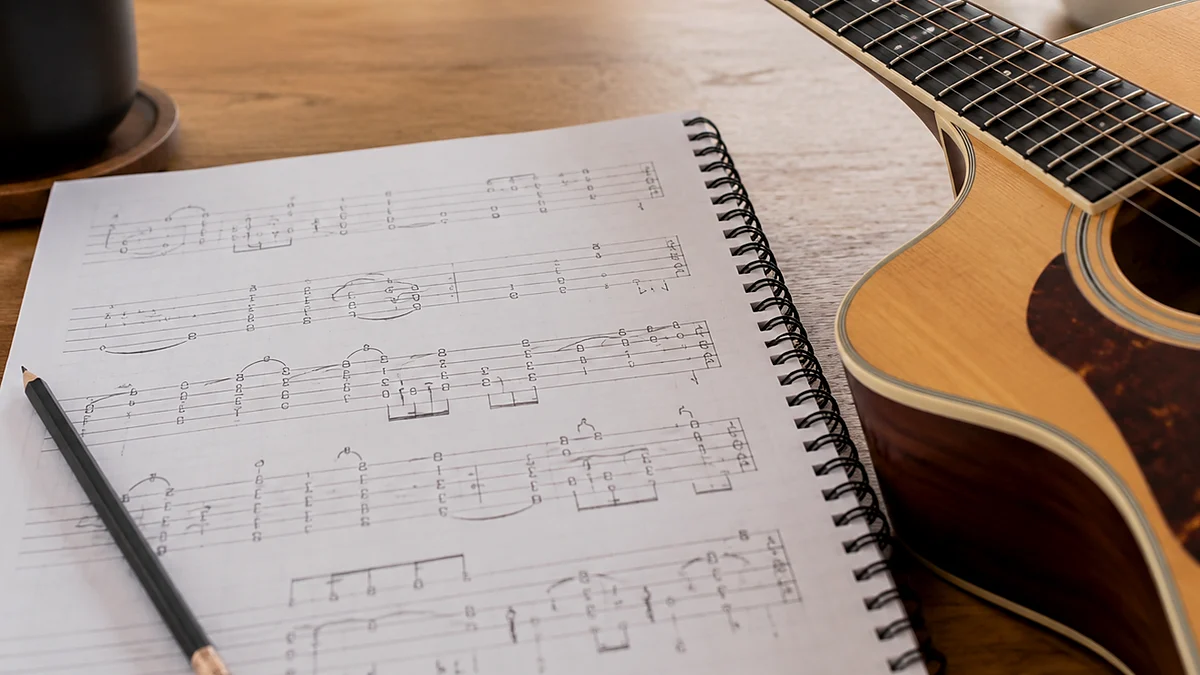
When you pick up a guitar for the first time, looking at traditional sheet music can feel like trying to crack a complex historical code. Standard notation tells you exactly what note to play, but it does not easily show you where to play it on the guitar's fretboard. Because the same note can be played in multiple locations on the neck, traditional music notation presents a steep learning curve for new players.
This is why guitar tablature, commonly known as "tabs," is the go-to system for guitarists worldwide. It is a visual map of your guitar’s fretboard that tells you exactly which string to pluck and which fret to press.
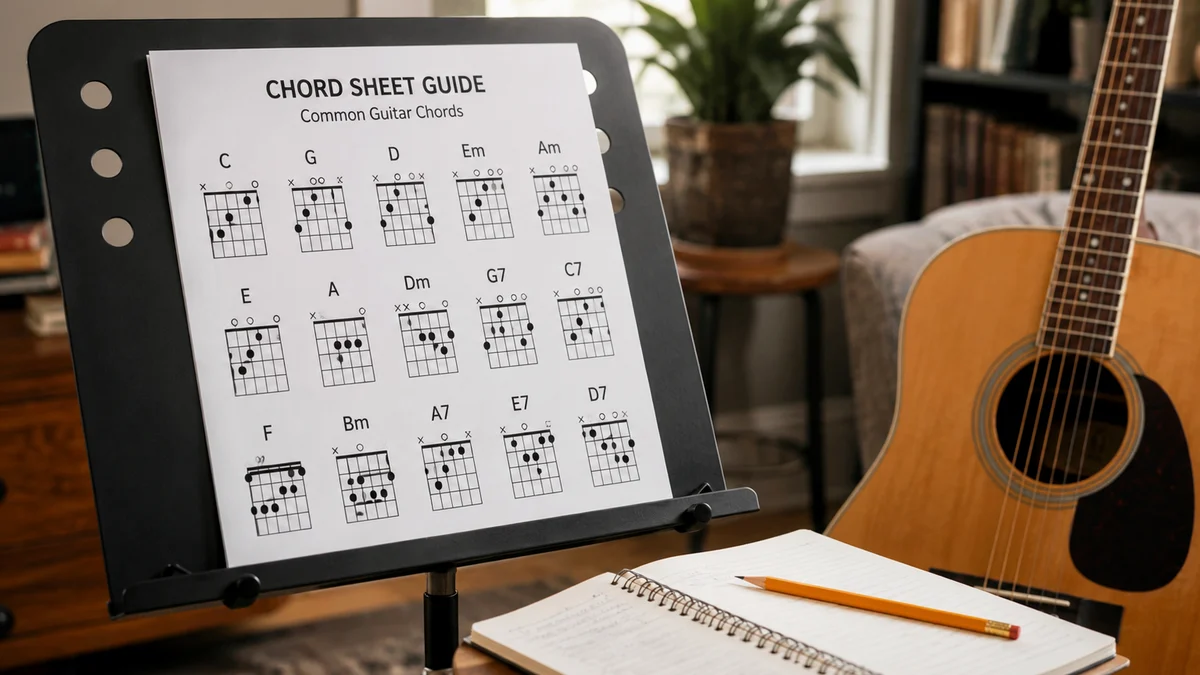
What is guitar tabs for beginners? Guitar tabs for beginners is a simplified, visual system of music notation that represents the six strings of the guitar as horizontal lines, using fret numbers to show the player exactly where to place their fingers. It bypasses the need to read traditional sheet music, making it the fastest way to learn songs.
If you are wondering, is guitar tabs for beginners good for beginners, the answer is a resounding yes. It allows you to skip years of music theory study and jump straight into playing recognizable riffs, chords, and melodies. This guide will walk you through how to read guitar tabs step by step, decode common symbols, avoid frequent pitfalls, and start playing music today.
Understanding the Grid: How Guitar Tablature Works
To understand how to use guitar tabs for beginners, you must first understand how the tab staff relates to your physical instrument.
Imagine placing your guitar flat on your lap, with the fretboard facing up toward the ceiling and the headstock pointing to your left. When you look down at the strings, the thinnest string (the 1st string) is furthest from your body, and the thickest string (the 6th string) is closest to your chest.
Guitar tablature mimics this exact perspective on the page. A standard tab staff consists of six horizontal lines. Each line represents one of the six strings of the guitar.
The most common point of confusion for beginners is that the top line of the tab represents the thinnest, highest-pitched string (high E), while the bottom line represents the thickest, lowest-pitched string (low E). It feels upside down at first. Just remember: the highest line on the page represents the highest pitch on your guitar.
Understanding Fret Numbers
Unlike standard sheet music, which uses oval-shaped notes on a staff, tablature uses numbers. These fret numbers tell you where to press your finger down on the fretboard.
- The Number 0: Represents an "open string." This means you pluck the designated string without pressing down on any frets.
- The Number 1: Means you press down in the space between the nut (the plastic piece near the tuning pegs) and the first metal fret wire.
- The Number 5: Means you press down in the space just behind the fifth metal fret wire.
Always place your fingertip just behind the fret wire, rather than directly on top of it. This ensures a clean, clear tone without unwanted buzzing.
Reading Left to Right
You read guitar tabs just like you read a book: from left to right.
If numbers spread out horizontally across the lines, you play those notes one after the other. This is how melodies, riffs, and guitar solos are written.
If numbers stacked vertically in a single column, you play those notes at the exact same time. This is how chords are written.
How to Learn Guitar Tabs for Beginners Step by Step
Learning how to read tabs is a physical skill that requires coordinating your eyes, brain, and hands. Follow these steps to build a solid foundation.
Step 1: Check the Tuning
Before you play a single note, look at the far left side of the tab staff. You will usually see letters indicating the tuning of each string. By default, most tabs are written in standard tuning: E - A - D - G - B - e (from lowest string to highest). If the tab requires an alternative tuning, such as Drop D or Half-Step Down, it will be noted at the very beginning of the page.
Step 2: Read the First Note
Look at the first number on the left side of the staff. Identify which horizontal line it sits on. This tells you which string to play. Next, look at the number itself. This tells you which fret to press.
Step 3: Position Your Fretting Hand
Place your fretting-hand finger on the correct fret. Use the tip of your finger and arch your knuckles so you do not accidentally touch and mute adjacent strings.
Step 4: Pluck the String
With your picking hand (either using a plectrum or your thumb/fingers), pluck the exact string indicated by the tab. Let the note ring out clearly.
Step 5: Move to the Next Note
Shift your eyes to the right to find the next number. Locate the string and fret, move your fretting hand to the new position, and pluck. Repeat this process to build a continuous melody.
Deciphering Tab Symbols: The Guitarist's Secret Code
Guitar players do not just play notes; they bend them, slide them, shake them, and mute them. To represent these expressive techniques, tablature uses a variety of unique symbols.
Understanding these symbols is essential for capturing the true feel of a song. The table below outlines the most common symbols you will encounter in beginner and intermediate tabs.
| Tab Symbol | Meaning | How to Play It | Beginner Note |
|---|---|---|---|
| h | Hammer-on | Pluck the first note, then hammer a finger onto a higher fret without plucking again. | Requires a strong, quick tap with the fingertip. |
| p | Pull-off | Pluck a fretted note, then pull your finger off to sound a lower fretted (or open) note. | Pull slightly downward to "pluck" the string with your fretting finger. |
| / | Slide Up | Pluck a note and slide your finger up the string to a higher fret. | Keep firm pressure on the string as you slide. |
| \\ | Slide Down | Pluck a note and slide your finger down the string to a lower fret. | Maintain pressure so the note continues to ring. |
| b | Bend | Pluck a note and physically push or pull the string across the fretboard to raise its pitch. | Use multiple fingers to support the bend for extra strength. |
| r | Release Bend | After bending a note up, bring the string back down to its original pitch. | Keep the note ringing as you lower the string. |
| v or ~ | Vibrato | Gently shake the fretted string up and down repeatedly to create a singing effect. | Rotate your wrist slightly to control the speed of the shake. |
| x | Muted Note | Lay your fretting hand lightly across the strings without pressing down, then strike them. | Creates a percussive, clicky sound instead of a clear pitch. |
Let's look at these physical techniques in more detail so you can execute them properly when them in your practice sessions.
Hammer-ons and Pull-offs (Legato)
Hammer-ons and pull-offs allow you to play smoothly and quickly. They are often grouped together under the term "legato."
In a tab, a hammer-on looks like this:
E |-------------|
B |---3h5-------|
G |-------------|
To play this, you press down on the 3rd fret, pluck the string, and then quickly tap your ring finger down onto the 5th fret like a hammer. You do not pluck the string a second time; the sound of the 5th fret comes entirely from the force of your hammer-on finger.
A pull-off is the exact opposite:
E |-------------|
B |---5p3-------|
G |-------------|
To play this, you must have fingers on both the 5th and 3rd frets simultaneously. Pluck the string while holding the 5th fret, then pull your finger off the string with a slight downward flicking motion. This action plucks the string a second time, letting the note at the 3rd fret ring out.
Slides
Slides create a smooth transition between notes. They are represented by forward slashes / or backslashes \.
E |-------------|
B |---3/5\3-----|
G |-------------|
To play this sequence, press the 3rd fret, pluck the string, and slide your finger up to the 5th fret without releasing pressure. Once you reach the 5th fret, slide back down to the 3rd fret. You only pluck the string once at the very beginning of the slide.
Bends and Releases
Bends are highly expressive and are a staple of blues and rock guitar.
E |-------------|
B |---7b9-------|
G |-------------|
This indicates that you should fret the 7th fret, pluck the string, and then push the string upward toward the ceiling until the pitch rises to match the sound of the 9th fret. If 7b9r7, it means you bend the string up to the pitch of the 9th fret, and then release it back down to the 7th fret while it is still ringing.
Practical Examples: Reading Your First Riffs
The best way to learn how to read guitar tabs is to apply the knowledge to real-world examples. Let's look at two practical scenarios: a single-note melody and a basic chord progression.
Example 1: A Simple Single-Note Melody
Below is a basic melody written in tab format. Try to play through it slowly, note by note, moving from left to right.
E |---------------------------------|
B |---------------------------------|
G |---------0---2---2/4---2---0-----|
D |-----2-------------------------2-|
A |---------------------------------|
E |---------------------------------|
Let's break down exactly how you play this step by step:
- Locate the 4th string (D string). Press down on the 2nd fret and pluck the string.
- Move to the 3rd string (G string). Pluck it open (0), meaning your fretting hand does not press any frets.
- On the same 3rd string, press the 2nd fret and pluck.
- Pluck the 2nd fret again, but immediately slide up to the 4th fret (
2/4). - On the same string, press the 2nd fret and pluck.
- Pluck the open (0) 3rd string.
- Finish by moving back to the 4th string (D string) and playing the 2nd fret.
Example 2: Reading Chords in Tablature
Chords are represented as vertical stacks of numbers. This tells you to press all the indicated frets at the same time and strum the strings together.
G C D
E |---3-------0-------2---|
B |---0-------1-------3---|
G |---0-------0-------2---|
D |---0-------2-------0---|
A |---2-------3-----------|
E |---3-------------------|
To play the G major chord shown on the left:
- Place your fingers on the 3rd fret of the 6th string, the 2nd fret of the 5th string, and the 3rd fret of the 1st string.
- The 4th, 3rd, and 2nd strings are played open (0).
- Strum all six strings simultaneously.
To play the C major chord in the middle:
- Place your fingers on the 3rd fret of the 5th string, the 2nd fret of the 4th string, and the 1st fret of the 2nd string.
- The 3rd and 1st strings are played open.
- Notice there is no number on the 6th string (the bottom line is blank). This means you do not strum the low E string. You only strum from the 5th string down.
To play the D major chord on the right:
- Fret the 2nd fret of the 3rd string, the 3rd fret of the 2nd string, and the 2nd fret of the 1st string.
- The 4th string is played open.
- The 5th and 6th strings are left blank, meaning you should avoid strumming them.
Guitar Tabs for Beginners Mistakes Beginners Make
Even with a clear system like tablature, it is easy to fall into bad habits. Being aware of these common guitar tabs for beginners mistakes beginners make will save you hours of frustration.
1. Reversing the Strings
The most common mistake is playing the tab upside down. Beginners often look at the top line of the tab and assume it represents the thickest string because it is physically at the top when they look down at their guitar. Always remind yourself: the top line of the tab is the thinnest string (high E), and the bottom line is the thickest string (low E).
2. Ignoring Rhythm and Timing
The biggest limitation of standard guitar tablature is that it rarely shows rhythm notation. Traditional tabs tell you what notes to play, but they do not tell you how long to hold them, or where the beats fall.
If you try to play a tab for a song you have never heard, it will sound like a random collection of notes. To fix this:
- Always listen to the original recording of the song while looking at the tab.
- Hum the rhythm of the melody before trying to play it on the guitar.
- Look for tabs that include standard notation rhythm stems underneath the tab numbers if you want to learn precise timing.
3. Using Inefficient Fingering
Tabs show you which fret to press, but they rarely tell you which finger to use to press it. If you use only your index finger to slide up and down the neck, your playing will sound choppy and slow.
- The One-Finger-Per-Fret Rule: If a riff spans frets 2, 3, 4, and 5, assign your index finger to fret 2, middle finger to fret 3, ring finger to fret 4, and pinky to fret 5. This minimizes unnecessary hand movement.
- Look ahead at the next few notes in the tab to plan your finger placement.
4. Overlooking the Tuning and Capo Instructions
If you play a tab perfectly but it sounds completely wrong, double-check the top of the page. Many popular songs require a capo on a specific fret, or require you to tune your guitar down a half-step. If a tab says "Capo 3," then fret 0 becomes the 3rd fret of your guitar, and all other numbers are counted relative to the capo.
Bridging the Gap: Combining Tabs with Practical Music Tools
Reading tabs is a fantastic way to learn songs, but it is only one part of your musical learning process. To grow as a guitarist, you need to combine tablature with other practical tools that help you understand the structure of the music you are playing.
When you are practicing a new song, you might find that the tab is written in a key that is difficult to sing along with, or it contains chords that are too challenging for your current skill level. This is where online music tools become invaluable.
If you find a chord progression within a tab that you want to save, customize, or share, you can use the Chord Sheet PDF Generator on Chords.me. It allows you to create clean, easy-to-read chord sheets that you can print out or keep on your tablet. This is incredibly helpful for building your personal songbook as you transition from reading single-note tabs to playing full rhythm accompaniments.
Additionally, keeping your guitar perfectly in tune is non-negotiable when reading tabs. If your strings are out of tune, even the most accurate tab will sound terrible. Make sure to use a reliable guitar tuner before every practice session, and utilize a capo calculator if you need to transpose a tabbed song to fit your vocal range.
Learning to read guitar tablature is like unlocking a doorway to thousands of songs. By understanding the visual grid, mastering basic symbols like slides and hammer-ons, and avoiding common timing mistakes, you can fast-track your progress on the instrument. Take your time, practice with a metronome or play along with the original tracks, and use digital tools to keep your music organized. With consistent practice, reading tabs will become second nature, allowing you to focus on what matters most: making music.
Related Chords.me Guides
For the next step, read CAGED System Guitar Explained: Complete Beginner’s Guide to Fretboard Mast, Guitar Tabs Explained for Beginners: A Complete Step-by-Step Guide, and Beginner Guitar Lessons Roadmap: Your Step-by-Step Path to Playing Songs before moving on. You can also test the same idea in another key and keep practice timing steady with the tap tempo tool while practicing this lesson.
Practice This With Chords.me
Use the Chord Sheet PDF Generator to test the layout and make the chart easier to read. Focus on clean notes and steady timing before increasing speed.
Frequently Asked Questions
What is Guitar Tabs?
Guitar Tabs is a guitar-learning topic that helps players build a clearer connection between technique, sound, and practice. For beginners, the most useful approach is to learn the basic idea first, then apply it slowly on a tuned guitar.
Is guitar tabs hard for beginners?
It can feel difficult at first, but it becomes manageable when you break it into small steps. Focus on clean notes, relaxed hands, and short practice sessions instead of trying to master everything in one day.
What should I practice first for guitar tabs?
Start with the simplest version of the idea: one chord, one pattern, one short exercise, or one small section of the fretboard. Once that feels stable, add timing, transitions, or a second example.
What common mistakes should I avoid?
Avoid rushing, pressing harder than necessary, ignoring tuning, and practicing mistakes at full speed. Slow, accurate repetitions usually fix beginner problems faster than long unfocused practice sessions.
Which Chords.me tool helps with this topic?
The Guitar Tuner is the best supporting tool here because it helps with checking pitch, tuning stability, and practice accuracy. Use it before or during practice so the article’s examples translate into real playing more easily.
About the Contributor
Chords.me Tuning & Setup Desk Tuning, strings, and setup contributor
A brand contributor profile for Chords.me tuning and setup content. This desk focuses on tuning accuracy, string choice, fret buzz, intonation, action, and maintenance topics for everyday players. Content is checked for practical clarity, beginner readability, and accurate links to relevant Chords.me tools.