Guitar Fretboard Notes Made Simple: Beginner Guide
Guitar Fretboard Notes Made Simple: Beginner Guide: clear guitar guide with practical examples, common mistakes, and Chords.me practice tools.
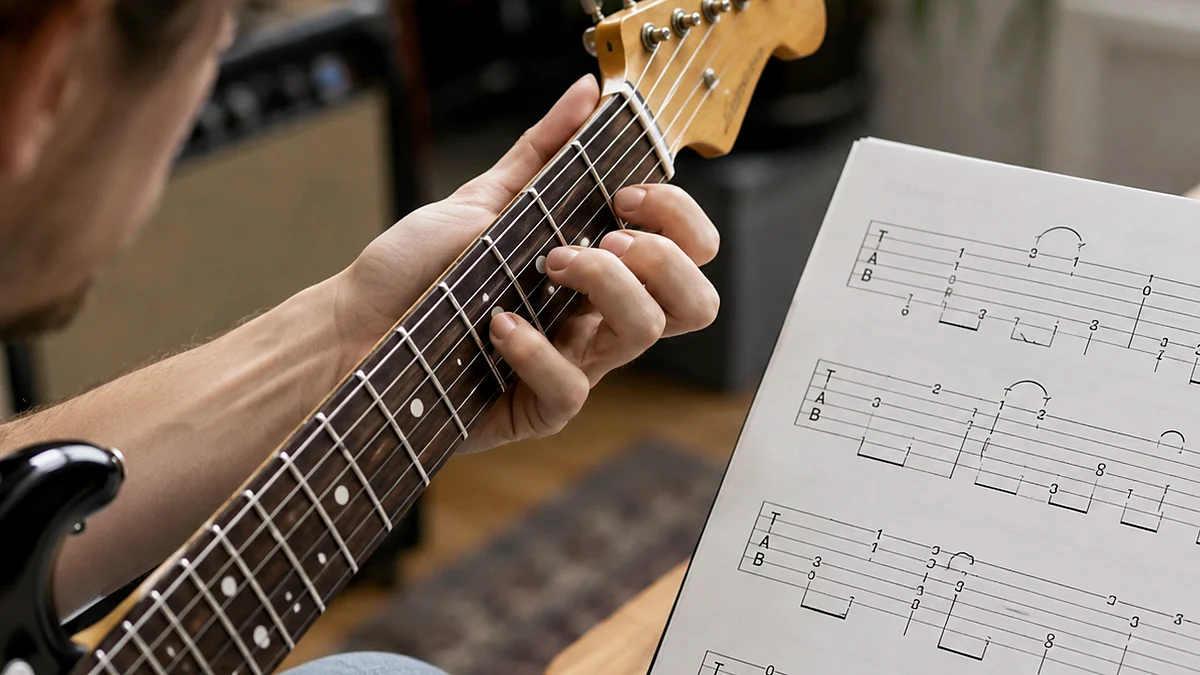
Many new guitar players look at the fretboard and see an intimidating grid of wood, metal, and wire. It feels like an endless maze of random pitches. You might find yourself relying entirely on chord diagrams or tab numbers, feeling lost the moment you try to play a solo or find a chord in a different position.
The truth is that the guitar neck is not random. It is a highly organized, logical map based on simple patterns. Once you understand the system behind it, finding any note on the neck becomes second nature.

This guide breaks down the guitar neck into clear, manageable steps. By learning how the musical alphabet maps onto your strings, you will learn to navigate the fretboard with confidence, transpose songs easily, and build a strong foundation in practical Guitar Theory.
What Are Guitar Fretboard Notes?
Before we look at the patterns, let us define exactly what we are working with.
What is guitar fretboard notes? Guitar fretboard notes are the specific musical pitches (A, B, C, D, E, F, G, and their sharps or flats) produced when you press a string against a specific fret on the guitar neck. Each combination of string and fret represents a unique pitch.
>
Is guitar fretboard notes good for beginners to learn? Yes. Learning these notes early is highly recommended for beginners. Instead of memorizing shapes blindly, knowing the fretboard allows you to understand why chords are shaped the way they are, how to find the root note of any scale, and how to communicate with other musicians.
The Anatomy of the Guitar Fretboard
To make sense of the neck, you need to understand how the strings are tuned and how pitch changes as you move along a string.
Standard guitar tuning consists of six strings. From the thickest string (lowest pitch) to the thinnest string (highest pitch), they are tuned to the following notes:
- 6th String (Thickest): Low E
- 5th String: A
- 4th String: D
- 3rd String: G
- 2nd String: B
- 1st String (Thinnest): High E
A simple way to remember this order is the classic mnemonic: Every Andy Demands Good Bananas Everyday. Notice that both the outer strings are tuned to E. This is a strong help when learning the neck, as any note you find on the 6th string will be in the exact same fret position on the 1st string.
The Musical Alphabet and the Chromatic Scale
The Western music system uses twelve distinct notes. These notes make up the chromatic scale. Understanding this scale is the first major step in beginner guitar education.
The musical alphabet uses the letters A, B, C, D, E, F, and G.
Between most of these natural notes, there are accidental notes, which we call sharps (#) and flats (b). A sharp raises a note by one fret (a half step), while a flat lowers a note by one fret.
The complete 12-note chromatic scale looks like this:
There are two critical rules you must remember about this scale:
- There is no sharp or flat between B and C.
- There is no sharp or flat between E and F.
These natural half steps are the key to navigating the neck. On your guitar, one fret equals a half step, and two frets equal a whole step. Therefore, moving from B to C or from E to F requires moving up just one single fret. Moving between any other pair of natural notes (like G to A) requires moving up two frets.
How to Learn Guitar Fretboard Notes Step by Step
Trying to memorize all 132 notes on a 22-fret guitar at once is a recipe for frustration. Instead, you should use a systematic approach to break the fretboard down into logical segments.
Step 1: Master the Natural Notes on the Low E String
The 6th string is your anchor. Many of the most common chord shapes and scale patterns use the 6th string as their starting point, or root note.
Start by finding the natural notes on this string from the open position up to the 12th fret:
- Open String: E
- 1st Fret: F (Remember, there is no sharp between E and F)
- 3rd Fret: G (Two frets up from F)
- 5th Fret: A (Two frets up from G)
- 7th Fret: B (Two frets up from A)
- 8th Fret: C (One fret up from B)
- 10th Fret: D (Two frets up from C)
- 12th Fret: E (Two frets up from D)
At the 12th fret, the entire pattern repeats itself one octave higher. Spend a few minutes each day calling out these notes as you play them. Once you know these positions, finding the sharps and flats is simple. For example, if you know G is on the 3rd fret, then G# is on the 4th fret, and Gb is on the 2nd fret.
Step 2: Map the A String (5th String)
Once you feel comfortable with the 6th string, move to the 5th string. This string operates on the exact same musical alphabet, but it starts on A:
- Open String: A
- 2nd Fret: B (Two frets up from A)
- 3rd Fret: C (One fret up from B)
- 5th Fret: D (Two frets up from C)
- 7th Fret: E (Two frets up from D)
- 8th Fret: F (One fret up from E)
- 10th Fret: G (Two frets up from F)
- 12th Fret: A (Two frets up from G)
By mastering just these two strings, you have learned the root notes for almost every common barre chord and power chord you will ever play.
Step 3: Use the Octave Shape Shortcut
You do not need to repeat this tedious memorization process for the remaining four strings. Instead, you can use octave shapes to find notes on the higher strings instantly using the notes you already know on the 5th and 6th strings.
The most common octave pattern links the 6th string to the 4th string.
- Place your finger on any note on the 6th string (for example, G on the 3rd fret).
- Skip a string (the 5th string).
- Move up two frets on the 4th string (the 5th fret).
The note on the 4th string, 5th fret is also a G, exactly one octave higher. This identical fretboard pattern works to connect the 5th string to the 3rd string. If you play C on the 3rd fret of the 5th string, skip a string, and go up two frets to the 5th fret on the 3rd string, you will find another C.
Step 4: Navigate the B and High E Strings
To find octaves on the 2nd (B) string, the pattern shifts slightly because of how the guitar is tuned. To find an octave from the 4th string to the 2nd string, you must go up three frets instead of two.
Finally, remember that the 1st string is a High E. It has the exact same notes at the exact same frets as the Low E string. If you know the 6th string notes, you already know the 1st string notes.
Essential Fretboard Patterns and Shortcuts
For tuning and setup context, compare this with Guitar Notes for Beginners and How Often Should You Change Guitar Strings so the instrument stays easier to play and check.
As you practice, you will notice that certain shapes appear repeatedly. Recognizing these visual markers makes navigating the guitar fretboard much faster.
The 12th Fret Double Dot
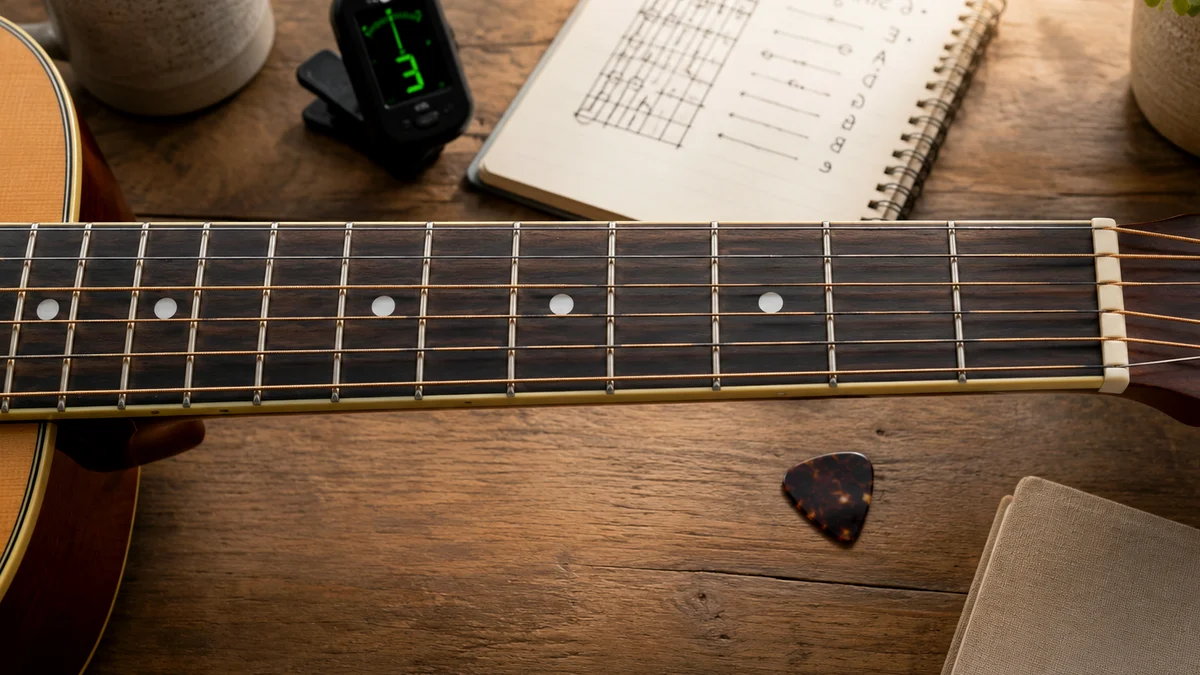
Almost every guitar has marker dots on the neck. The double dot at the 12th fret is the most important one. This marker represents the halfway point of the string's vibrating length.
Every note at the 12th fret is exactly the same as the open string, just one octave higher. This means that the fretboard layout from the 12th fret to the end of the neck is an exact duplicate of the layout from the open string to the 11th fret. If you can play a pattern in the open position, you can play it twelve frets higher.
Understanding Intervals and Scale Degrees
To make real use of these notes, you must understand how they relate to one another. These relationships are called intervals.
Instead of thinking of notes as isolated letters, experienced players see them as scale degrees relative to a key center. For example, if you are playing in the key of C major, C is your root note (the 1st scale degree). The note G is the 5th scale degree (a perfect fifth interval above C).
Learning where the 5th scale degree sits in relation to your root note allows you to build power chords and major scales anywhere on the neck without having to stop and think about the letter names.
How to Use Guitar Fretboard Notes in Real Playing
Understanding the theory is only half the battle. You must learn how to apply this knowledge during practice and performance.
Finding and Building Chords
Imagine you are reading a chord sheet and come across an unfamiliar chord, like an F# minor. If you do not know your fretboard notes, you are stuck searching for a chord diagram.
If you know your fretboard, you can find the root note F# on the 2nd fret of the 6th string. From there, you can easily apply a standard minor barre chord shape. This ability to build chords on the fly is what separates mechanical players from true musicians.
Transposing Songs on the Fly
Sometimes, a song is in a key that is too high or too low for a singer's vocal range. To fix this, you need to transpose the chords to a different key center.
For example, if a song uses the progression C - Am - F - G, and you need to move it up a whole step to the key of D major, you must shift every chord up by two frets. Knowing your fretboard notes allows you to locate the new root notes (D - Bm - G - A) instantly.
When you are working out complex arrangements or need to quickly calculate transposition intervals, using online tools can save you a lot of time. The Chords.me Chord Transposer is an excellent tool for this. It allows you to input a chord progression and instantly shift it to any key, helping you visualize how the root notes move across the fretboard.
Improvising and Soloing
When you begin to improvise, knowing the fretboard notes prevents you from getting stuck in a single "box" pattern. If you know where the root notes of your key center are located across the entire neck, you can connect different scale shapes together. This allows you to slide smoothly from a low-register melody on the thick strings to a screaming high-register solo on the thin strings without losing your place.
Guitar Fretboard Notes Mistakes Beginners Make
Learning the fretboard is a learning process, and it is easy to fall into bad habits that slow down your progress. Here are the most common guitar fretboard notes mistakes beginners make:
- Trying to Memorize Everything in One Sitting: Your brain cannot retain over a hundred note positions through brute force memorization. Focus on one string at a time for a week before moving on.
- Relying Entirely on Tablature: Tabs tell you where to put your fingers, but they do not tell you what notes you are playing. This keeps you dependent on sheet music. Try to identify the letter names of the notes in your favorite riffs.
- Ignoring the Enharmonic Equivalents: Remember that A# and Bb are the exact same pitch played at the exact same fret. Beginners often get confused when a sheet uses flats instead of sharps. Learn to treat them as the same physical location on the neck.
- Not Using Visual Anchors: The fretboard markers (usually at frets 3, 5, 7, 9, and 12) are there for a reason. Use them as physical landmarks to quickly locate neighboring notes instead of counting up from the open string every time.
Recommended Practice Methods
To build real muscle memory, you need structured exercises. The table below outlines a practical approach to mastering the fretboard over time.
| Skill Level | Practice Method | Daily Time Needed | Common Mistake to Avoid |
|---|---|---|---|
| Absolute Beginner | Say the names of the open strings aloud while plucking them. | 2 minutes | Rushing the sequence or mixing up the D and G strings. |
| Beginner | Locate all the natural notes on the 6th string (E) using the fret markers. | 5 minutes | Counting frets one by one instead of using the marker dots. |
| Advanced Beginner | Find a random note (e.g., "G") on all six strings using octave shapes. | 10 minutes | Forgetting to shift up one extra fret when crossing onto the B string. |
| Intermediate | Play a simple chord progression in three different positions on the neck. | 10 minutes | Relying on open chord shapes instead of exploring moveable barre chords. |
The "Note of the Day" Challenge
A highly effective practice game is the "Note of the Day." Pick a single note, such as C. Set a metronome to a slow tempo (around 60 BPM). On every beat, find and play a C note on a different string.
Start on the 6th string, then move to the 5th, 4th, 3rd, 2nd, and 1st strings. This exercise forces your brain to map the connections between strings rather than just memorizing a linear scale.
Connecting Theory to Your Fingertips
Mastering the guitar fretboard notes is not about academic perfection; it is about musical freedom. When you no longer have to stare at your fingers or guess where the next note is, you can focus entirely on your rhythm, tone, and expression.
Take your time with this process. Spend five to ten minutes of your daily practice routine focusing on fretboard visualization. Within a few weeks, the maze of frets will begin to change into a familiar road map, giving you the control and confidence you need to play the music you love.
Related Chords.me Guides
For the next step, read CAGED System Guitar Explained: Complete Beginner’s Guide to Fretboard Mast, Chromatic Tuner Guitar Guide: How to Tune Accurately as a Beginner, and Blues Scale Guitar Guide: Beginner Practice Guide before moving on. You can also test the same idea in another key and check each string with the guitar tuner while practicing this lesson.
Practice This With Chords.me
Use the Chord Transposer to test the idea in another key, then practice the same example slowly. Focus on clean notes and steady timing before increasing speed.
Frequently Asked Questions
What is Guitar Fretboard Notes?
Guitar Fretboard Notes is a guitar-learning topic that helps players build a clearer connection between technique, sound, and practice. For beginners, the most useful approach is to learn the basic idea first, then apply it slowly on a tuned guitar.
Is guitar fretboard notes hard for beginners?
It can feel difficult at first, but it becomes manageable when you break it into small steps. Focus on clean notes, relaxed hands, and short practice sessions instead of trying to master everything in one day.
What should I practice first for guitar fretboard notes?
Start with the simplest version of the idea: one chord, one pattern, one short exercise, or one small section of the fretboard. Once that feels stable, add timing, transitions, or a second example.
What common mistakes should I avoid?
Avoid rushing, pressing harder than necessary, ignoring tuning, and practicing mistakes at full speed. Slow, accurate repetitions usually fix beginner problems faster than long unfocused practice sessions.
Which Chords.me tool helps with this topic?
The Guitar Tuner is the best supporting tool here because it helps with checking pitch, tuning stability, and practice accuracy. Use it before or during practice so the article’s examples translate into real playing more easily.
About the Contributor
Chords.me Tuning & Setup Desk Tuning, strings, and setup contributor
A brand contributor profile for Chords.me tuning and setup content. This desk focuses on tuning accuracy, string choice, fret buzz, intonation, action, and maintenance topics for everyday players. Content is checked for practical clarity, beginner readability, and accurate links to relevant Chords.me tools.